
Raised garden beds are a great choice for anyone who has a small space or wants to control the soil quality. Another good reason for raised garden beds, it is great for all ages, health conditions, and mobility types. We all love healthy grown foods, so with raised gardening beds it is easier to manage and control the quality of the soil to get better yields.
Evaluate what your needs are, how much room you have, and how much time you want to commit to your gardening space.
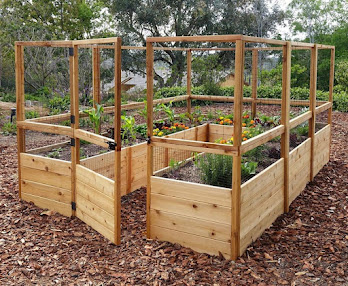
Consider the different designs available and see what appeals to you. You will want to know your budget and choose the layout or plan that will work best.
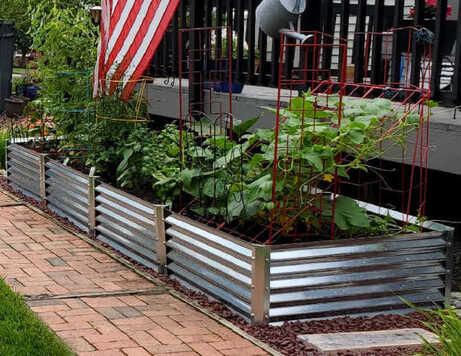
Check out this site for many great ideas on types of gardening beds and different designs.
Look at your location and decide what plants you want, the amount of sunlight you are going to have, and how long your growing season is for your region. Make sure to add in drip irrigation, which will conserve water; set the drip at the base of your plants. Leave space for walking paths around your beds.
Think ahead, if you need to cover your garden beds to keep out flying bugs and birds, add design components that will make it easy to net the spaces. This type of design is very useful for fall cold snaps when you need to shelter plants from the cold evenings. You can also use hoops for coverings. The size of your bed should be an arms length to reach far enough to get to your produce; 4 feet is a good width for your beds. If you have rodents that burrow, you may need to put down a wire mesh to block any digging into the bottom of garden boxes.
Soil preparation is key in a raised bed, so adding in compost and organic material is necessary. The beds can be filled cheaply with rocks, gravel for drainage, grass clippings, fall leaves, twigs, branches, logs, even cardboard boxes, or paper sacks.
Don’t forget to get your mulch on top to retain the moisture. Keep in mind you do not want to put any items in the bed that have insect contamination or chemicals.
Get creative in your planning and designing, use what you have, so many different components can be used for raised beds. REPURPOSE, RECYCLE, REUSE!!


