Showing posts with label grow hydroponic. Show all posts

Friday, December 12, 2025

Holiday Gifts for Gardeners: Ideas for the Green Thumbs in Your Life

The holiday season is the perfect time to show the gardeners in your life how much you appreciate their love for growing. Whether they have a sprawling vegetable patch or a cozy indoor garden, thoughtful gifts can bring joy and inspiration. In Idaho, where winters can be long and harsh, gardening gifts that work year-round are especially welcome. Here are some creative and practical ideas for gardeners this holiday season.


Gardening tools are always a practical and thoughtful gift. In a climate like Idaho's, where winters can be particularly cold, a pair of heavy-duty gloves is essential. Look for insulated, waterproof gloves to keep hands warm and dry during winter gardening tasks like pruning or snow removal. Pruning shears are another must-have. A sharp, ergonomic pair helps gardeners trim trees and shrubs during the dormant season. A soil thermometer is also a great gift, allowing gardeners to monitor soil temperatures and know when it’s the right time to plant in the spring.

Indoor gardening gifts are perfect for those who want to continue growing through the winter months. A hydroponic kit is an excellent option for growing fresh herbs, greens, or even small vegetables indoors without soil. These self-watering systems are great for gardeners with limited space, like apartment dwellers. A beautifully illustrated gardening book also makes a thoughtful gift. Whether it's a plant care book or an inspiring guide to indoor gardening, these books offer useful tips and creative ideas for keeping plants healthy through the winter. Many indoor gardeners also appreciate grow lights, especially when natural light is scarce. Adjustable LED grow lights create the ideal environment for plants to thrive indoors, even during Idaho’s dark winter months.
A garden journal is another great gift for the gardener who likes to track their planting, growth progress, and seasonal changes. These journals often include spaces to note weather conditions, plant varieties, and lessons learned, making them a valuable tool for planning future seasons. Plus, they’re a great way for gardeners to reflect on their progress and goals. Look for journals that also have prompts for creative gardening ideas or sketches of their garden layouts.

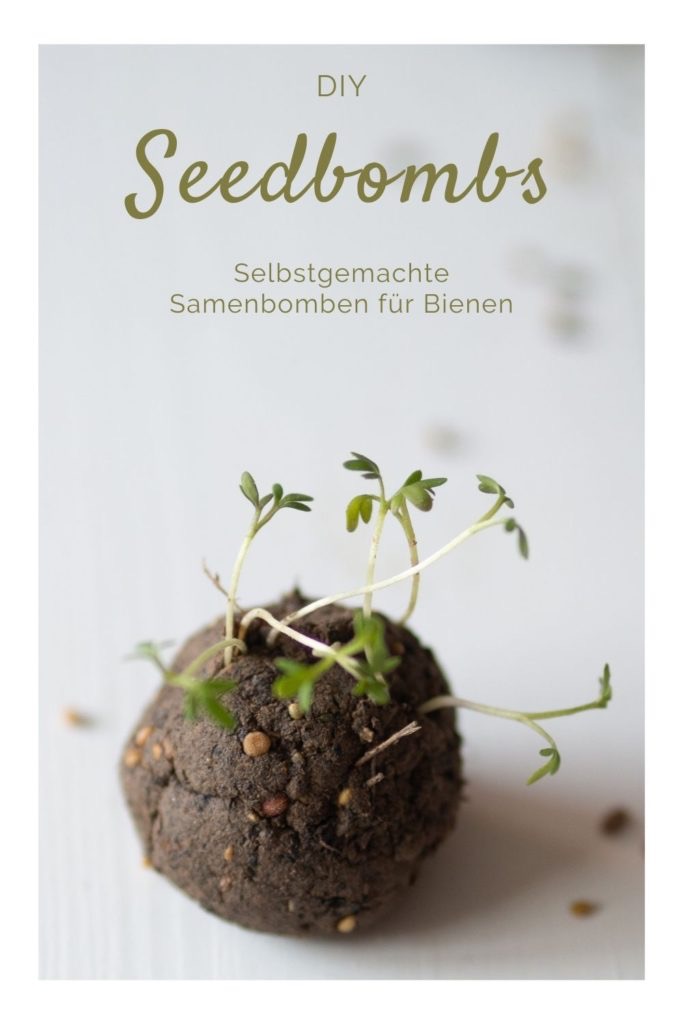
DIY garden gifts are always a hit and add a personal touch that store-bought items can’t match. One creative idea is making seed bombs. These eco-friendly gifts can be easily made using native wildflower seeds, clay, and compost. They’re perfect for spreading beauty in any garden or gifting to friends. Another fantastic DIY project is upcycled garden markers. You can make personalized markers from old spoons, pieces of wood, or smooth stones. Paint them with plant names or fun designs for a rustic touch.
For a more elaborate DIY project, consider crafting a homemade potting station. You can repurpose old furniture, like an unused table or cabinet, to create a practical work space for repotting plants or storing tools. Add hooks for hanging small tools, shelves for storing pots, or drawers for organizing gardening supplies. It’s a functional and thoughtful gift that any gardener will appreciate. You could also put together a seed starting kit, complete with DIY seed trays made from egg cartons or cardboard boxes, some organic seeds, and a small watering can.

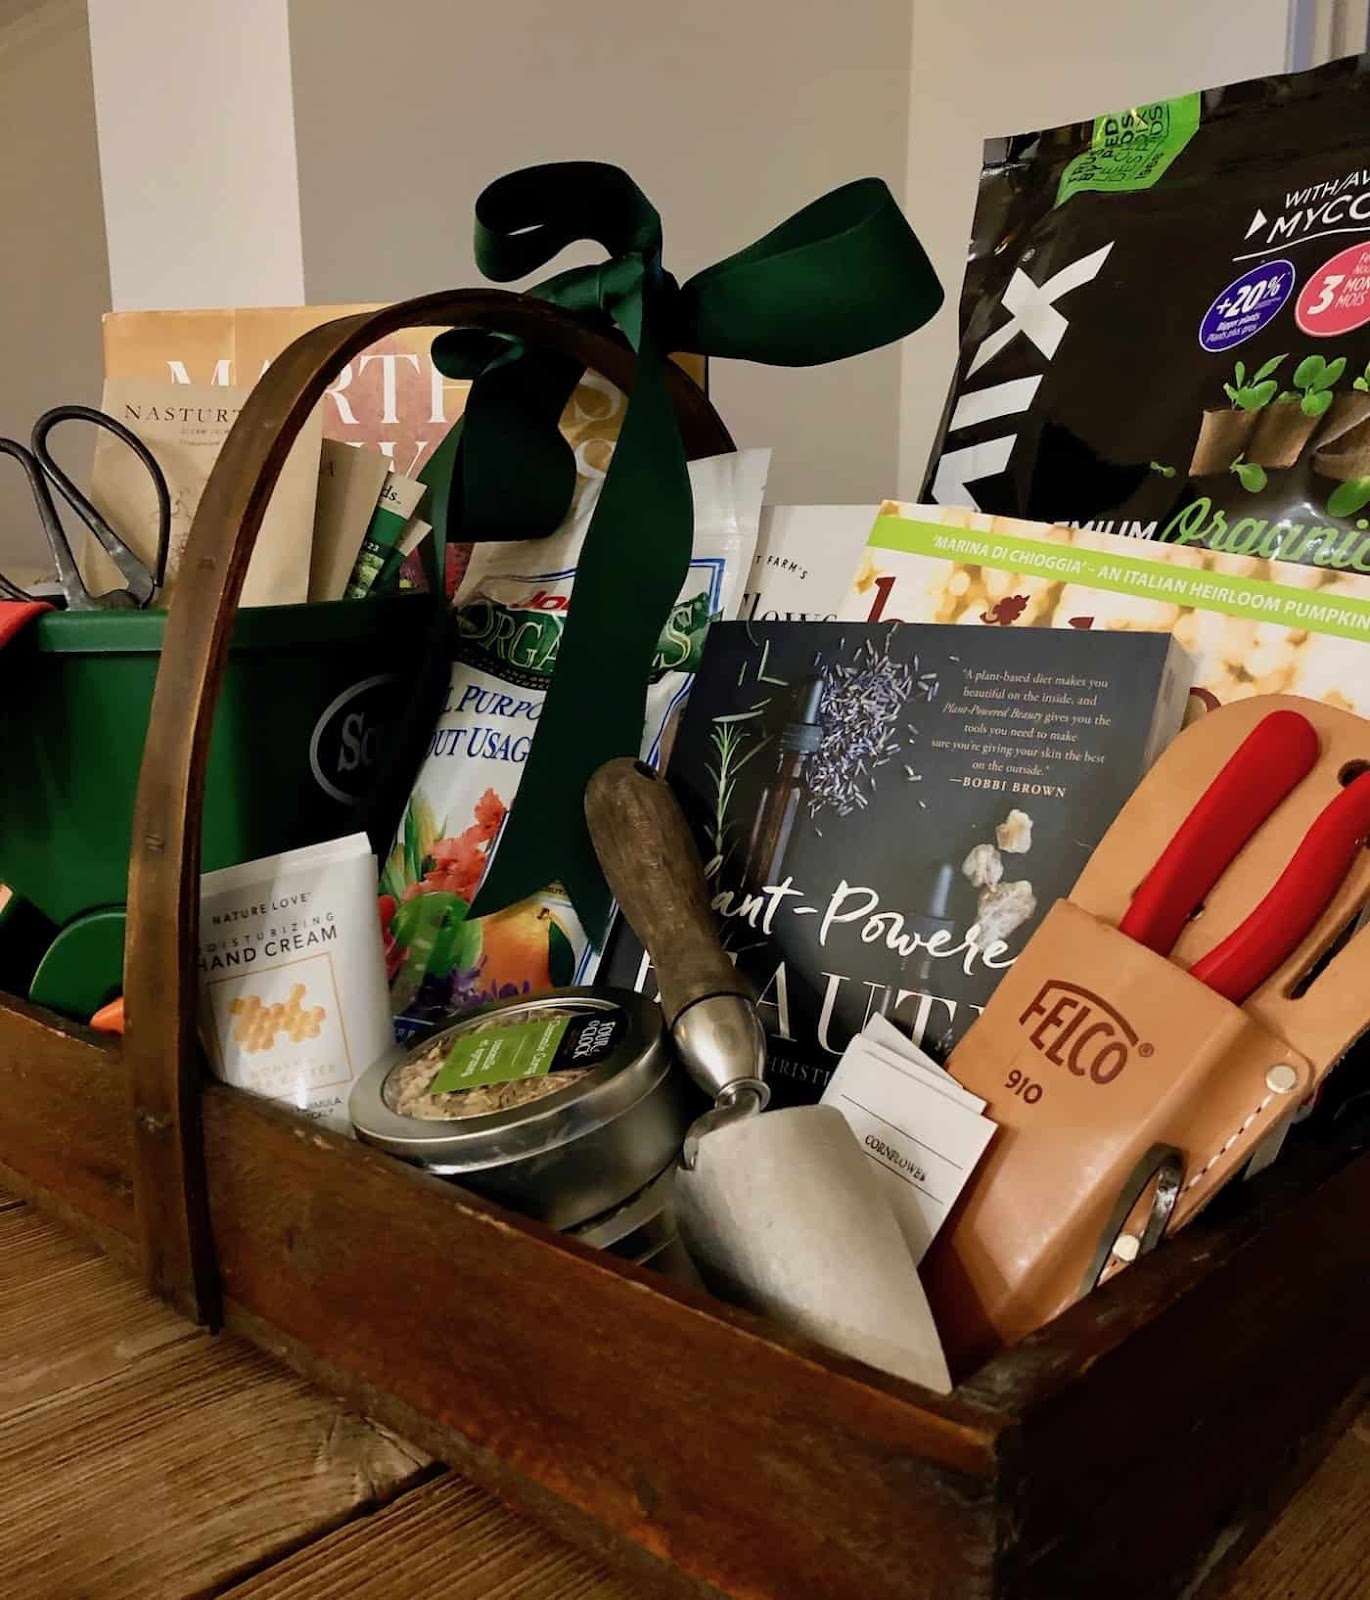
Another meaningful DIY project is creating a garden-themed gift basket. Fill the basket with an assortment of gardening essentials and homemade treasures. Include items like packets of seeds, gardening gloves, small hand tools, and a couple of gardening books for inspiration. Add in some herb-infused oils, dried flowers, plant-based soaps, or even a jar of homemade jam made from last season’s harvest. You could also toss in a hand-crafted bird feeder, a cozy for a favorite plant, or some garden markers. This thoughtful collection brings a touch of the garden indoors, offering warmth and nature's beauty during the colder months.
Whether it’s practical tools, indoor gardening solutions, or personalized DIY creations, these gift ideas will delight any gardener and help them stay connected to their passion, even through Idaho’s cold winter months. The right gift can inspire new gardening projects and prepare them for the next growing season.

Friday, December 6, 2024

Holiday Gifts for Gardeners: Ideas for the Green Thumbs in Your Life

The holiday season is the perfect time to show the gardeners in your life how much you appreciate their love for growing. Whether they have a sprawling vegetable patch or a cozy indoor garden, thoughtful gifts can bring joy and inspiration. In Idaho, where winters can be long and harsh, gardening gifts that work year-round are especially welcome. Here are some creative and practical ideas for gardeners this holiday season.

Gardening tools are always a practical and thoughtful gift. In a climate like Idaho's, where winters can be particularly cold, a pair of heavy-duty gloves is essential. Look for insulated, waterproof gloves to keep hands warm and dry during winter gardening tasks like pruning or snow removal. Pruning shears are another must-have. A sharp, ergonomic pair helps gardeners trim trees and shrubs during the dormant season. A soil thermometer is also a great gift, allowing gardeners to monitor soil temperatures and know when it’s the right time to plant in the spring.

Indoor gardening gifts are perfect for those who want to continue growing through the winter months. A hydroponic kit is an excellent option for growing fresh herbs, greens, or even small vegetables indoors without soil. These self-watering systems are great for gardeners with limited space, like apartment dwellers. A beautifully illustrated gardening book also makes a thoughtful gift. Whether it's a plant care book or an inspiring guide to indoor gardening, these books offer useful tips and creative ideas for keeping plants healthy through the winter. Many indoor gardeners also appreciate grow lights, especially when natural light is scarce. Adjustable LED grow lights create the ideal environment for plants to thrive indoors, even during Idaho’s dark winter months.

A garden journal is another great gift for the gardener who likes to track their planting, growth progress, and seasonal changes. These journals often include spaces to note weather conditions, plant varieties, and lessons learned, making them a valuable tool for planning future seasons. Plus, they’re a great way for gardeners to reflect on their progress and goals. Look for journals that also have prompts for creative gardening ideas or sketches of their garden layouts.

DIY garden gifts are always a hit and add a personal touch that store-bought items can’t match. One creative idea is making seed bombs. These eco-friendly gifts can be easily made using native wildflower seeds, clay, and compost. They’re perfect for spreading beauty in any garden or gifting to friends. Another fantastic DIY project is upcycled garden markers. You can make personalized markers from old spoons, pieces of wood, or smooth stones. Paint them with plant names or fun designs for a rustic touch.

For a more elaborate DIY project, consider crafting a homemade potting station. You can repurpose old furniture, like an unused table or cabinet, to create a practical work space for repotting plants or storing tools. Add hooks for hanging small tools, shelves for storing pots, or drawers for organizing gardening supplies. It’s a functional and thoughtful gift that any gardener will appreciate. You could also put together a seed starting kit, complete with DIY seed trays made from egg cartons or cardboard boxes, some organic seeds, and a small watering can.

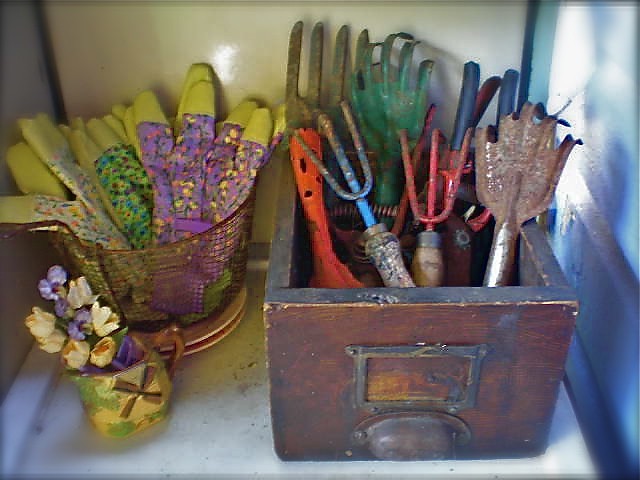
Another meaningful DIY project is creating a garden-themed gift basket. Fill the basket with an assortment of gardening essentials and homemade treasures. Include items like packets of seeds, gardening gloves, small hand tools, and a couple of gardening books for inspiration. Add in some herb-infused oils, dried flowers, plant-based soaps, or even a jar of homemade jam made from last season’s harvest. You could also toss in a hand-crafted bird feeder, a cozy for a favorite plant, or some garden markers. This thoughtful collection brings a touch of the garden indoors, offering warmth and nature's beauty during the colder months.
Whether it’s practical tools, indoor gardening solutions, or personalized DIY creations, these gift ideas will delight any gardener and help them stay connected to their passion, even through Idaho’s cold winter months. The right gift can inspire new gardening projects and prepare them for the next growing season.

Sunday, January 5, 2020

Hydroponics - Part 1 of 2

Hydroponics means “working water” (hydro means water and ponos means labor). Many different civilizations have utilized hydroponic growing techniques throughout history. As noted in Hydroponic Food Production by Howard M. Resh: "The hanging gardens of Babylon, the floating gardens of the Aztecs of Mexico and those of the Chinese are examples of 'Hydroponic' culture. Egyptian hieroglyphic records dating back several hundred years B.C. describe the growing of plants in water." While hydroponics is an ancient method of growing plants, giant strides have been made over the years in this innovative area of agriculture.

Throughout the last century, scientists and horticulturists experimented with different methods of hydroponics. One of the potential applications of hydroponics that drove research was growing fresh produce in non-arable areas of the world and areas with little to no soil. Hydroponics was used during World War II to supply troops stationed on non-arable islands in the Pacific with fresh produce grown in locally established hydroponic systems.


Later in the century, hydroponics was integrated into the space program. As NASA considered the practicalities of locating a society on another planet or the Earth's moon, hydroponics easily fit into their sustainability plans. By the 1970s, it wasn't just scientists and analysts who were involved in hydroponics. Traditional farmers and eager hobbyists began to be attracted to the virtues of hydroponic growing. 


Where can hydroponic grow?
Anywhere. Indoors, in a greenhouse as well as outdoors. Any plant can be grown with hydroponics, though some are more delicate than others. If there is enough light for the plant to grow, you can probably bet somebody has grown it using hydroponics. 

Supplies needed to grow hydroponic plants in a jar.


You’ll also need a way to block light from entering the mason jar in order to prevent algae growth. You can coat the jars with black spray paint, cover them with duct or washi tape or use a light-blocking fabric sleeve.


Steps for starting seeds with Rockwool Cubes:  
  1.    Preparing Rockwool Cubes
a.    Rockwool Cubes have a PH of roughly 7.8. This is pretty alkaline, yet plants prefer to grow in a slightly more acidic environment (between 5.5 – 6.5). In order to prepare our Rockwell cubes for the seeds, we need to soak them in some PH adjusted water, that way they have everything the seeds need to germinate and sprout; water and a slightly acidic environment.  

b.    Fill the container/bowl with water from your tap. You may also choose to use water filtered through a Britta or reverse osmosis (R/O) water, I’ve had success with all 3 of them so whichever you have on hand will work fine.

c.    Using either a PH test kit or a Ph meter, determine the Ph of the water. Water comes out alkaline, usually around 7.4, so you will need to acidify it a little bit to bring that Ph down to the desired level. Aim for as close to a Ph of 5.5-6 as you can get.


d.    To accomplish this, use either Ph down chemicals, or lime juice (as it’s acidic). Add these to the water in small increments (VERY SMALL) and test the water to see where the Ph is. Continue doing this until you have a Ph of 5.5-6.

Important: Do not let the PH of the water go below 5. A Ph this low will damage the fibers of the Rockwool Cube
e.    It’s time to stabilize and hydrate the Rockwool cubes in it. Insert the Rockwool Cubes into your container and let them soak for roughly 1 hour. Once the hour is up, the cubes will be big and fat with water. Take them out of the bowl of water and put them somewhere you don’t mind getting a little wet. Save the remaining water for step 3.

DO NOT SQUEEZE THEM TO DRAIN ANY WATER 
f. Rockwool Cubes are designed to maintain the correct water to air ratio and squeezing them may damage their structure. 

    2.    Plant the Seeds
a.    Most Rockwool cubes come with holes in them, if yours did not, than create a hole in one side that is approximately a quarter inch (0.75 cm) deep.

b.    Take 1-2 seeds and insert them carefully into the holes. Use a toothpick or similar object to push them down to the bottom, as you want them to be at the bottom of that hole. Rip or push a piece of the Rockwool over the hole (you don’t have to fill it completely), so that the seed can germinate in a dark moist environment.
c.    If you can, place them in a tray with a dome on it. This will help create a little humidity in there which seedlings like. This is not mandatory, but it helps.
d.    Put the container in a cool dark place and leave them alone. The temperature should be roughly 68 degrees F.
e.    Check in 2 or 3 days, if seedlings sprouted and are touching the dome, remove dome.

   3. Let them Grow
a.    If you put more than one seed in your cube (just in case one didn’t make it), than you probably have several seeds sprouting up in each cube at the end of 2~3 days. Once the first true leaves emerge, we want to select for the strongest one (the one that grew the tallest) and cut off the tops of all other seeds that are growing next to it. Do not pluck them out, as you may uproot it’s neighbors. Simply cut it off as close to the hole as you can without messing with the stronger one that you plan on keeping alive.

b.    Depending on how hot it is (and other factors) you may need to water your cubes 1-4 times a day. Use the Ph adjusted water when doing so (that’s why I had you save the leftovers from step 2). If you already threw that water out, go make another batch of Ph adjusted water and keep it in a separate bottle or container for watering. Note: Do not over water and Do not add any nutrients to your Rockwool Cubes.
    
  4. Transplant
About 2-3 weeks after germinating, you are ready to transplant these babies into the hydroponic system of your choice. A good rule of thumb to go by is that you want to transplant them once the first roots begin poking out of the Rockwool cube. Don’t wait too long though, as eventually the roots will begin tangling around the cube since it is their only source of water. You want to catch them right as they pop out, so that when you transfer them into your hydro system the roots will grow down into the system, and not just try to feed off the Rockwool cube alone.

See Part 2 for steps in creating a Hydroponic Glass Garden