Showing posts with label 2CMasterGardeners. Show all posts

Friday, October 9, 2026

Jams, Jellies, Marmalades - Yummy!

 Fresh, spreadable fruit in the form of jam, jelly, preserves, or marmalade, might possibly be summer's sweetest reward. The best part is that they are easy to make and can be enjoyed long after you put your garden to bed. So, what is the difference between each of these spreadable options? 

Before we dive in, it helps to know that there are two main factors that turn fruit into a thick, spreadable texture: heat (from cooking) and pectin. When fruit is heated, it will lose liquid, causing the fruit to reduce to a firmer state. Pectin is naturally-occurring in fruit and happens to also make fruit thicken when cooked. However, not all fruit contains enough pectin to reach a firm texture, so many spreadable fruit recipes call for additional pectin.

Jelly:
Jelly is the firmest and clearest of the sweet, spreadable options. The fruit is cooked and strained so only the juice ends up in the final product. Jelly is so firm that you could turn the jar over and slide the jelly out in one solid piece.

Jam:
Jam is a chunkier version of jelly. Jam has more fruit pieces and is slightly looser in texture. Chopped or pureed fruit is cooked with sugar, so pieces of fruit end up in the final product. Jams are not clear and not solid like their jelly cousin. Here's a video for strawberry freezer jam!

Preserves:
Preserves are like jam but contain more and bigger pieces of fruit. Preserves have the least gel-like consistency. They are great for serving with cheeses and meat dishes.

Marmalade:
Marmalade is a preserve, but it is made only with citrus. The whole fruit, rind and all, create a bitter-sweet spreadable delight. Lemon, orange, and grapefruit make great marmalades. Marmalades are aromatic with complex flavors and oils from the citrus peels.

Jam, jelly, preserves, and marmalade start out almost the same, but take different forms depending on how they are processed. Whether you like your fruit a spreadable solid, with small pieces of fruit, with large pieces of fruit, or you want the complex flavors of citrus, there is always something good you can choose to put on your toast. 

Friday, July 17, 2026

Pesticide Safety: More Than Just Reading the Label

Gardening can be a rewarding hobby, but the pesticides and herbicides we use to control weeds, insects, and diseases deserve careful attention. While many products available to homeowners are considered safe when used correctly, improper handling and application can increase risks to people, pets, wildlife, and the environment.

Dress for the Job, Not the Weather
It's not uncommon to see a neighbor spraying weeds in flip-flops, shorts, and a tank top on a hot summer day. While it may seem harmless, this is one of the easiest ways to increase pesticide exposure through skin contact, making bare legs, feet, arms, and hands particularly vulnerable. When applying pesticides, herbicides, or fungicides, wear chemical-resistant gloves, long pants, closed-toe shoes or boots, a long-sleeved shirt, and eye protection when recommended on the label. Even products marketed as "safe" or "natural" can cause skin irritation, eye injury, or other health concerns if handled improperly. Taking a few extra minutes to dress appropriately can significantly reduce exposure.

Pay Attention to Temperature and Weather Conditions
Many gardeners focus on what they are spraying but overlook when they are spraying. Temperature, wind, and humidity can all affect pesticide performance and safety. 

Some herbicides can become more volatile during hot weather. Volatility occurs when a product evaporates after application and moves off-target, potentially damaging nearby flowers, trees, vegetables, or neighboring landscapes. This also puts the person applying herbicide at risk of inhaling these chemicals. Applying products during cooler parts of the day and following label temperature restrictions can help reduce the risk. 

Wind is another important consideration. Even a light breeze can carry spray droplets onto desirable plants, pollinator habitat, or neighboring property. Avoid spraying during windy conditions and use coarse spray droplets when appropriate to minimize drift.

Think Beyond Your Property Line
Pesticides rarely stay exactly where we intend them to. Spray drift and runoff can affect neighboring gardens, pollinator populations, pets, and local waterways. Before spraying, consider what surrounds the target area. Are there flowering plants nearby? Is a vegetable garden downwind? Could rain wash the product into a storm drain or irrigation ditch? Taking these factors into account can help prevent unintended damage in addition to maintaining good relationships with your neighbors.

Storage and Cleanup Matter Too
Safe pesticide use doesn't end when the spraying stops. Always store products in their original containers with labels intact and keep them locked away from children and pets. Never transfer pesticides into food or beverage containers. After applying pesticides, wash your hands thoroughly, clean equipment according to label recommendations, and launder work clothing separately from other household laundry. Proper cleanup can prevent accidental exposure long after the application is complete.

A Few Extra Precautions Go a Long Way
Most pesticide-related injuries and exposures are preventable. Reading and following label directions, wearing proper protective clothing, paying attention to temperature and weather conditions, and protecting pollinators can all help make gardening safer.

The next time you see someone spraying weeds in shorts and flip-flops, remember that pesticide safety isn't about looking overly cautious, it's about reducing unnecessary exposure and protecting your health while enjoying the garden.

Friday, June 26, 2026

Verticillium Wilt, a Soil Pathogen

Verticillium wilt is a soil-borne pathogen that affects 300+ plant species. The name is derived from two types of fungus: Verticillium albo-atrum and Verticillium dahliae. Trees, crops and woody ornamentals can all succumb to this devastating fungal disease. Plants affected with verticillium wilt may decline or die.
Annual plants often die quickly, while large trees may experience a slow decline over several years. In Idaho we commonly see verticillium wilt affect maple and ash trees, elderberry, lilac, viburnum, roses, tomatoes, potatoes, mint and peppers, just to name a few. It is also an important disease in Idaho potato production and landscape trees.

This fungus starts in the soil and infects plant roots. It then spreads through the plant’s vascular system, affecting the xylem and its ability to take up water and transport nutrients. The fungus survives in the soil as tiny resting structures (microsclerotia), which can persist for many years, even without a host plant.

Symptoms The infection is marked by sudden wilting of branches, often on one side of the plant. Other common symptoms include faded green or yellowing foliage, browning leaf edges, and stunted growth. You will eventually see dieback in branches.

During periods of heat or drought stress, symptoms often become more noticeable. Plants may wilt even when soil moisture is adequate.

If you cut open a branch of an infected plant, you may notice dark staining following the wood grain—an indicator of vascular involvement.

Quick identification tips:

  • Wilting on only one side of the plant or branch
  • Yellowing or browning leaves
  • Branch dieback
  • Dark streaking in the sapwood

Note: Verticillium wilt can be confused with drought stress, herbicide damage, or other diseases such as Fusarium wilt. A laboratory diagnosis is sometimes needed for confirmation.

How Does it Spread? Verticillium wilt is primarily spread through contaminated soil and plant material. The fungus moves when infested soil is transported on tools, shoes, plant roots, or transplants. It can also spread through root contact between plants and by moving soil with water runoff or equipment. The disease is rarely spread aboveground. Insects such as aphids may stress plants or create wounds, but they are not considered a primary means of spreading this disease.

How to Manage Verticillium Wilt In most cases, it is best to remove infected plants, as there is no cure once a plant is infected. If there is limited dieback in tree branches, a certified arborist may be able to prune out affected wood. If you remove affected branches, be sure to clean your pruners between cuts to avoid spreading contaminated soil or plant material.

You can sanitize tools with a 10% bleach solution (1 part household bleach to 9 parts water). Keep in mind bleach solutions lose effectiveness over time and can be corrosive to tools, so rinse and dry tools after use.

Verticillium can remain in the soil for many years, so replanting requires careful plant selection. Choose plant species that are resistant or less susceptible to verticillium wilt.

Crop rotation for 3–5 years may help reduce disease pressure, especially in vegetable gardens, but it may not eliminate the fungus due to its long survival in soil.

Additional management tips:

  • Avoid planting highly susceptible species in infested areas
  • Rotate with non-host plants such as grasses when possible
  • Maintain healthy soil and proper irrigation—stressed plants are more susceptible
  • Avoid damaging roots during planting or cultivation
  • Remove and dispose of infected plant material (do not compost unless at high temperatures)

For vegetables like tomatoes, look for resistant varieties labeled “V” or “VFN.”


Friday, March 13, 2026

Soil blocking for your Spring Seed Starting

Soil blocking presents several advantages for home gardeners, making it an attractive option for those seeking efficient, sustainable, and rewarding gardening practices.

Space Optimization: For home gardeners with limited space, seed blocking offers a compact and efficient way to start seeds indoors. By using soil blocks rather than traditional pots or trays, gardeners can maximize their growing area and cultivate a greater variety of plants in a smaller space.

Cost-Effectiveness: While initial investment in seed-blocking equipment may be required, the long-term savings are significant. Soil blocks can be made using simple tools or purchased commercially, eliminating the need for disposable seed trays and pots. Moreover, seed blocking reduces seed waste by ensuring each seed is planted with precision, saving money on seed purchases in the long run.

Improved Seedling Health: Seedlings grown in soil blocks tend to experience less transplant
shock compared to those grown in traditional seed trays. The intact soil blocks protect delicate roots during transplanting, resulting in healthier, more resilient seedlings with higher survival rates.


Water Efficiency: Soil blocks retain moisture more effectively than traditional planting mediums, reducing the frequency of watering needed for seedlings. This is especially beneficial for home gardeners who may have limited time for watering or live in regions with water restrictions.

Ease of Transplanting: Transplanting seedlings from soil blocks is straightforward and minimizes root disturbance. Gardeners can simply place the soil block directly into the planting hole, eliminating the need to handle delicate seedlings or disturb their roots. This reduces transplant shock and ensures a smoother transition to the garden bed or container.


Reduced Disease Spread: Traditional seed trays and pots can harbor pathogens and promote the spread of soil-borne diseases. In contrast, soil blocks are less likely to harbor harmful microbes, reducing the risk of disease transmission among seedlings. 

Environmental Sustainability: By reducing the use of plastic pots and trays, as well as minimizing seed and water waste, seed blocking aligns with environmentally friendly gardening practices. Home gardeners can feel good about minimizing their ecological footprint while enjoying the benefits of healthier plants and bountiful harvests.  

Summary: Soil blocking offers home gardeners an array of benefits. With its simplicity and effectiveness, seed blocking is an excellent choice for gardeners looking to maximize their gardening success while minimizing their impact on the environment.    

Tuesday, January 20, 2026

Are Your Deicers Friendly to Plants, Animals, and the Earth?

While applying products to keep our walkways clear of snow and ice,
it’s important to remember the nearby plant life.  Deicing products, primarily composed of salt, can injure plant material, but is there a safer product to use around desirable vegetation? What about around pets? What about the run-off in our rivers and watershed?

  • Salts can cause injury to trees, lawns, and shrubs
  • Salt run-off can harm our groundwater
  • Salts can corrode concrete
  • Salts can do bodily harm to humans if handled improperly
  • Salts are hard on the little paws of your four-legged friends

So you may be thinking salt is salt, right? No, not all salt is the same. Think table salts (Sodium chloride) and Epsom Salt (magnesium sulfate). If you remember your days in chemistry, salts are combinations of negatively charged anions and positively charged cations. Examples are sodium chloride (table salt), potassium chloride (used as a fertilizer), and magnesium chloride (the one you see trucks spraying on our roads). The most problematic element in these salts is chloride, a corrosive ion that damages metal and concrete. Chloride is also toxic to plants.

Salt damages plants by dehydrating plant tissues, causing burns, or being toxic at high levels. While most plants have some tolerance to salt injury, repeated applications of deicing products during the winter can result in dieback or even death the following spring. Misapplications of deicers (i.e. dumping piles or using too much) can leach through the ground and into the water table or wash into the storm sewers, causing pollution. Before buying or using any product, read the label carefully and use only as directed. Here's a great publication on plant tolerance to salts. 

Here are a few of the salt products you might run into while shopping:

Calcium magnesium acetate (CMA)
It has low corrosion potential, so it’s less damaging to cars, metals, sidewalks, and plants. Notice it’s not a chloride product, the “salt” comes from the calcium-magnesium mix and the acetate replaces the chloride. Plus, it’s biodegradable! Its ice-melting properties are equivalent to traditional deicers, but the cost may be 20-30 times as expensive as sodium chloride products. These are often touted as “pet friendly”. 

Magnesium chloride
Commonly referred to as “mag chloride”. Applied as a brine, it’s the most common product used on our roadways before storms because it lowers the freezing point of soon-to-arrive precipitation. It can melt ice down to -15° F, which is a nice benefit. If applied in moderate amounts, it’s relatively safe for plants and pets. Its corrosion potential is low, as is its pollutant possibilities.

Potassium chloride
It’s expensive and not as widely used as a deicer because of the rising costs of fertilizer. This works best when temperatures are above 15° F. Because it’s most commonly used as a fertilizer, it’s relatively safe to apply near plants.

Sodium chloride
It’s the most widely available and the cheapest. It doesn’t cause corrosion to concrete and melts ice best when temperatures are in the 20s. It is the most damaging to plant material. If you use this product, use it sparingly and in small amounts!

Before using any de-icing product, clear away as much snow and ice with a shovel as possible. If heavy snow is predicted, then try to shovel more frequently. Remember, deicing products are not meant to melt all snow and ice, but rather aid you in your removal efforts. If you want to avoid adding chemicals to your landscape, then consider using sand or kitty litter. While they don’t melt snow, they can provide traction in slippery spots. Sand and kitty litter are also safe for pets and plants and can be swept up when the snow melts.
If you use deicing products near vegetative areas, then use caution with potential salt build-up and consider a soil test in the spring.  If it’s an especially snowy year, you may consider rinsing the areas next spring with clean water. Try not to scoop snow laced with deicing products directly on top of plants, especially if they are sensitive. If you have the opportunity, consider planting more salt-tolerant plants near walkways and driveways.

Your 2C Master Gardeners Facebook page is a daily source for reliable and accurate information, and Instagram, too! 

Friday, January 16, 2026

Backyard Garden Fencing

If your inner lumberjack is urging you to build that garden fence to keep wildlife and uninvited produce-pickers out, it would be wise to stop and research first. After all, fencing can be pricey and there may be regulations to follow. You might also want to determine or consider which specific herbivores are feasting and trampling, how visible your garden space is to neighbors, your budget, and any local statutes that may apply. It is also helpful to consider if your neighborhood critters are jumpers, climbers, or diggers. After review, many gardeners realize that they only need winter protection for young fruit trees. It’s worth doing your homework before building that fence.

Fencing Regulations
An understanding of fencing requirements, materials, pricing, purpose, and aesthetics varies with your city, state, and neighborhood. Check your plot map and local regulations; state, county, and municipality. In Idaho, Title 35 addresses building and removing fences and the rights and responsibilities of landowners. Idaho Code 35-101 defines a lawful fence must not be less than 4.5 feet high, and the bottom board, rail, pole, or wire must not be more than twenty inches above the ground. City and town fencing rules are usually found under building and permits, including property easements. Neighborhood HOAs will likely provide additional, detailed requirements and responsibilities.

Consider Local Wildlife

Wildlife in the garden may be more than a neighbor’s pet. In a more open field area, it might be deer, rabbits, raccoons, and/or voles. Your list of pests may also include birds.

Fence Design Considerations
The design must provide sufficient available light for your plants’ needs. Soil type matters too, especially if it’s clay. When clay is wet, fence posts wobble unless secured 2-3 feet deep in a concrete base.


Fence Height

The fence height varies based on which wildlife are most troublesome. Build a 2-3 foot high fence for cats, dogs, and rabbits to block their entry. If raccoons, opossums, voles, or squirrels are a problem, then an underground barrier is needed (usually chicken wire). These animals can also climb, thus leaving the top 18 inches of chicken wire loose will discourage these critters as the fencing will bow down when they try to climb. You could also try an electric wire along the top. 
If you need to inhibit larger animals, such as deer, then the fence height must be
6-8 feet. 
For troublesome birds, low visibility metal wires can have negative impacts if the bird collides with the wire. Avoid this by marking it with cloth strips tied to the wire. Bird netting placed over the fenced area, using PVC pipes to support, is an option that prevents flying animals’ entry. 


Fence Materials

Materials can include poultry fencing, chain link, wood, woven wire, and more. Wood choices are varied, and the longest lasting are treated. This is recommended, especially for the posts. Treated wood has a life expectancy of 15-30 years depending on the type of wood you choose. Fences designed in horizontal lines will handle wind gusts more easily than a vertical design. 
When it comes to cost, wood, iron, and electric are more expensive than chain link, woven wire, or poultry fencing. You may be able to install a wood fence yourself. This option can also be good for a bit of privacy from passersby and neighbors. Electric fencing is
normally used to contain livestock but can be successful for pet containment and denying some animals entry. Just add some cloth flags or smooth PVC on the top wire for a visual warning to birds and humans. Barbed wire is often used in-between the top and bottom electric wires. With any of these fencing options, should you have a problem with the “diggers”, about 3 inches of buried chicken wire under the fence row should keep those critters out. Select a fencing that meets the broadest variety of possible avian and animal invaders. Of course, don’t forget to plan for at least one gate to enter the garden area.


Tree Guards
Finally, don’t forget tree guards if your fruit trees or other trees and shrubs are afflicted by girdling, fresh bud nipping, or leaf eating. Creating a physical barrier is the best overall prevention strategy. Surround the tree with a sturdy fence in the fall, after clearing mulch and grass, to prevent voles and mice. Bury the bottom of the fencing in the soil and set it to at least 18-24 inches in height above an anticipated snow line. A bit of planning and research protects your garden and wildlife for years to come.


Friday, December 12, 2025

Holiday Gifts for Gardeners: Ideas for the Green Thumbs in Your Life

The holiday season is the perfect time to show the gardeners in your life how much you appreciate their love for growing. Whether they have a sprawling vegetable patch or a cozy indoor garden, thoughtful gifts can bring joy and inspiration. In Idaho, where winters can be long and harsh, gardening gifts that work year-round are especially welcome. Here are some creative and practical ideas for gardeners this holiday season.
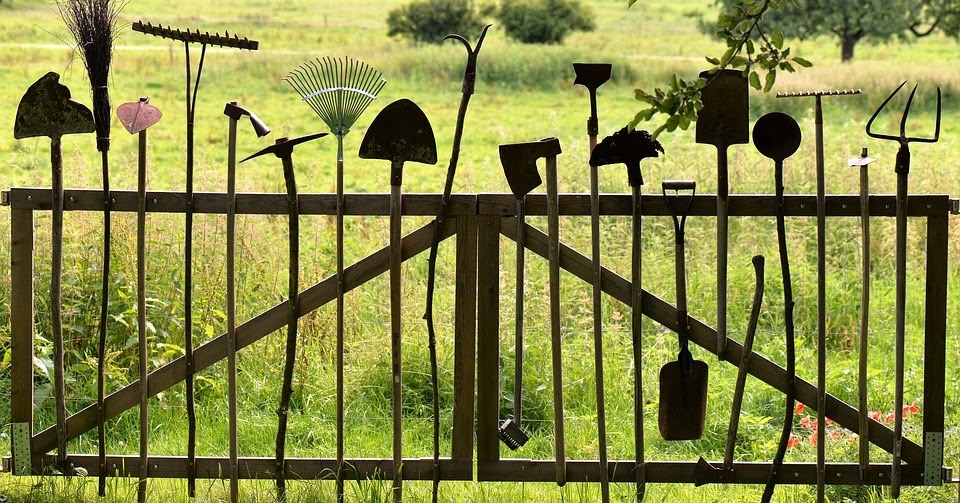

Gardening tools are always a practical and thoughtful gift. In a climate like Idaho's, where winters can be particularly cold, a pair of heavy-duty gloves is essential. Look for insulated, waterproof gloves to keep hands warm and dry during winter gardening tasks like pruning or snow removal. Pruning shears are another must-have. A sharp, ergonomic pair helps gardeners trim trees and shrubs during the dormant season. A soil thermometer is also a great gift, allowing gardeners to monitor soil temperatures and know when it’s the right time to plant in the spring.
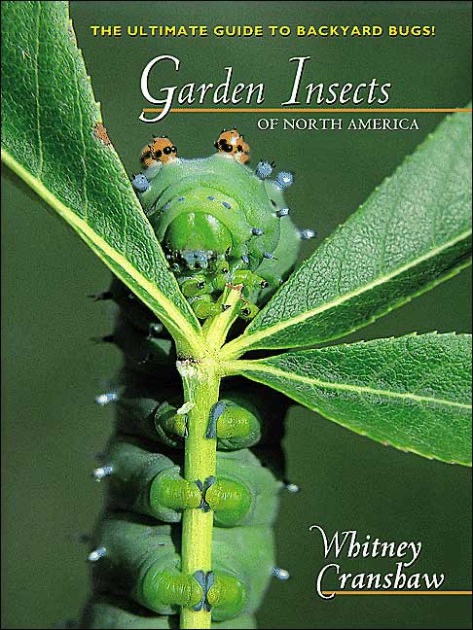
Indoor gardening gifts are perfect for those who want to continue growing through the winter months. A hydroponic kit is an excellent option for growing fresh herbs, greens, or even small vegetables indoors without soil. These self-watering systems are great for gardeners with limited space, like apartment dwellers. A beautifully illustrated gardening book also makes a thoughtful gift. Whether it's a plant care book or an inspiring guide to indoor gardening, these books offer useful tips and creative ideas for keeping plants healthy through the winter. Many indoor gardeners also appreciate grow lights, especially when natural light is scarce. Adjustable LED grow lights create the ideal environment for plants to thrive indoors, even during Idaho’s dark winter months.

A garden journal is another great gift for the gardener who likes to track their planting, growth progress, and seasonal changes. These journals often include spaces to note weather conditions, plant varieties, and lessons learned, making them a valuable tool for planning future seasons. Plus, they’re a great way for gardeners to reflect on their progress and goals. Look for journals that also have prompts for creative gardening ideas or sketches of their garden layouts.
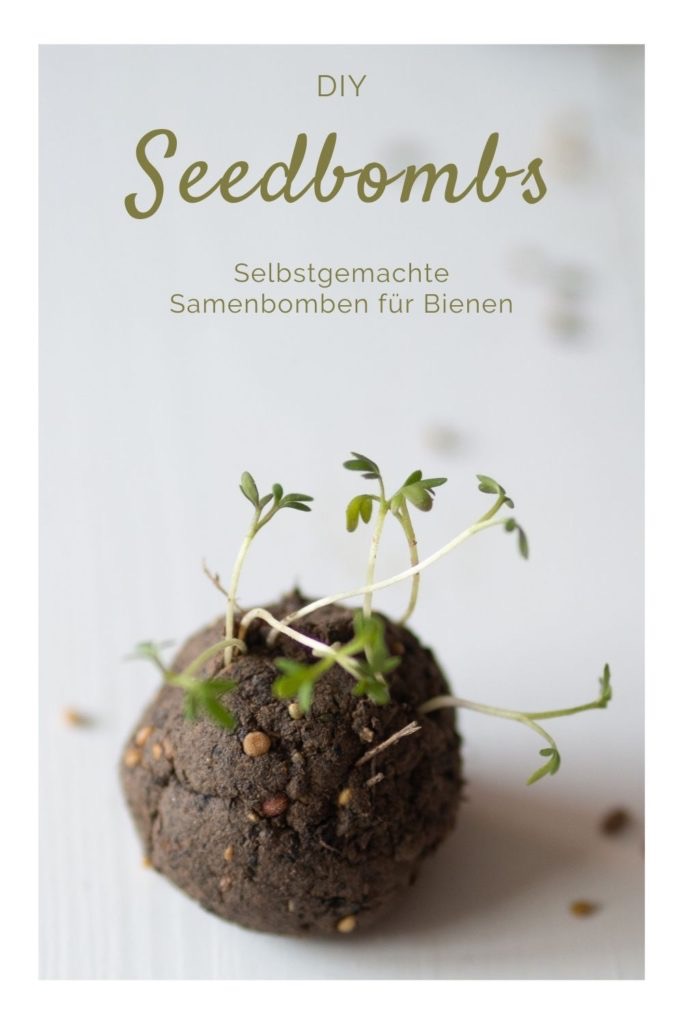
DIY garden gifts are always a hit and add a personal touch that store-bought items can’t match. One creative idea is making seed bombs. These eco-friendly gifts can be easily made using native wildflower seeds, clay, and compost. They’re perfect for spreading beauty in any garden or gifting to friends. Another fantastic DIY project is upcycled garden markers. You can make personalized markers from old spoons, pieces of wood, or smooth stones. Paint them with plant names or fun designs for a rustic touch.

For a more elaborate DIY project, consider crafting a homemade potting station. You can repurpose old furniture, like an unused table or cabinet, to create a practical work space for repotting plants or storing tools. Add hooks for hanging small tools, shelves for storing pots, or drawers for organizing gardening supplies. It’s a functional and thoughtful gift that any gardener will appreciate. You could also put together a seed starting kit, complete with DIY seed trays made from egg cartons or cardboard boxes, some organic seeds, and a small watering can.
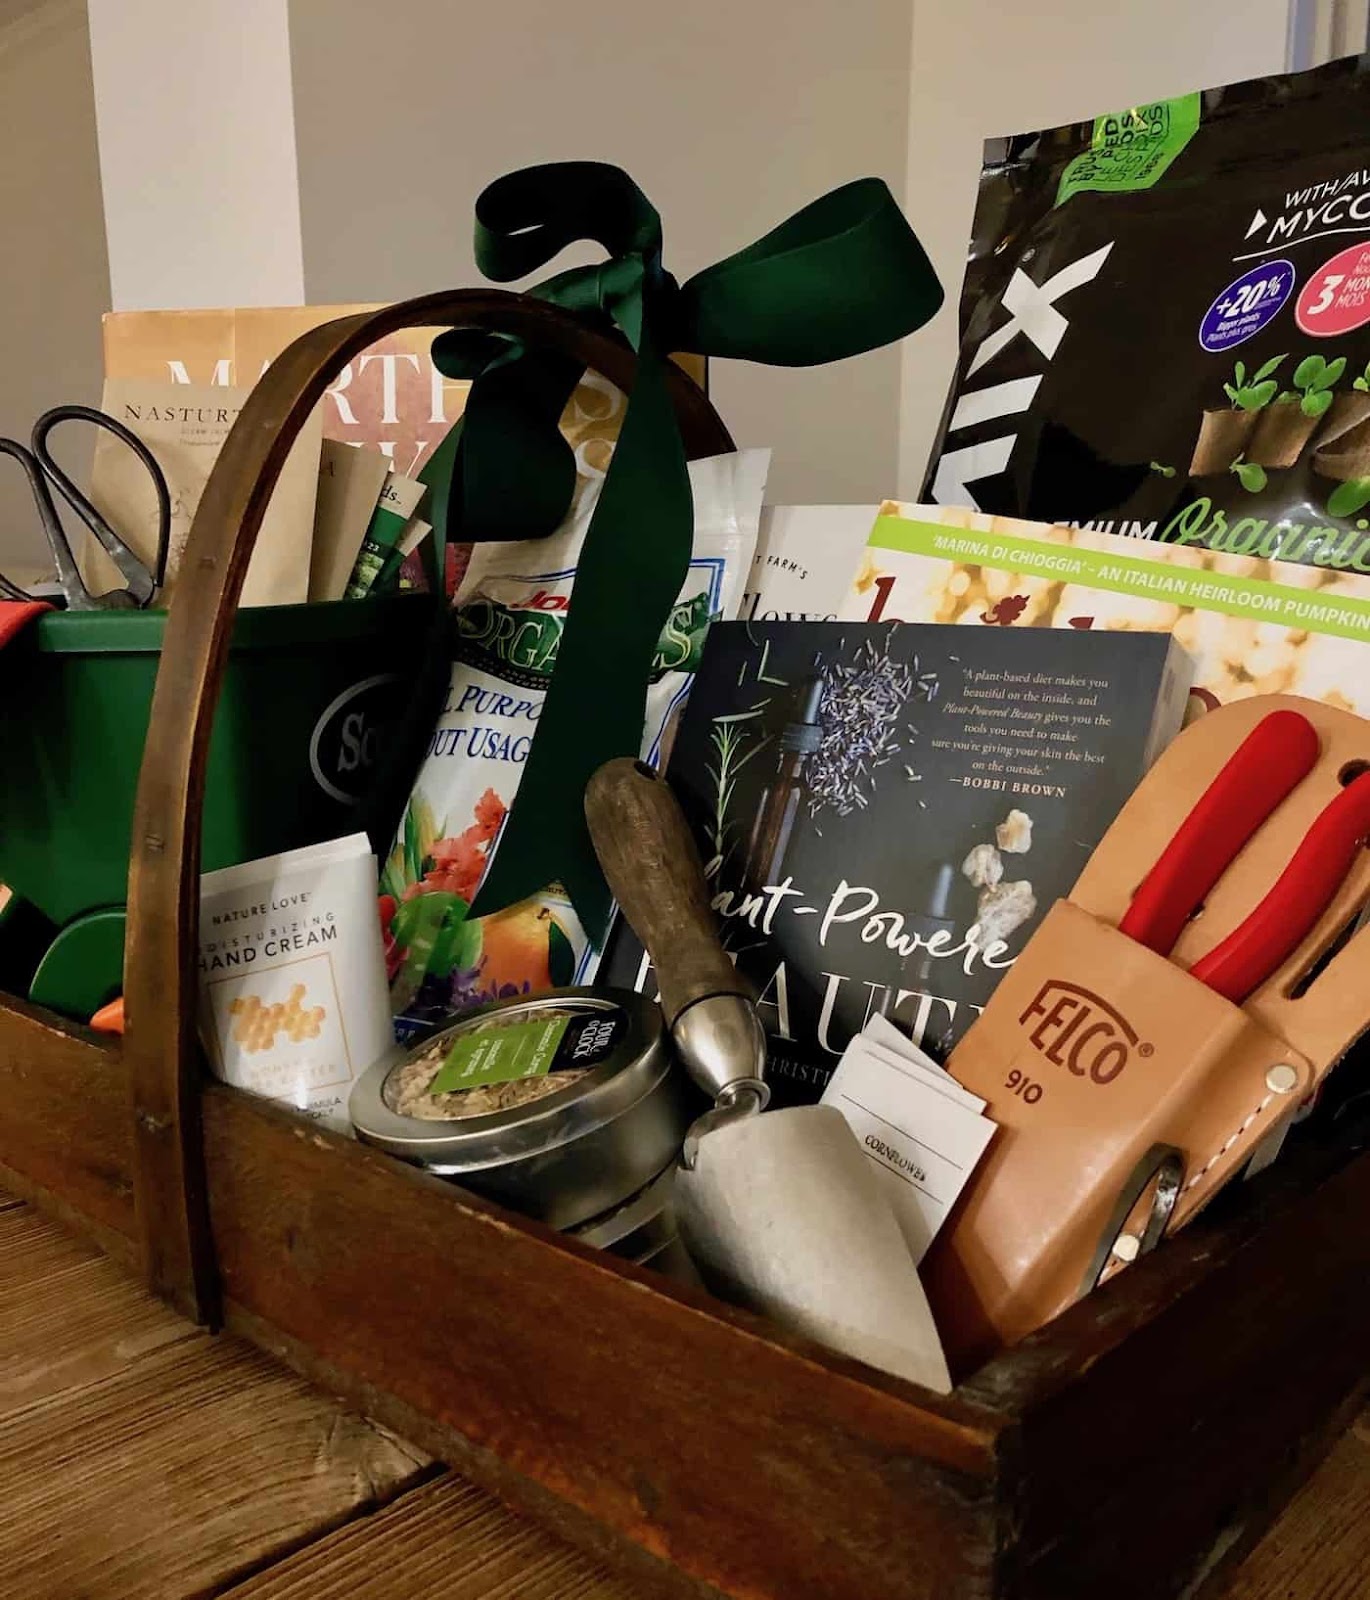
Another meaningful DIY project is creating a garden-themed gift basket. Fill the basket with an assortment of gardening essentials and homemade treasures. Include items like packets of seeds, gardening gloves, small hand tools, and a couple of gardening books for inspiration. Add in some herb-infused oils, dried flowers, plant-based soaps, or even a jar of homemade jam made from last season’s harvest. You could also toss in a hand-crafted bird feeder, a cozy for a favorite plant, or some garden markers. This thoughtful collection brings a touch of the garden indoors, offering warmth and nature's beauty during the colder months.

Whether it’s practical tools, indoor gardening solutions, or personalized DIY creations, these gift ideas will delight any gardener and help them stay connected to their passion, even through Idaho’s cold winter months. The right gift can inspire new gardening projects and prepare them for the next growing season.

Friday, December 5, 2025

Indoor Herbs for Winter Cooking

If you love using fresh herbs in your kitchen year-round, consider growing your own herbs inside your home. Some of the best winter meals are made with the snip of a fresh branch grown in your windowsill!

For an indoor culinary garden, consider growing garlic, chives, basil, oregano, parsley, sage, rosemary or thyme. If you want to grow a tea garden you may want to plant spearmint, peppermint, lemon balm, lemon verbena, chamomile or catnip.

To start your indoor herbs, you can either buy pre-started herbs, or you can start from seeds. Either way works, but if you prefer more unique herbs, then starting from seed may be your only option.

If you decide to grow herbs that have already been started, then make sure the container has good drainage and is large enough for the plant to grow. If the container is too small, simply choose a different pot and transplant it. Be sure to water the plants regularly. 

Light is very important, so place your herbs in a sunny location that receives at least half a day of sun. New information about indoor lighting has made it easier for the home gardeners. Those labeled "cool white" work well. "Warm white" and "Daylight" may also work. Lamps tailored to a plant's needs are also available. 

A bonus to indoor herb gardens is that they can be moved outside after the threat of frost passes. Simply place your herb pots outdoors and enjoy fresh herbs all year round.


For more information on starting seeds the University of Idaho Extension provides this excellent resource: Start Seeds Indoor With Success 

Sunday, October 26, 2025

Pumpkin Rescue: Creative Ways to Reuse or Recycle!


As Halloween and fall come to a close, many of us are left with an abundance of leftover pumpkins and seasonal decorations. Rather than
throwing them away, consider innovative ways to preserve what you can eat and give the rest a new purpose. Here are some clever ideas that not only help reduce waste but also dispel common pumpkin myths along the way.

Preserve What You Can Eat

One of the most rewarding ways to utilize your pumpkins is by preserving them for future meals. Fresh pumpkin can be roasted, pureed, or made into soups, pies, and other delicious dishes. If you have leftover pumpkin flesh, consider freezing it in portions. Just scoop out the insides, blend, and store in airtight containers or freezer bags.

However, be cautious: only use pumpkins that are fresh and free from mold or decay. Moldy or unsafe pumpkins can pose health risks, so ensure that any pumpkin you plan to eat is in good condition before using it.


Composting Fun

If you have leftover pumpkins that are no longer fit for consumption, composting is an excellent option. Pumpkins are biodegradable and rich in nutrients that can enhance your garden soil. Simply chop them into smaller pieces to expedite the composting process. Myth alert: Many people worry that adding pumpkins to compost will attract pests. In reality, balancing your compost with greens and browns can help prevent pest issues while creating nutrient-rich soil.

Feed Our Animal Friends

Consider donating your pumpkins to local farms or animal sanctuaries. Pigs, goats, and chickens relish pumpkin as a tasty and nutritious treat. Myth buster: There’s a common misconception that feeding animals pumpkin will make them sick. However, as long as the pumpkins are fresh and mold-free, they can be a healthy snack for livestock.


Get Crafty

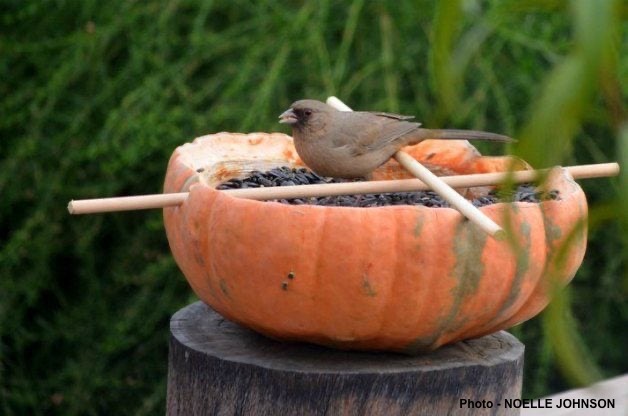
Before you toss out your seasonal decor, think about how you can upcycle those pumpkins! Transform them into charming planters, candle holders, or fun bird feeders. Hollow out the pumpkins, carve a design, and fill them with soil and seeds. Myth-buster: Some believe that you can’t plant pumpkin seeds after Halloween. Not true! You can clean and dry the seeds from your pumpkins and plant them next year.

Recycling

Boise residents are encouraged to place their pumpkins in their compost carts this season. The city’s Compost Facility appreciates pumpkins during this time, as the extra moisture and nutrients help break down leaves. Check with your local waste management or agricultural offices for recycling efforts available in your area.
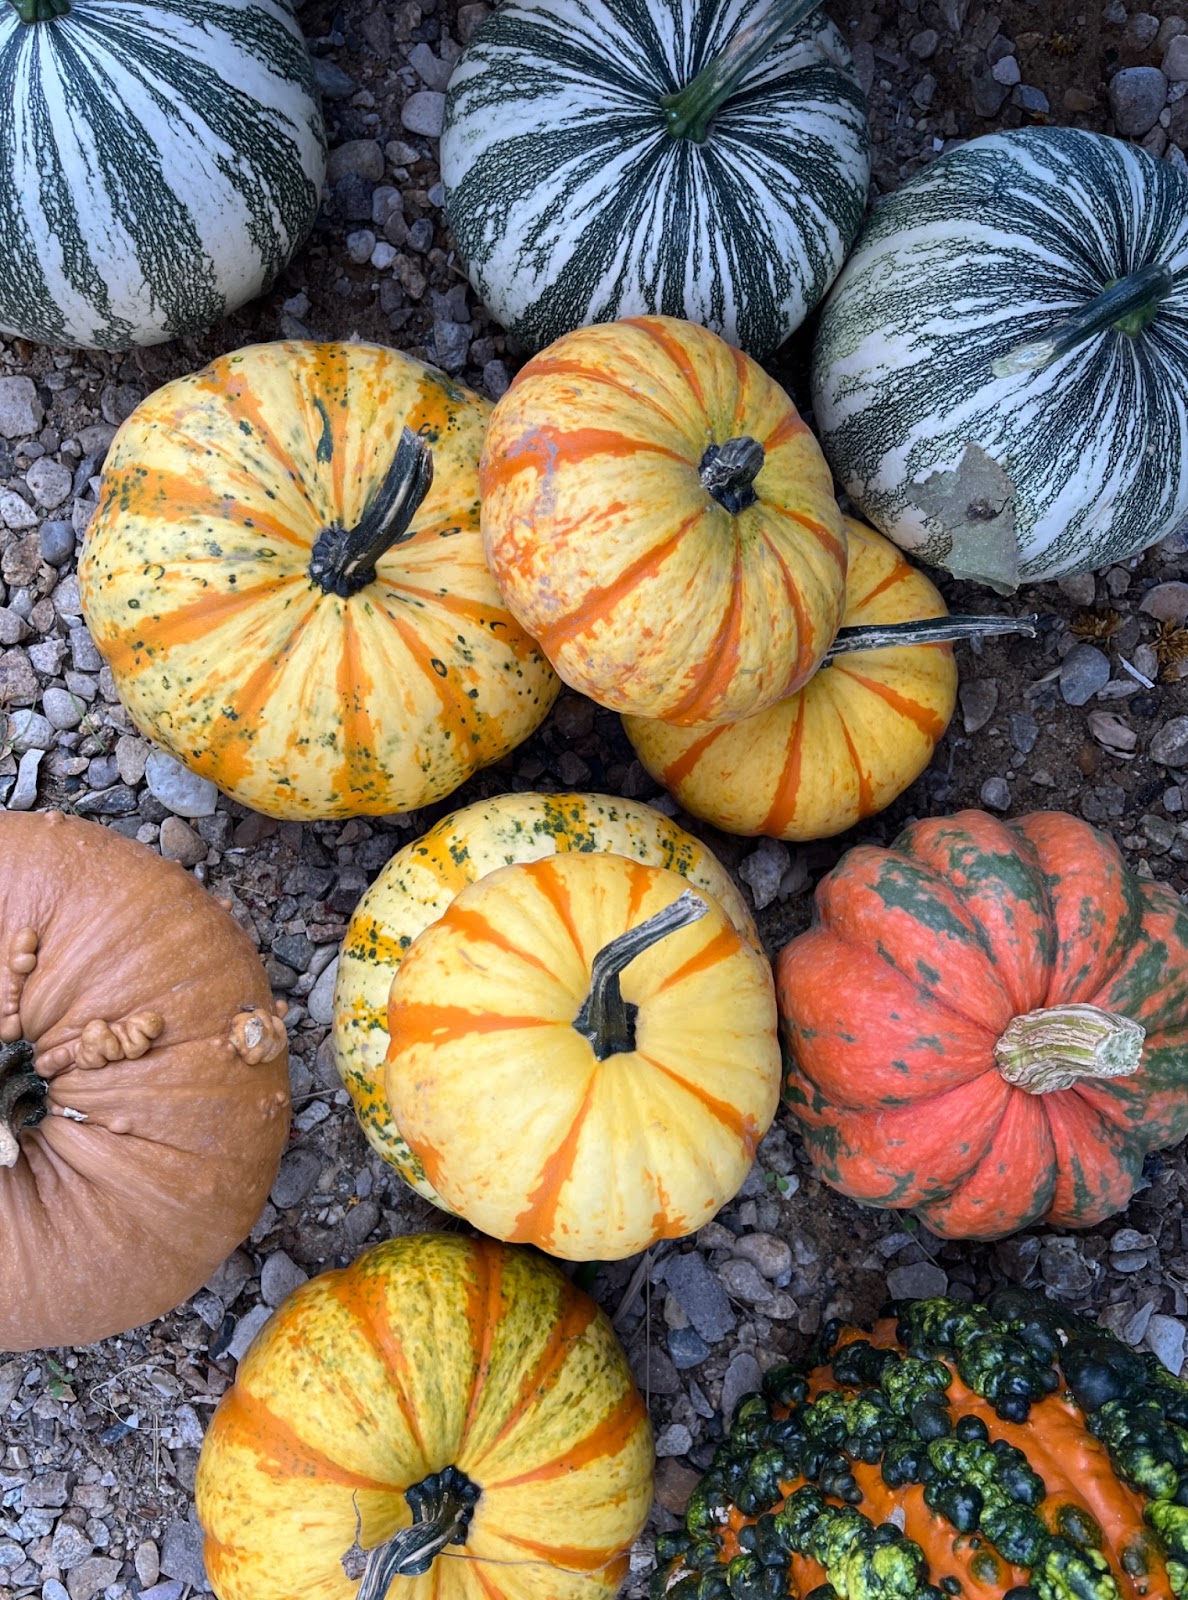
Natural Decorations

To maintain the cozy fall ambiance, consider using natural decorations like dried flowers or pinecones that can also be composted later. These elements enhance your home’s warmth without adding to landfill waste. 

By embracing these creative solutions for leftover pumpkins and fall decor, you not only reduce waste but also enhance your culinary and gardening experiences. So, before you toss that pumpkin, remember: every gourd deserves a second chance!