Showing posts with label Composting. Show all posts

Sunday, October 26, 2025

Pumpkin Rescue: Creative Ways to Reuse or Recycle!


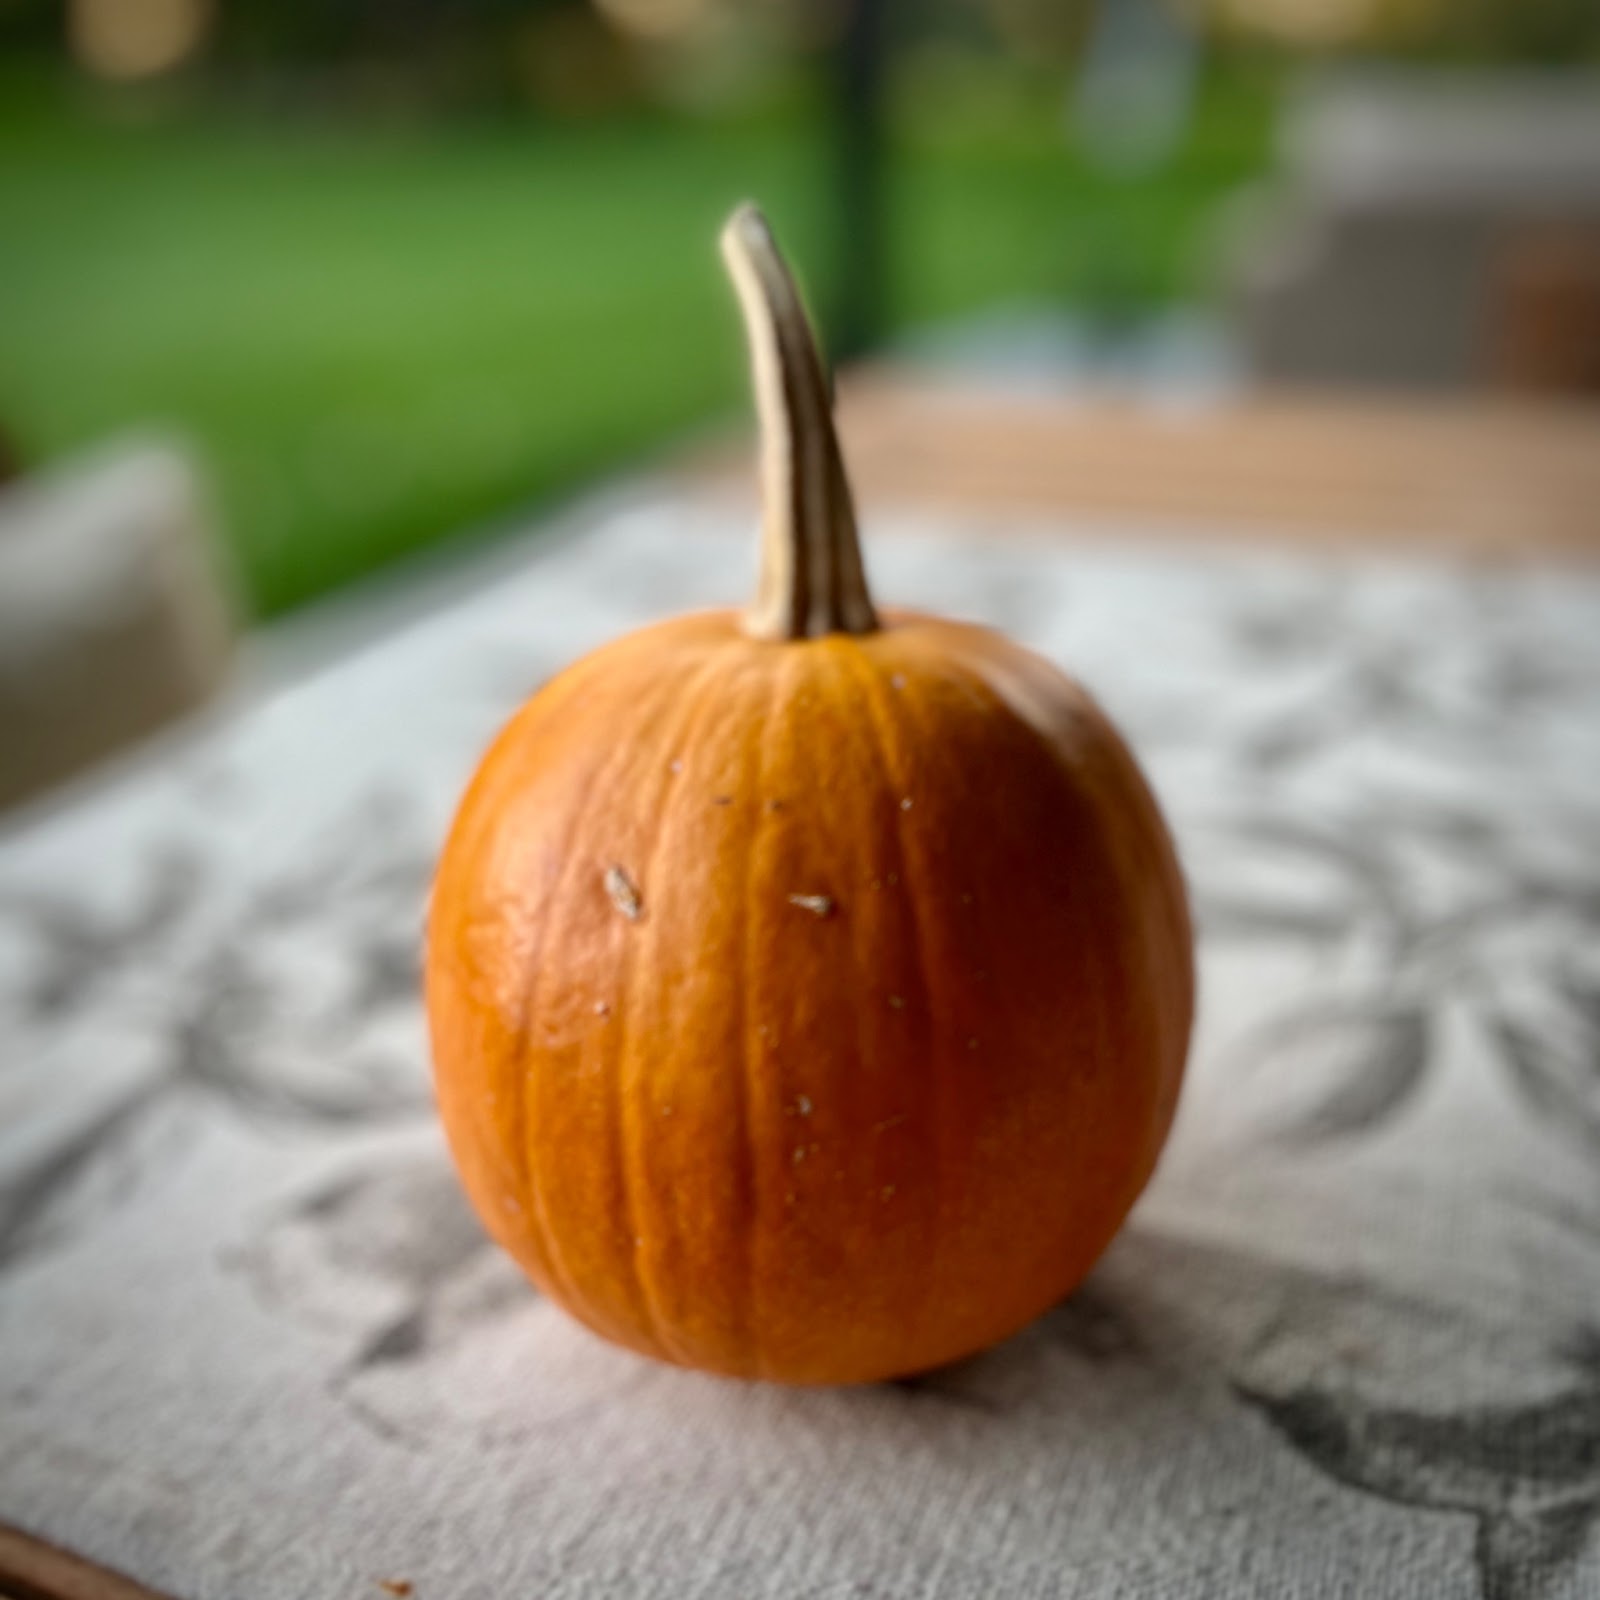
As Halloween and fall come to a close, many of us are left with an abundance of leftover pumpkins and seasonal decorations. Rather than
throwing them away, consider innovative ways to preserve what you can eat and give the rest a new purpose. Here are some clever ideas that not only help reduce waste but also dispel common pumpkin myths along the way.

Preserve What You Can Eat

One of the most rewarding ways to utilize your pumpkins is by preserving them for future meals. Fresh pumpkin can be roasted, pureed, or made into soups, pies, and other delicious dishes. If you have leftover pumpkin flesh, consider freezing it in portions. Just scoop out the insides, blend, and store in airtight containers or freezer bags.

However, be cautious: only use pumpkins that are fresh and free from mold or decay. Moldy or unsafe pumpkins can pose health risks, so ensure that any pumpkin you plan to eat is in good condition before using it.


Composting Fun
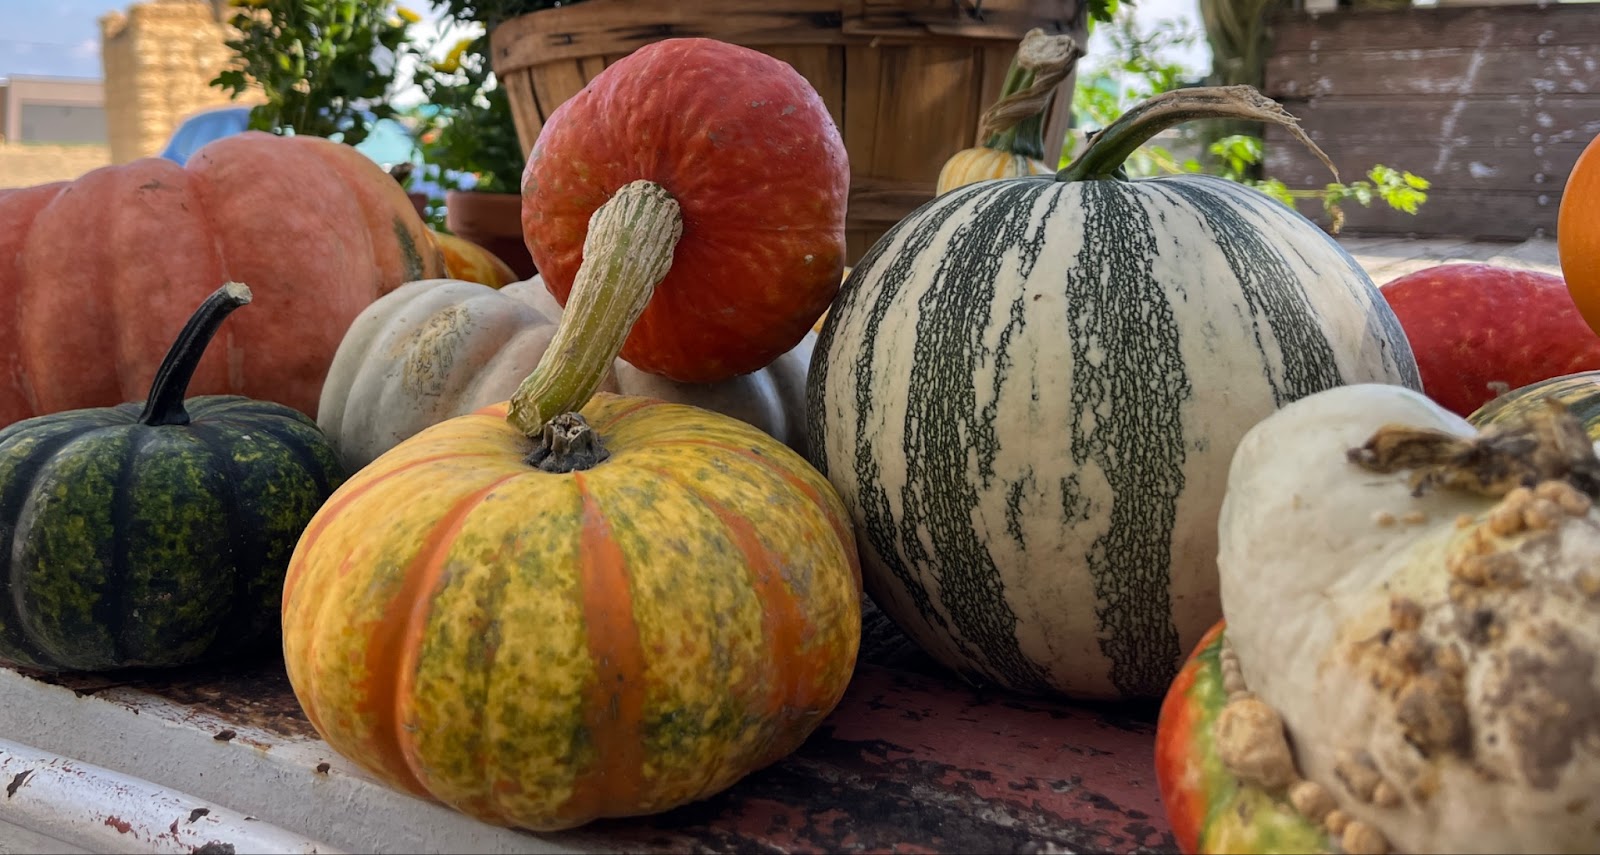
If you have leftover pumpkins that are no longer fit for consumption, composting is an excellent option. Pumpkins are biodegradable and rich in nutrients that can enhance your garden soil. Simply chop them into smaller pieces to expedite the composting process. Myth alert: Many people worry that adding pumpkins to compost will attract pests. In reality, balancing your compost with greens and browns can help prevent pest issues while creating nutrient-rich soil.

Feed Our Animal Friends

Consider donating your pumpkins to local farms or animal sanctuaries. Pigs, goats, and chickens relish pumpkin as a tasty and nutritious treat. Myth buster: There’s a common misconception that feeding animals pumpkin will make them sick. However, as long as the pumpkins are fresh and mold-free, they can be a healthy snack for livestock.


Get Crafty

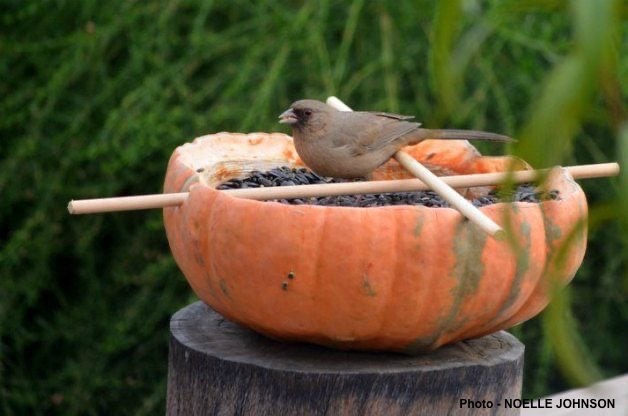
Before you toss out your seasonal decor, think about how you can upcycle those pumpkins! Transform them into charming planters, candle holders, or fun bird feeders. Hollow out the pumpkins, carve a design, and fill them with soil and seeds. Myth-buster: Some believe that you can’t plant pumpkin seeds after Halloween. Not true! You can clean and dry the seeds from your pumpkins and plant them next year.
Recycling

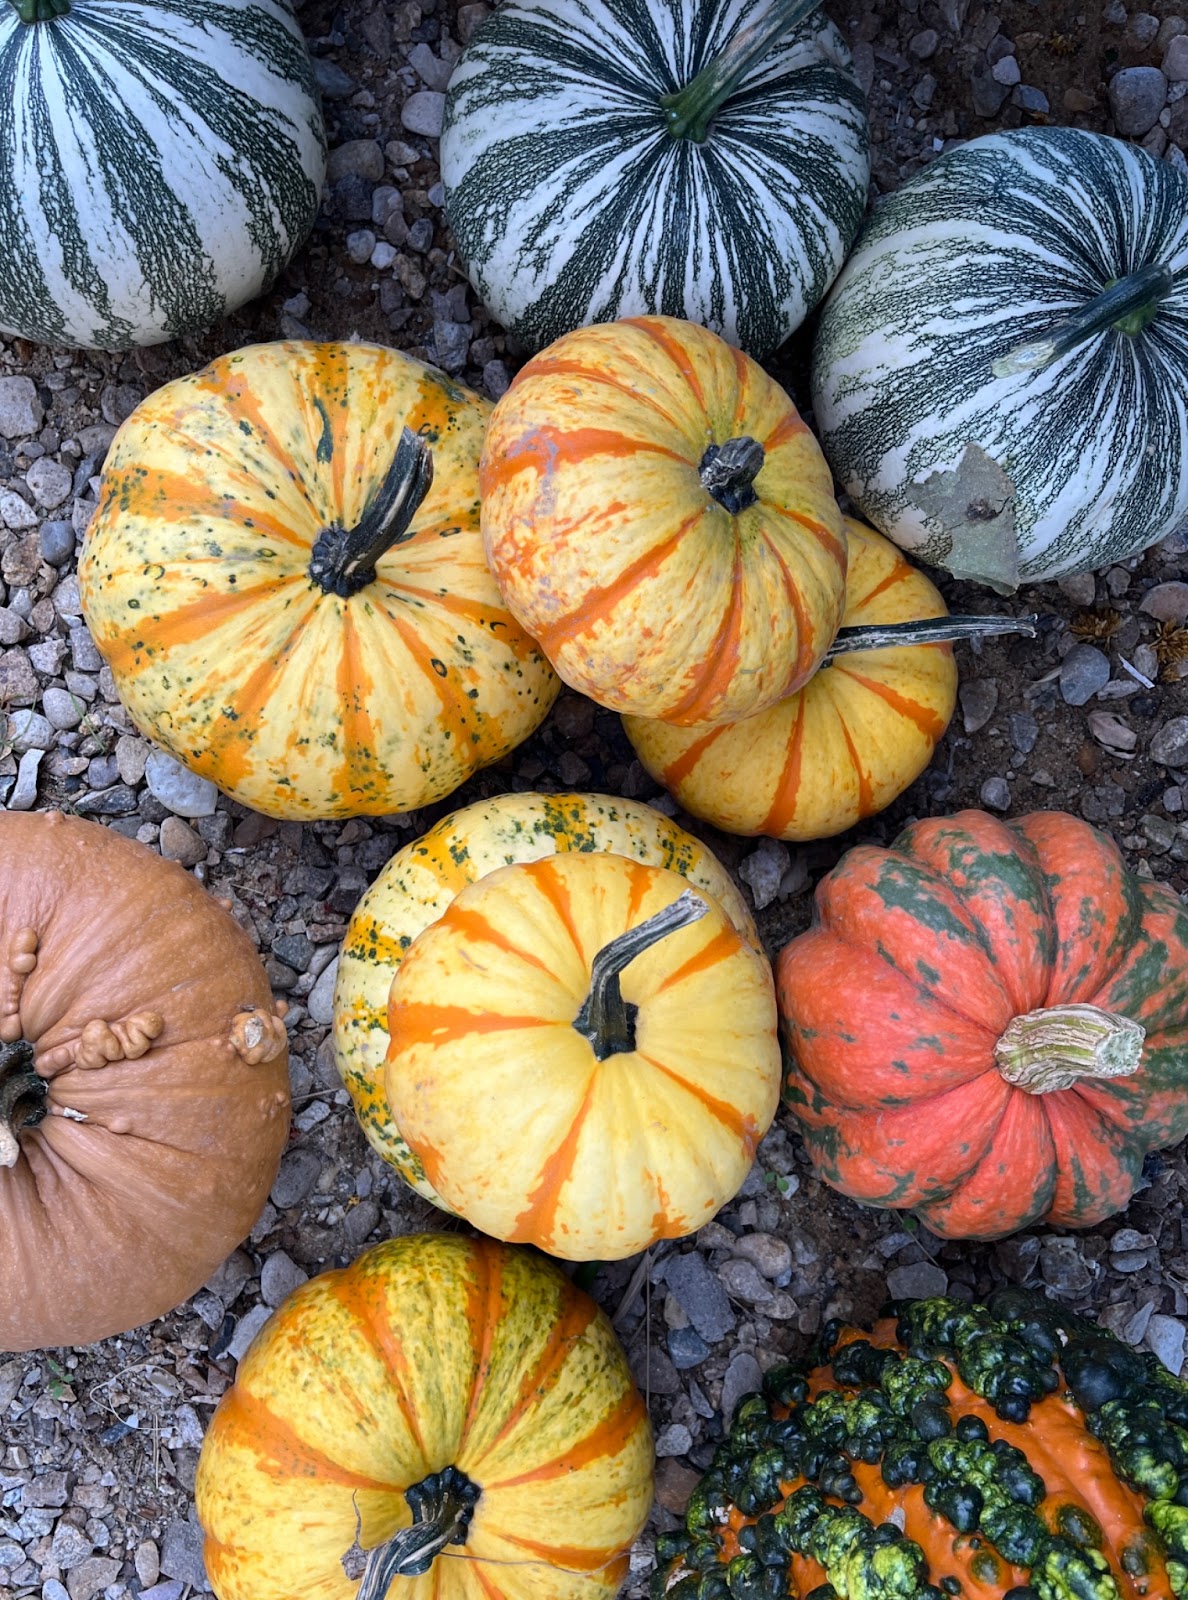
Boise residents are encouraged to place their pumpkins in their compost carts this season. The city’s Compost Facility appreciates pumpkins during this time, as the extra moisture and nutrients help break down leaves. Check with your local waste management or agricultural offices for recycling efforts available in your area.

Natural Decorations

To maintain the cozy fall ambiance, consider using natural decorations like dried flowers or pinecones that can also be composted later. These elements enhance your home’s warmth without adding to landfill waste. 

By embracing these creative solutions for leftover pumpkins and fall decor, you not only reduce waste but also enhance your culinary and gardening experiences. So, before you toss that pumpkin, remember: every gourd deserves a second chance!

Saturday, September 28, 2024

Almost Time to Put Your Garden to Bed for the Winter

"Every gardener knows that under the cloak of 
winter  lies a miracle  ... a seed waiting to sprout, a bulb opening to the light, a bud straining to unfurl.  And the anticipation nurtures our dream."                      -  Barbara Winkler

Some of you, at the end of the gardening season, are so ready to be done and put your tools away.  However, placing your garden to rest for the winter is planting the best seed for success in the next year.  Help your garden thrive, not just survive, with these few tips to get ready for next spring...  

Clean Up – Leave seeded flower stems for winter food and places for native bees to overwinter. If it’s healthy, not only are you allowing all of the remaining energy left in the plant to feed the roots, but you are also providing valuable habitat for many of our native pollinators. They will use these structures to overwinter, perhaps having already laid their larvae within the stems. Structures from grasses and other hollow-stemmed perennials are especially valuable. Old vines provide places for insects and diseases to hide. Throw away plants that are suspect for bugs and disease to avoid passing them on to the next season.  Designate an area for a compost pile if you don’t already have one.  Add what you can to the compost pile or leave as mulch on the soil.  

Soil Testing – This is a great time to get your soil analyzed because if you find out now that your soil needs amended, you can apply it in the fall so that it has all winter to work its way into the soil.  

Crimson Clover Cover Crop
Cover Crop – In some areas of your garden you might consider planting a cover crop.  They improve soil fertility, structure, water retention, and suppress annual winter weeds.  

Leaves – Rake fallen leaves into areas of the garden that do not have a cover crop.  Leaves can be used as a mulch in vegetable gardens, flower beds, and around shrubs and trees. Leaves rot very quickly and you will be surprised how many you can work into your soil.  Leaf mulch encourages beneficial earthworms, soil microbes, and overwintering bumblebees.  They are also a great compost addition. 
Tools – Clean up your tools before storing them.  A wire brush can help get the dirt off and oil can maintain the metal parts to keep from rusting.  

Garden Journaling – Keep adding notes to your journal so you can keep track of your successes or what you could have done better, what you might want to try again or simply remove from the list. 

Tend your crops in your cold frames - carrots, lettuce, spinach, etc. Easy Peasy! 

Now relax, close your eyes, dream about spring, and await those seed and gardening catalogs!  

Sunday, September 27, 2020

So, you’ve thought about composting?

Good for you! Composting is a great way to Reduce, Reuse &  Recycle. Food scraps and yard waste together currently make up more than 28 percent of what we throw away.  Composting enriches soil, helping retain moisture and suppress plant diseases and pests.  In addition composting reduces the need for chemical fertilizers and encourages the production of beneficial bacteria and fungi that break down organic matter to create humus, a rich nutrient-filled material.  Check out this website to see what the EPA says about at composting at home along with several helpful links.

Has the idea of composting and compost bins been a bit overwhelming? Do you have questions like “Will it be difficult or expensive to set up this operation?”  “What exactly should I put in my compost piles?”  “Is this project going to be labor intensive?” Do you have other questions?  Well just as we approach other aspects in our lives, if we break down the project into smaller parts the task becomes more manageable.

First thing’s first. Put your compost pile close to where you will use it. Away from drying winds, but in partial sunlight to help heat the pile. You should choose a place where water is available and adequate drainage.

 What types of materials do you need to set up composting bins? 

Well you can set your operation up as fancy or as simple as you like. An area that is about 3’x3’x3’ is a great start. You may use inexpensive materials such as wire mesh, old pallets and trash cans or buy a composting system from your local or on line retailers.  Here are two photos for examples. Consider buying a kitchen composting bin for kitchen scraps, paper towels, coffee grounds, egg shells and other things for your convenience.


What kind of material does your compost pile need?  Here is a list of safe materials.


Materials NOT to add.


Ideally, a compost pile should be made up in layers.  

The first layer should be coarse plant material to allow oxygen to circulate up through the pile. 

The second layer should be 6 to 10 inches of finer plant material such as leaves, grass clippings, and kitchen scraps.

The third layer should be a 1 inch layer of soil or manure. Consider adding 1/3 cup of nitrogen in the form of ammonium nitrate, blood meal, or bone meal for every 25 square feet of compost pile material. This will help the breakdown of plant material. Repeat layers as necessary. 

If you are interested in adding worms to your composing regimen check out this interesting article on “Vermicomposting” 

Next – ADD WATER.  Keep the pile moist but not waterlogged (think wet sponge).  You may need to add water in the summertime. As microorganisms begin to break down the organic material, heat is generated. Within a few days the compost pile should reach an internal temperature of 90 to 160 degrees F. You may want to cover your pile with a tarp to help control moisture and temperature.

Turn the pile over occasionally (every 2-4 weeks) this aerates the material for more rapid decomposition.

Composting is a process of several months to a year depending on size, conditions and maintenance of your pile.  The process is well worth it. 

For more information on basic backyard composting there are several university websites that offer great information, tips, tricks and thoughtful solutions to backyard composting.  Here is a link to a guidebook titled “Composting at Home.”