Showing posts with label 2CMaster Gardeners. Show all posts

Friday, May 16, 2025

Welcome Wildlife with These Attractive Bushes & Trees!

We all feel it—the desire to try harder to coexist with nature. When choosing a new tree for our landscape, we want something that will provide us with shade and beauty plus provide nourishment for our birds and pollinators. We are highlighting three attractive trees that grow well in the Treasure Valley. Each of these deciduous trees are small enough to fit in most yards. They boast beautiful spring blossoms, colorful fall foliage, wonderful fragrance, and bright, edible berries. 

Saskatoon Serviceberry (Amelanchier alnifolia) is a delightful landscape tree, and a favorite among birders in the Treasure Valley. Birds of all kinds flock to the Serviceberry in the summer for the sweet, juicy, red fruit. The berries are edible for humans too, tasting somewhat like blueberries! Billowing white 
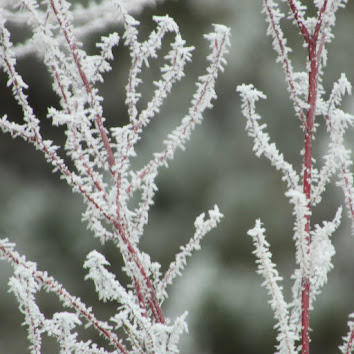
blooms attract bees and butterflies in the spring. When fall arrives, the foliage turns a beautiful, deep red. Hardy in zones 4-9, the Serviceberry tolerates most soil types once established It grows quickly up to 25 feet and prefers full sun.
Choose the Chokecherry (Prunus virginiana ‘Canada Red') tree or shrub if you're looking for something showy that will grow in rather poor conditions. This hardy little 20 to 25-foot tree tolerates heat, cold, wind, and poor soil in zones 2-10. Even though it asks for little, it will grow beautiful clusters of long, white flowers in the spring, attracting butterflies and other pollinators. Each new flush of bright green leaves turns reddish purple by mid-summer, providing striking color throughout the growing season. As the name implies, chokecherries taste bitter to humans when raw, but the fruit can be used to make wines, syrups, and jelly. You’ll have to act fast, though, 
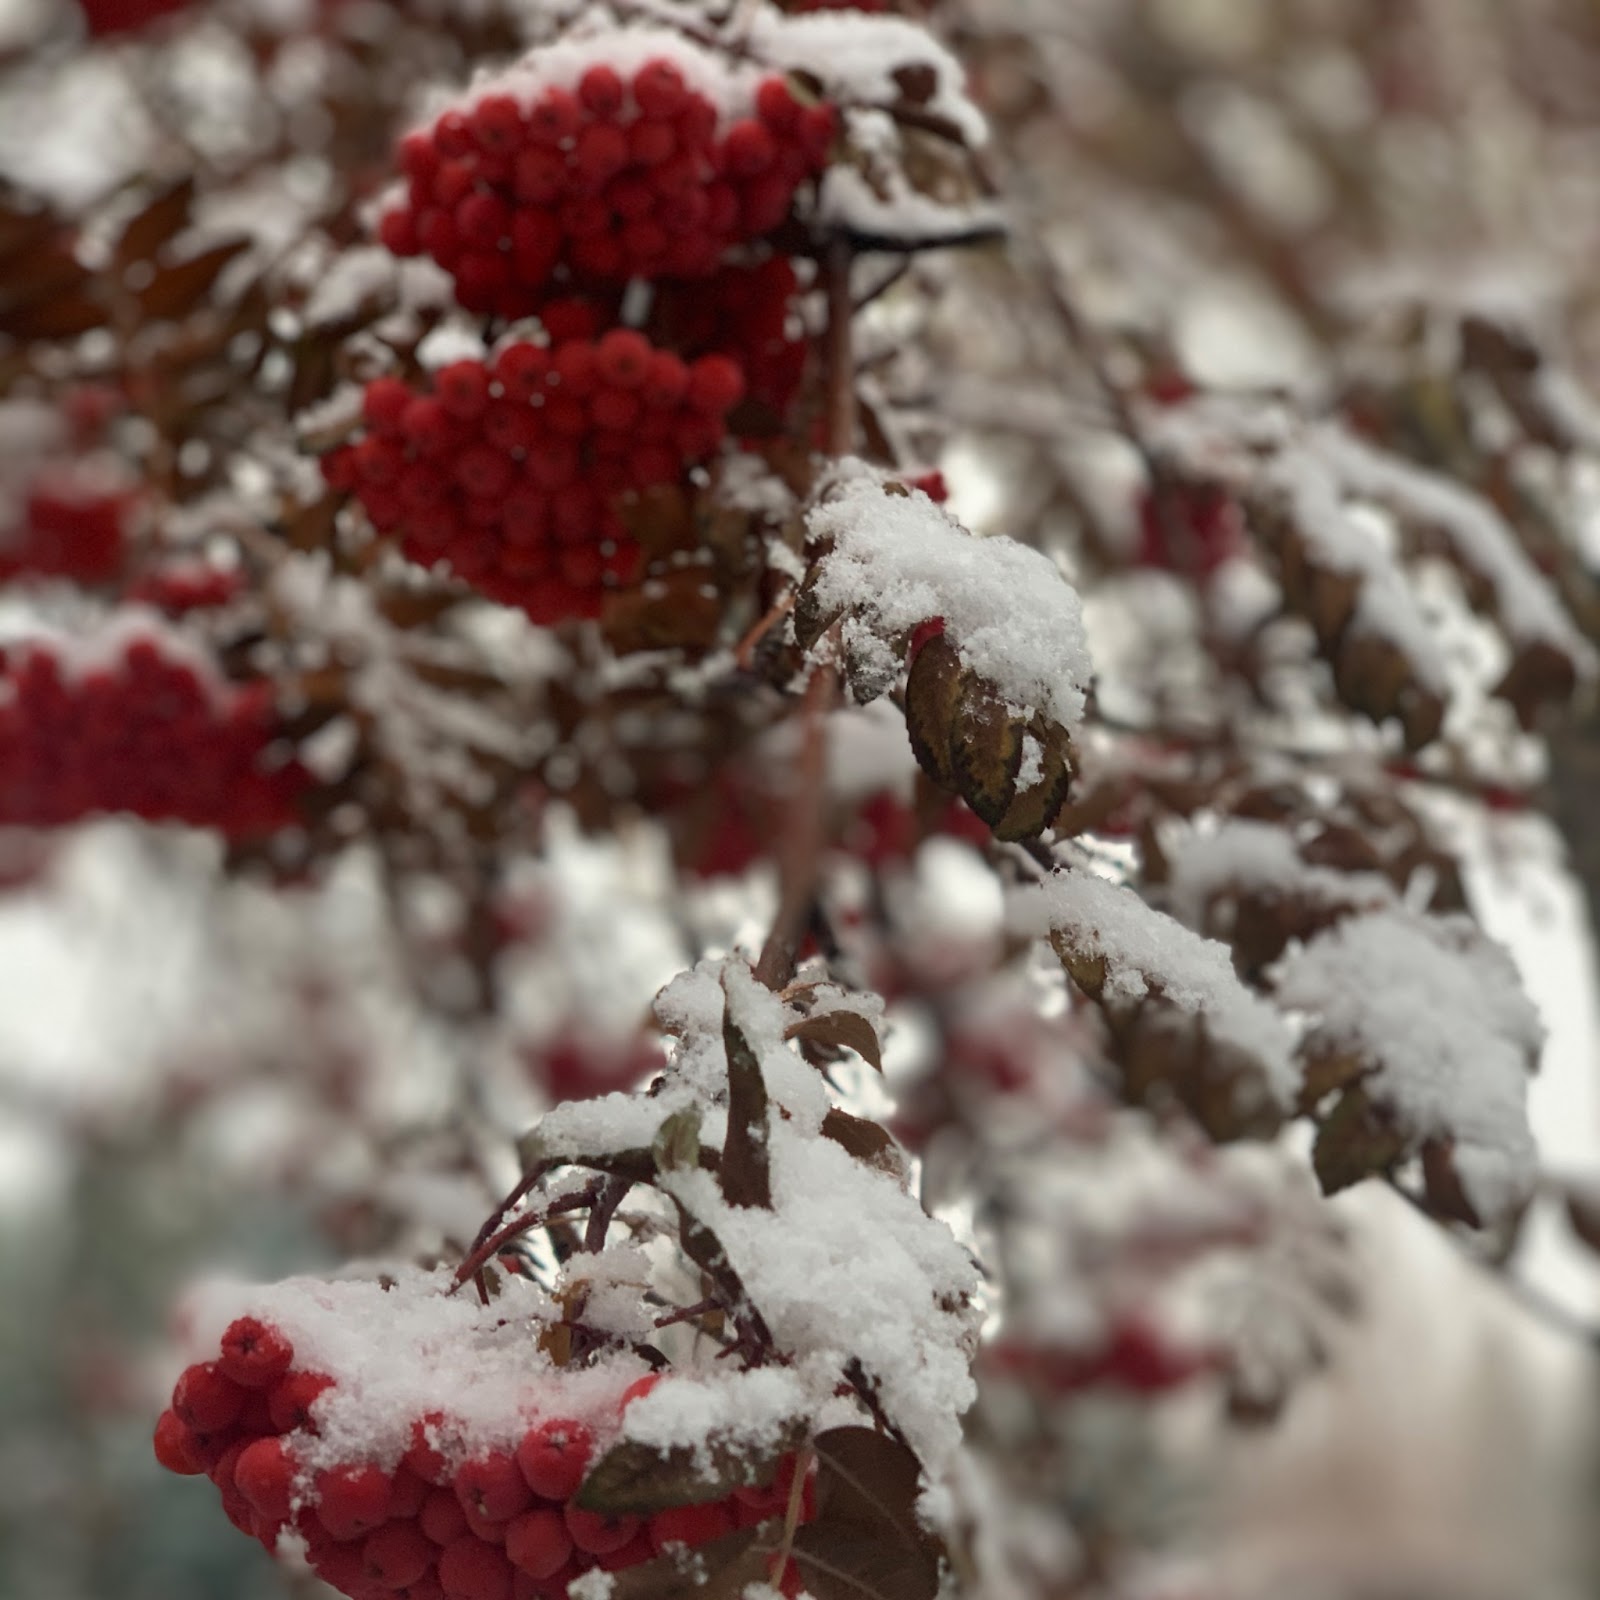
if you want some for yourself! Birds love to feast on this important and nutritious food source. The leaves and berry seeds are toxic to humans and animals, so do not plant this tree if you have pets that might ingest the seeds or foliage.
A classic in Idaho landscapes, the Crabapple(Malus spp) never fails to delight our winter-weary eyes with its masses of pink flowers in early spring. This outstanding tree thrives in full sun and acidic soil but is quite adaptable to other conditions and is hardy to zone 4. The Malus ‘Indian Summer’ 
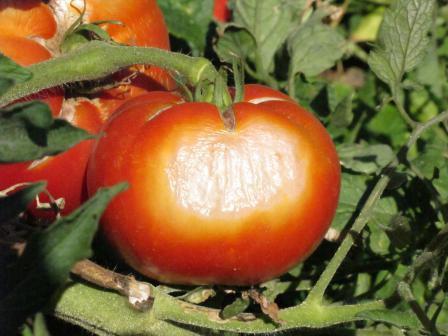
variety has excellent resistance to disease. Crabapples trees are a wildlife magnet. The bright-red fruit remains on the tree from fall through winter as a welcome, nutritious treat.
Martin Luther once said, “Even if I knew that tomorrow the world would go to pieces, I would still plant my apple tree.” 
There is never a better time than now to choose a tree and plant it. Even a small yard can attract birds, butterflies, and helpful insects, benefiting us all for years to come.

Friday, December 13, 2024

A Gardener’s Christmas


´Twas the night before Christmas,
And all through the yard
The branches were bare
And the ground frozen hard;

The roses were dormant
And mulched all around
To protect them from damage
If frost heaves the ground;

The perennials were nestled
All snug in their beds,
While visions of fertilizer
Danced in their heads;

The newly planted shrubs
Had been soaked by a hose
To settle their roots
For a long winters doze;

And out on the lawn
The new fallen snow
Protected the roots
Of the grasses below;

When, what to my wondering
Eyes should appear,
But a sleigh full of gifts
Of gardening gear;

St. Nick was the driver
A jolly old elf,
And he winked as he said,
“Im a gardener myself.

Ive brought new seeds
And light systems, too,
Give them a try
And see how they do.

To eliminate weeding,
I brought bags of mulch
To attract the pollinators,
I have flowers for best results.

To add to your joy,
Ive plenty of herbs
And ornamental grasses
For your hell strip curb.

For seed planting days,
Ive a trowel and dibble.
And a roll of wire mesh,
If the rabbits should nibble.

I have the latest books
Plus some gadgets youll love;
Plant stakes and frames,
And waterproof gloves.

Here are sharp shears
And a new compost pit
And, for pH detecting,
A soil testing kit.

With these colorful flagstones,
Lay a new garden path.
For the view from your window,
A bird feeder and bath.

And last but not least,
Some well-rotted manure.
A green garden year-round,
These gifts will ensure.

Then, jolly St. Nick
Having emptied his load,
Jumped in the seat
And took to the road.

And I heard him exclaim
Through the nights quiet hum,
“Merry Christmas to all,
And to all a green thumb!”


I read an old version of A Gardeners Christmas in the Garden Club of Virginias December Journal.  

the author is unknown so I took a few liberties. Merry Christmas! 

Saturday, October 12, 2024

Frost, Freeze, and Hard Freeze: What Every Gardener Should Know

As the chill of autumn settles in, it’s crucial to understand the differences between frost, freeze, and hard freeze to protect your precious plants. Here’s a quick breakdown:

Frost: The Sneaky Chill - Frost appears when water vapor in the air deposits as ice on solid surfaces. This typically happens when temperatures dip between 33°F and 36°F, especially with light winds. While frost may only cause minor damage, it’s important to note that if the air is dry or the winds are strong, frost can be unpredictable.

Freeze: The Serious Threat - A freeze occurs when temperatures drop to 32°F or lower. This can lead to significant damage for many unprotected plants, especially if the freeze lingers for several hours.

Hard Freeze: The Plant Killer - When temperatures plunge to 28°F or lower for a few hours, we experience a hard freeze. Unfortunately, this often means the end for many plants and seasonal vegetation.

Expert Insight: Mark Longstroth from Michigan State University Extension explains it clearly: “A frost is when you see a visible layer of ice, while a freeze is simply when temperatures drop below freezing.” Sometimes, you might even spot frost while the air remains above freezing due to colder surfaces, like your car or roof.

Special Cases

Black Frost: This occurs when temperatures drop low enough to freeze plants without visible frost. Frozen plants can take on a sad, water-soaked black appearance as they perish.

Wind Freeze: A cold air mass can sweep in, causing temperatures to plummet, even with winds at play.

Protect Your Plants! Want to give your garden the best chance to survive the upcoming frosty nights? Here are some simple steps you can take:

Cover Up: Use frost fabric, sheets, or plastic to shield your plants.

Water Wisely: Give your plants a drink with warm water to help them stay resilient.

Trickle Effect: Let water run at a gentle trickle for a few days to maintain moisture—just don’t overdo it!

Wrap Young Trees: Wrapping young tree trunks helps insulate them against cold temperatures, preventing freeze damage and maintaining healthier bark during harsh winter conditions.

Pots: To overwinter potted plants, move them indoors to a cool, bright location or use a cold frame for protection. Insulate pots with mulch or wraps, group them together for a microclimate, and remember to adjust your watering schedule to prevent rot during the colder months.

For specific timing, check the Idaho Average First Frost Date Map for accurate information tailored to your county.

By taking these steps, you can help your plants brave the chilly weather and thrive until spring returns. Protect your green friends, and enjoy a flourishing garden year-round!

Friday, July 19, 2024

Common Corn Smut, a Disease or Delicacy?

If you’ve ever shucked sweet corn and found gray, swollen growths within the husk, you've encountered corn smut. This fungus, *Ustilago maydis*, thrives in young, developing corn during warm, dry weather. The spores penetrate and germinate with the help of moisture, causing the corn kernels to swell and form galls. These can appear white, gray, black, or brown. Corn injuries can increase susceptibility, and annual yield loss ranges from 2% to 10%, potentially higher in localized areas.
Many farmers and consumers dread the sight of smut, but others see massive potential. In Mexico, corn smut, known as huitlacoche, is considered a delicacy. This "Mexican truffle" can fetch higher prices than the corn itself. The ideal specimens are immature galls, harvested about a week before peak corn season. As Rick Bayless, chef of Topolobampo in Chicago, suggests, "Pick it when it feels like a pear starting to ripen." Popular huitlacoche dishes include tamales, quesadillas, and even ice cream.

Depending on your perspective, you’ll either want to prevent or encourage its growth. Preventive measures include planting spore-resistant varieties and balancing the soil. Fungicides have limited effectiveness. Ancient Aztecs would scratch stalks at soil level to promote smut growth, and modern growers experiment with inoculation by isolating the fungus and directly contacting the corn.

Common corn smut can be both a disease and a delicacy, depending on how you look at it. Whether you're looking to eliminate it from your crops or savor it in your next meal, understanding this unique fungus is key. So next time you see those swollen kernels, remember: one person's crop disease is another's culinary delight.


Photo Credit - Alan Bergo

Tuesday, June 4, 2024

Why Mulch? Conserve Water and Reduce Weeding

There are so many benefits to using mulch in your garden and landscape! Spreading a layer of mulch on top of the soil protects plants from extremes in temperature. It helps protect plant roots and crowns in winter. Use dark colored mulch in the spring to warm up the soil faster for warm-season crops. To protect plants from the heat of summer, use light colored mulch to lower soil temperature. A layer of mulch also allows soil to hold more water. Using organic mulches adds nutrients to the soil as they decompose making soil more fertile over time. Additional organic matter also makes soil easier to till and creates a better environment for growing vegetables.

Mulching correctly, to a depth of about four inches, also creates a barrier that helps to control weeds. It must be deep enough to keep sunshine from hitting the soil and germinating weed seeds. Another potential benefit of a well-mulched garden is increased yields. Fruits and vegetables are cleaner and less subject to rot when not in contact with soil. Rows can be closer together as there is less need to cultivate, possibly no need to cultivate at all! 

Mulching need not be expensive. You can mulch with materials found around your yard or garden. A light layer of dried grass clippings or shredded leaves can be used with caution. If applied too thickly, grass and leaves can form a mat that interferes with the movement of water and oxygen through the soil. Pine needles last a long time and are excellent mulches for acid-loving plants. Compost is the best organic mulch provided that the compost is “finished”, meaning the decomposition process is complete and no longer generating heat.
Mulch can be applied at any time and may need to be reapplied throughout the growing season. It is important to note that as organisms break down and decompose some mulches, such as hardwood bark, straw, or sawdust, soil nitrogen levels can become depleted which inhibits plant growth. You can compensate for this by mixing some composted material into the mulch, such as grass clippings. Be careful not to apply mulch too deeply as air may not be able to penetrate the mulch layer and result in oxygen depletion. At the end of the growing season, mulch can be tilled into the soil or simply left to decompose over the winter. However you decide to do it, with care mulch can improve life in the garden and the life of the gardener. Happy mulching!

Friday, January 12, 2024

How to get Sprouting...

You probably have seen bean and alfalfa sprouts in the grocery store and thought how can I grow my own and is it hard?  The answer to these questions is yes you can grow sprouts and no it is not hard. Doesn't this sandwich look better with sprouts?

The steps to growing sprouts are as follows:

Step 1: Begin with choosing the right equipment.  A simple option is to have 32 oz. mason jars with screen meshed or plastic sprouting lids.  You can get the jars at your local grocery store, and online from Amazon.  You can get the lids from Amazon

Step 2: Choose your seeds.  Please note you will have to disinfect your seeds  depending on the source, or you can purchase seeds that were tested negative for E. coli 0157 and Salmonella such as from Johnny Seeds.  

Step 3:  Follow the instructions.  On the back of the Johnny Seed package are the instructions on how to start.  In about 3 days you’ll have sprouts. There are several sources for how to produce sprouts. Here's a guide from the University of Nebraska Extension.  Further, you can purchase books on line.  One source which has proven instructive is Sprout Garden by Mark Mathew Braunstein.

 Depending on the type of seed, you may need to expose them to light after fully sprouted.  An important note for rinsing, sprouting and greening is to pay attention to the temperatures of the water and the room environment.  The links above and book mentioned provide information on what is considered appropriate.  Now, happy sprouting!

Friday, December 1, 2023

Yes! Pine Trees Dropping Needles in Autumn is Normal.

We've had several questions about evergreens. Homeowners will often see their needles on evergreen trees turning brown and falling off in the late summer or fall and become alarmed. Needle drop on pine trees is a naturally occurring phenomena. If pine needles turn brown from the interior of the tree, and the outer needless stay green, there is no cause for alarm.
Most people know that deciduous trees such as cottonwoods, oaks, or maples lose their leaves in the fall, but fewer people understand that evergreen trees also lose their old needles in the late summer or fall. Needle age at which drop occurs varies among evergreens and within species. Eastern white pine loses 2-year old needles. On the other extreme, bristle-cone pine sheds needles that are 14-17 years old.  If there is die-back or yellowing on the tips of branches or needles, there may be a problem. Consider drought, salts, root damage, herbicide damage, soil compaction, insects, or other factors. 

Occasionally, 'deciduous conifers' such as the bald cypress, larch, and dawn redwood are found in Idaho landscapes. These conifers all lose their needles every autumn, to be replaced the following spring. Don't lose hope - it's normal!!! 

Contact your local University of Idaho Extension Office - our Tree/Turf Team will get back to you about your concern.   Follow us on Facebook where we discuss all about gardening, trees, landscaping and more!  

Friday, October 13, 2023

Frost, Freeze, or Hard Frost? It's that time of year...!

 According to the National Weather Service, here are the definitions:

Frost:  Frost occurs when there is a solid deposition of water vapor from the air. Frost will form when solid surfaces are cooled below the dew point. An air temperature range of 33°- 36°, along with very light winds, is usually needed to initiate frost formation. At least minor damage is possible to plants. One must keep in mind that a frost is not guaranteed at these temperatures if moisture in the air is lacking and/or winds are strong.

Freeze:  Freeze occurs when the air temperature drops to 32°-or-lower. A freeze will result in significant damage to many unprotected plants, especially if the temperature remains at-or-below the freezing mark for several hours.

Hard Freeze:  Hard freeze occurs when the temperature reaches 28°-or-lower for at least a few hours. It usually means that many types of plants and most seasonal vegetation will be destroyed.

Mark Longstroth with Michigan State University Extension posted the following information explaining the differences more clearly than just a definition.

A frost is when we get a visible frost. A freeze is when the air temperature drops below freezing. Sometimes we get frost when the temperatures are above freezing and we often have a freeze without frost. It all has to do with the amount of water in the air.

At the dew point, water vapor in the air condenses on the ground and other surfaces as dew. If the dew point is below freezing, the water vapor condenses as ice, freezing as frost. So the air can be above freezing and the surface of your car (or the roof of your house) can be colder than the air and colder than freezing causing a frost even though the air temperature is above freezing. That is how we get a frost without a freeze. If the dew point is much below freezing then we can get freezing temperatures cold enough to freeze plants without any frost. This is also called a black frost, a freeze without a frost. When frozen plants thaw they have a water-soaked, black appearance as they die. Sometimes we get a freeze under windy conditions. This is caused by the movement of a cold air mass into the area with subfreezing temperatures. These freezes are called wind freezes.

Idaho Average First Frost Date Map will give you accurate information for your county.

Steps to take to help your plants survive as long as they can.
1.    Of course cover your plants with a frost fabric or sheets or plastic.
2.    Bring what plants you can indoors
3.    Water extra with warm water
4.    Keep water running at a trickle if possible for a few days.  Be careful not to over water.
5.    Wrap the trunks of young trees.
6.    Wrap pots that cannot be moved indoors.
Protect your plants!

Wednesday, September 6, 2023

Pet-Safe Gardening this Fall


What do Lilies, Tulips, Azaleas, and Daffodils have in common besides being favorites in the garden? They are toxic to pets.

Keep your pets in mind when planning your garden!  You will both be much happier with the end result. There are tons of options when it comes to mulch, plants, and pest management, but some of those options are deadly to your pets.
The ASPCA has a highly inclusive list of toxic and non-toxic plants for dogs, cats, and horses too. Penn State has some really good ideas for pet-scaping and pet friendly gardens. Most importantly, do your research and plan before putting anything in your garden.
Kelly McGowan, horticulture specialist with MU Extension, talks about keeping dogs like Buddy safe around plants in this short video.

Monday, August 1, 2022

Too much sun for my tomatoes?

Of course, tomatoes need sunlight but as with most everything, there can be too much of a good thing. Sun scald is common in plants(video) that are suffering from leaf loss from a leaf spot disease, insect damage, or over-pruning. The problem often occurs when defoliation or pruning of leaves is heavy. Sun scald results in a pale yellow to white spot on the side of the fruit facing the sun, this area may become a flattened, grayish-white spot. The surface may dry out to a paper-like texture. Sun scald spots are frequently invaded by decay-causing fungi and bacteria that further rot the fruit.
There are several biological and physical methods to reduce sun scald damage. One simple approach is to identify and plant sunburn-resistant cultivars (that produce more foliage or that have a fruit color that reflects more sunlight). Second, use good agricultural practices to grow healthy plants because good leaf cover will naturally shade the fruit. Provide adequate water, fertilizer, and monitor plants closely for insects and diseases that can cause defoliation or leaf curling. Large healthy leaves provide good shade if the fruits set and grow within the plant canopy. Over-pruning can also lead to sun scald if too much of the leaf canopy is removed and the fruits are subject to direct sun.
Shade cloth is a highly effective option to reduce sun scald. Tomatoes are most susceptible to sun scald at the mature-green stage and somewhat susceptible at the immature-green stage. When tomatoes turn red, they are more resistant to sun scald. Shade cloth can be applied earlier but waiting until fruit set ensure plants grow to their maximum vegetative capacity before sun scald protection is needed. Shade cloth is available at garden centers or online. Before purchasing, evaluate the percent of light reduction. For most fruits and vegetables, 20 to 40% shade is ideal. For a home garden, create a simple frame around tomato plants using wood or row cover hoops, then drape with shade cloth and securely attach to the structure. A structure that is open to the east will allow the plants to receive morning sun.
Now enjoy those healthy tomatoes straight from your garden!

Saturday, May 7, 2022

Rose Pruning - Why, When & How

WHY

Pruning our roses stimulates new growth and allows for more flowers to bloom throughout the season. Properly pruned roses make for a healthier plant with stronger canes while allowing for better air circulation. Roses produce flowers on new growth making annual pruning an essential part of basic rose care.

WHEN

In our climate, early-mid spring is the best time to prune roses once there is no threat of a hard frost and the weather is conducive for the plants to start growing. Many rose growers suggest waiting until the forsythias start to bloom as a general guideline that it’s time to start pruning. However, diseased/dead wood should be removed immediately at any time along with deadheading spent blooms (to encourage new blooms). Even if your roses have started to bud out, you’re still ok to prune. 

page28image3699317568HOW

Grab a great pair of leather gloves to protect your hands, and a clean, disinfected pair of sharp bypass pruning shears (and be sure to disinfect pruners in between plants to prevent spreading disease). The best method for deadheading spent blooms throughout the summer is to cut the stem back to an outward facing bud at a 45-degree angle or about a ½” above a set of 5 leaves (not the set of 3 leaves as this will result in a weak stem). Continue as often as needed to keep your roses blooming all season long but stop September 1 to allow the plant to begin hardening off for winter.

/var/folders/m0/88q0d8m15lq_kx54plnw91400000gn/T/com.microsoft.Word/WebArchiveCopyPasteTempFiles/rose-pruning-2.png?itok=ckxr0RWV

Again, starting with your leather gloves and disinfected bypass pruning shears, make your cuts at a 45-degree angle about ¼” above outward facing buds. This cut should slant away from the bud. Remove about one-half to two-thirds of the plant’s height leaving the canes about 18-30” tall. Your rose bush should have 4-7 canes that are the width of your finger/thumb and all pointed out and away from the crown for air circulation. Remove canes that are pencil width or smaller and/or dead (cut them off at the base or the point of discoloration). Here's to a great growing season for beautiful, healthy, blooming roses! page27image3784486736

Sunday, September 27, 2020

So, you’ve thought about composting?

Good for you! Composting is a great way to Reduce, Reuse &  Recycle. Food scraps and yard waste together currently make up more than 28 percent of what we throw away.  Composting enriches soil, helping retain moisture and suppress plant diseases and pests.  In addition composting reduces the need for chemical fertilizers and encourages the production of beneficial bacteria and fungi that break down organic matter to create humus, a rich nutrient-filled material.  Check out this website to see what the EPA says about at composting at home along with several helpful links.

Has the idea of composting and compost bins been a bit overwhelming? Do you have questions like “Will it be difficult or expensive to set up this operation?”  “What exactly should I put in my compost piles?”  “Is this project going to be labor intensive?” Do you have other questions?  Well just as we approach other aspects in our lives, if we break down the project into smaller parts the task becomes more manageable.

First thing’s first. Put your compost pile close to where you will use it. Away from drying winds, but in partial sunlight to help heat the pile. You should choose a place where water is available and adequate drainage.

 What types of materials do you need to set up composting bins? 

Well you can set your operation up as fancy or as simple as you like. An area that is about 3’x3’x3’ is a great start. You may use inexpensive materials such as wire mesh, old pallets and trash cans or buy a composting system from your local or on line retailers.  Here are two photos for examples. Consider buying a kitchen composting bin for kitchen scraps, paper towels, coffee grounds, egg shells and other things for your convenience.


What kind of material does your compost pile need?  Here is a list of safe materials.


Materials NOT to add.


Ideally, a compost pile should be made up in layers.  

The first layer should be coarse plant material to allow oxygen to circulate up through the pile. 

The second layer should be 6 to 10 inches of finer plant material such as leaves, grass clippings, and kitchen scraps.

The third layer should be a 1 inch layer of soil or manure. Consider adding 1/3 cup of nitrogen in the form of ammonium nitrate, blood meal, or bone meal for every 25 square feet of compost pile material. This will help the breakdown of plant material. Repeat layers as necessary. 

If you are interested in adding worms to your composing regimen check out this interesting article on “Vermicomposting” 

Next – ADD WATER.  Keep the pile moist but not waterlogged (think wet sponge).  You may need to add water in the summertime. As microorganisms begin to break down the organic material, heat is generated. Within a few days the compost pile should reach an internal temperature of 90 to 160 degrees F. You may want to cover your pile with a tarp to help control moisture and temperature.

Turn the pile over occasionally (every 2-4 weeks) this aerates the material for more rapid decomposition.

Composting is a process of several months to a year depending on size, conditions and maintenance of your pile.  The process is well worth it. 

For more information on basic backyard composting there are several university websites that offer great information, tips, tricks and thoughtful solutions to backyard composting.  Here is a link to a guidebook titled “Composting at Home.”