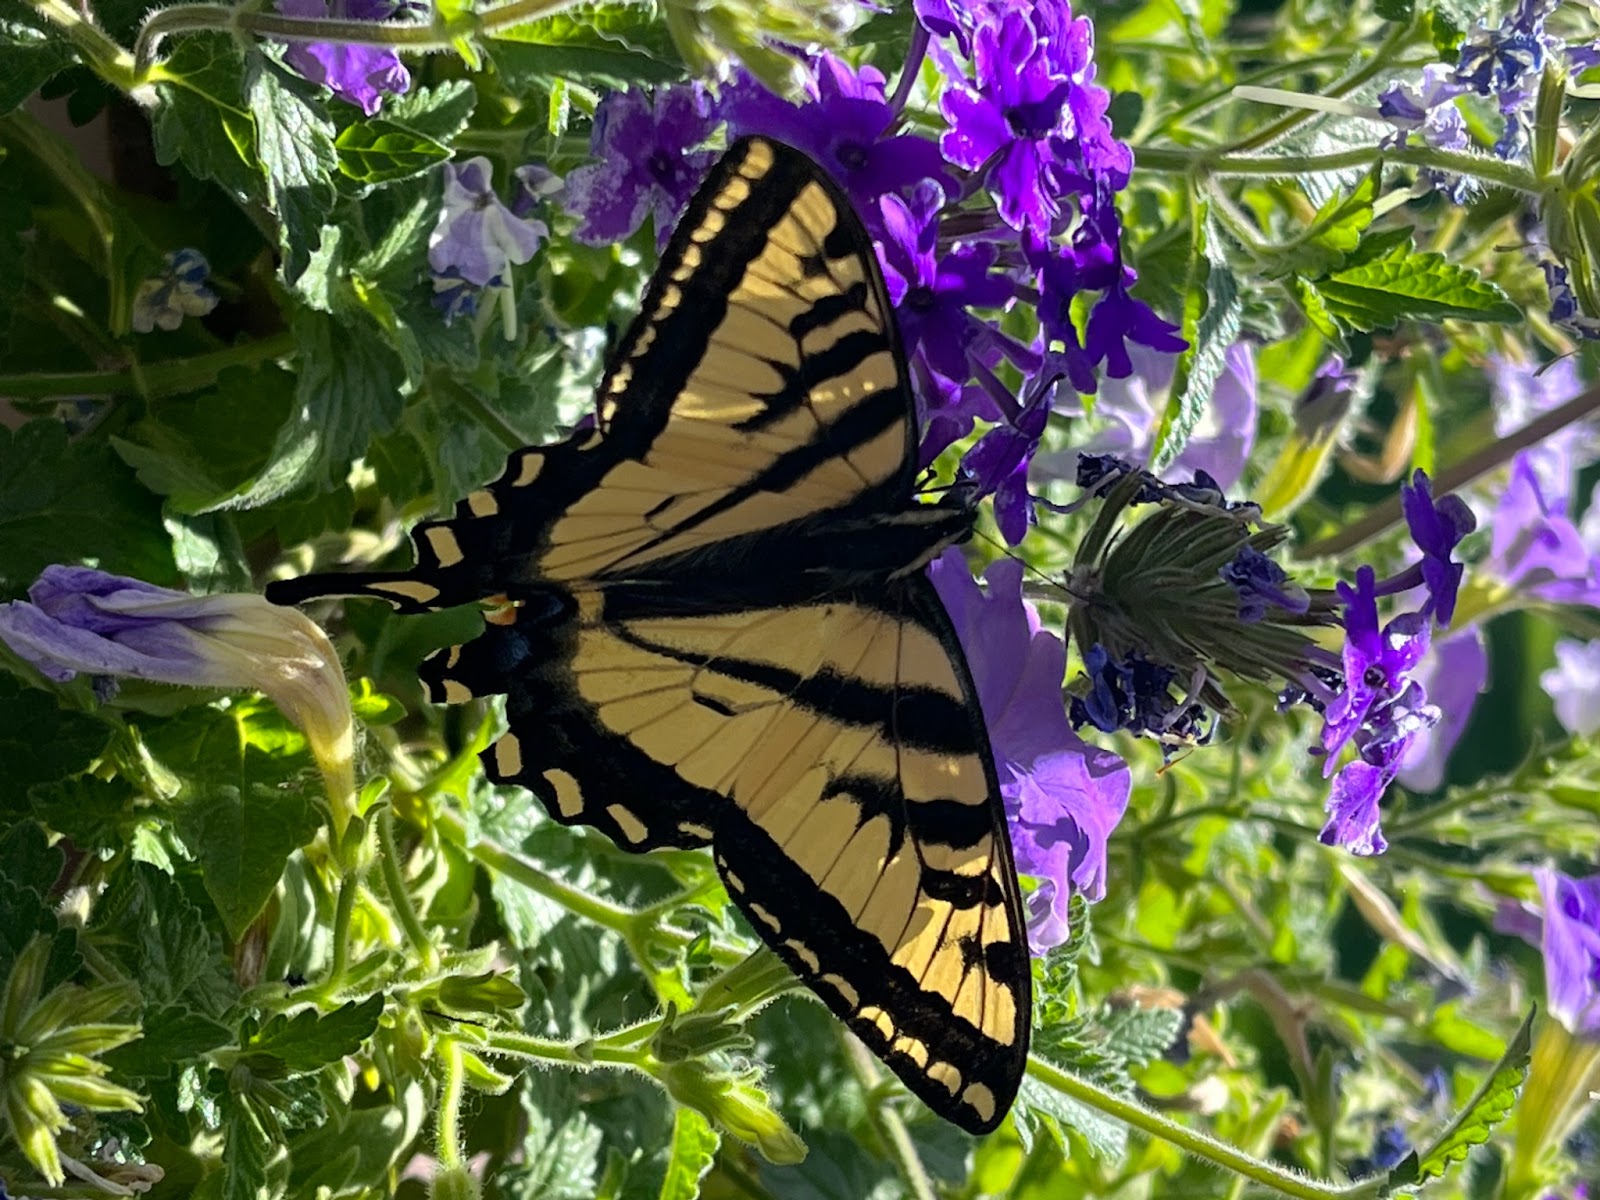
Now that fall is upon us in southwestern Idaho, it's the perfect time to explore whether structures like bug snugs and butterfly houses truly support overwintering insects. While these habitats can be charming additions to your garden, their effectiveness in providing shelter for beneficial insects is worth examining.
In this region, insects have diverse overwintering strategies. Many butterflies and other beneficial insects overwinter as eggs, caterpillars (larvae), or chrysalises rather than as adults. For instance, monarch butterflies migrate to warmer areas to survive the winter, while others may find refuge in leaf litter or within protective layers of plants. Given this, the role of butterfly houses in supporting overwintering populations can be limited, particularly for species that do not remain as adults during colder months.
In this region, insects have diverse overwintering strategies. Many butterflies and other beneficial insects overwinter as eggs, caterpillars (larvae), or chrysalises rather than as adults. For instance, monarch butterflies migrate to warmer areas to survive the winter, while others may find refuge in leaf litter or within protective layers of plants. Given this, the role of butterfly houses in supporting overwintering populations can be limited, particularly for species that do not remain as adults during colder months.
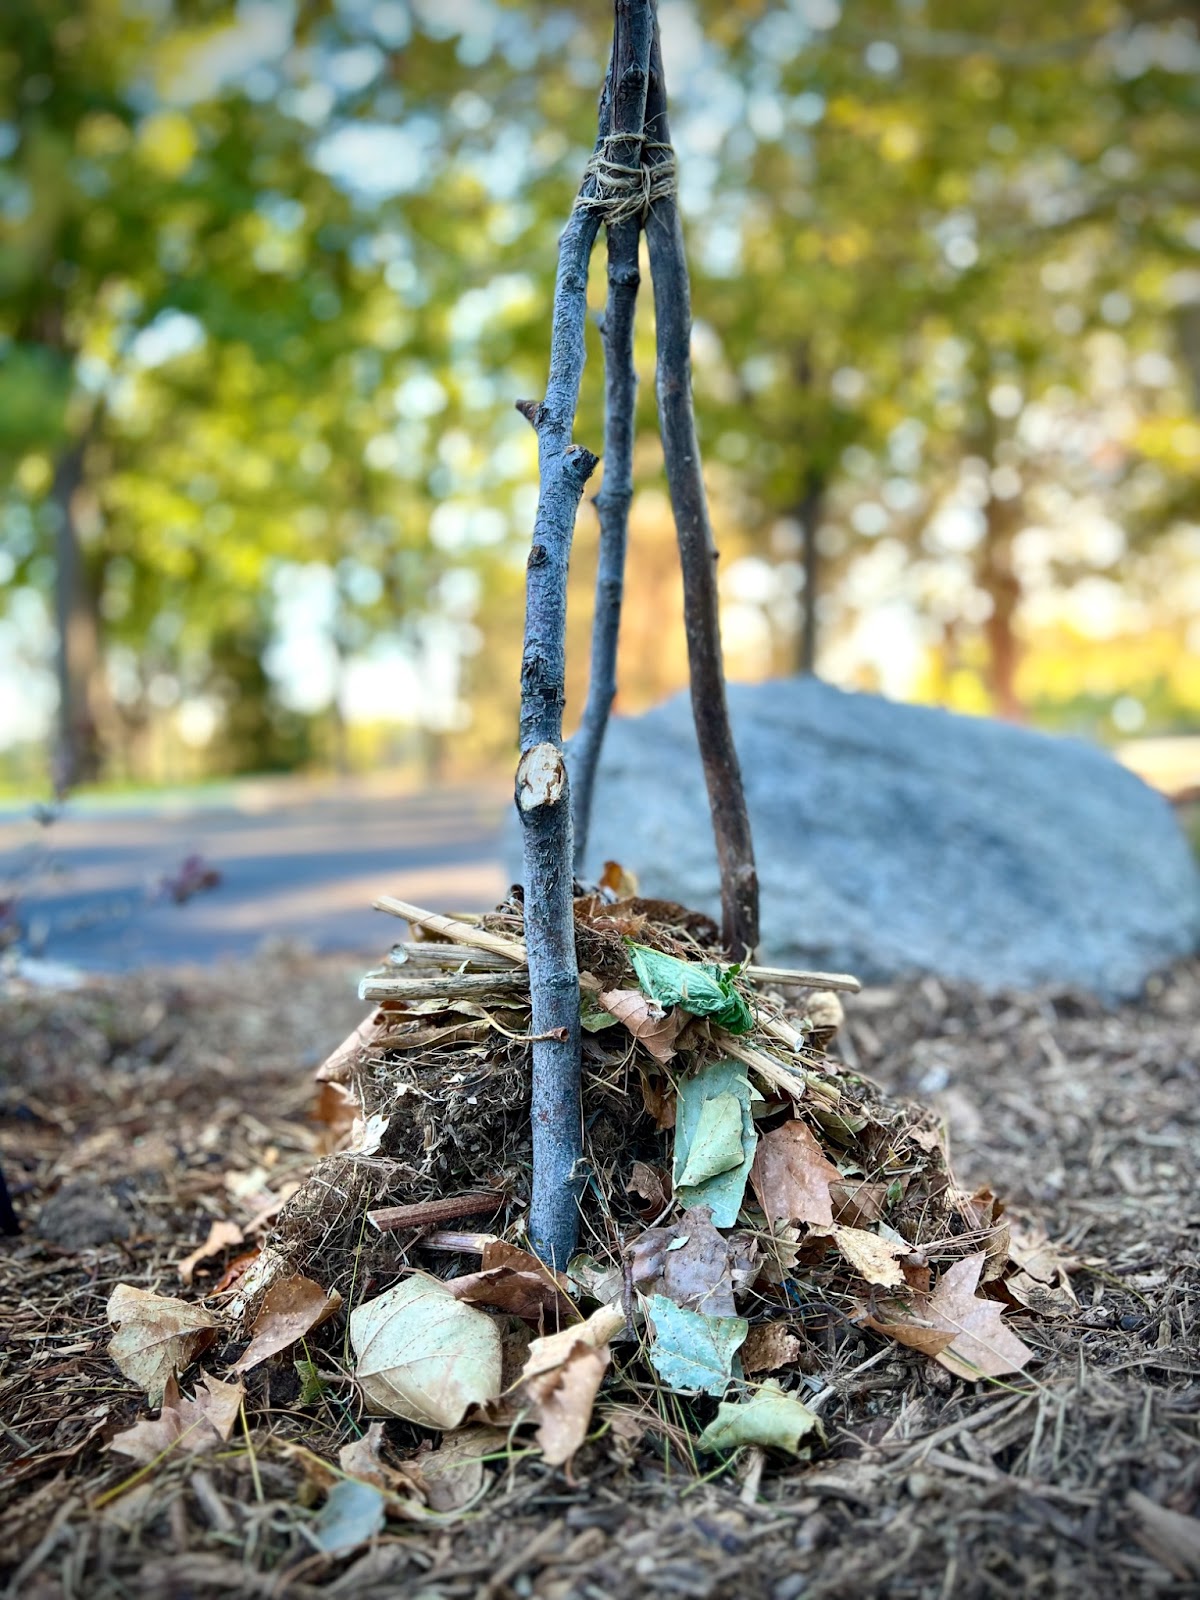
Bug snugs can offer more significant benefits. By providing cozy spaces filled with natural materials like dried leaves, straw, and twigs, bug snugs can create ideal microhabitats for overwintering insects, including solitary bees and ladybugs. These insects often seek out sheltered spots to hibernate, and well-constructed bug snugs can help meet that need.
Additionally, a bug snug is a great option for those with smaller yards. They can be designed to fit in compact spaces, making them ideal for urban gardens. Even in limited areas, bug snugs can contribute to local biodiversity by providing shelter for beneficial insects, which is especially important in densely populated regions. Creating a bug snug can also be a fun project for families, fostering interest in gardening and nature while teaching kids about the important roles insects play in our ecosystem.However, while bug snugs and butterfly houses may provide some shelter, they are not substitutes for natural habitats. Encouraging diverse environments in your garden is crucial. This includes planting native flora that supports the entire life cycle of butterflies and other beneficial insects. For example, host plants provide food for caterpillars, while nectar-rich flowers attract adult butterflies.
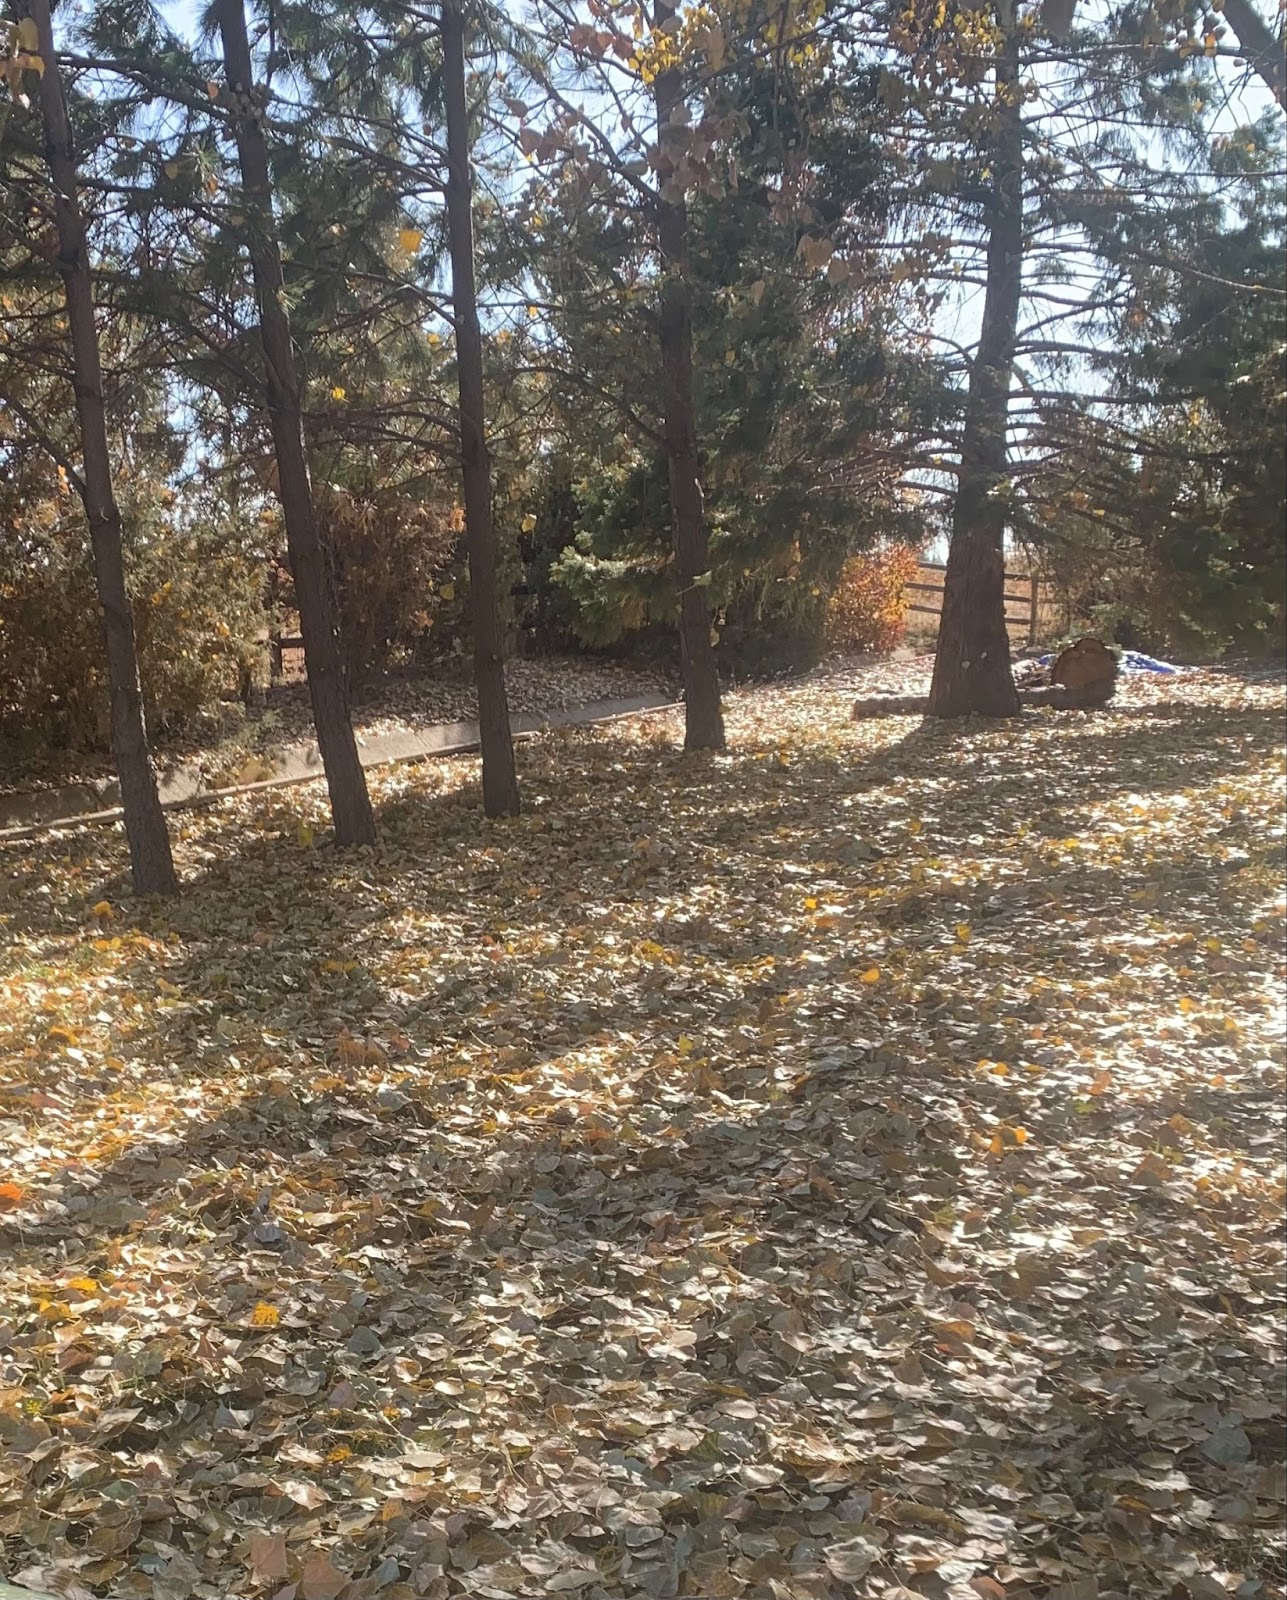
In southwestern Idaho, focusing on native plants, such as milkweed for monarchs or asters for late-season nectar, will create a more effective environment for insect populations. Allowing leaf litter to accumulate and avoiding excessive cleanup in the fall can also provide additional overwintering opportunities for insects, as many rely on this natural debris for protection.
In conclusion, while bug snugs may effectively support certain overwintering insects, butterfly houses might not be as beneficial for many butterfly species. By creating a diverse and supportive garden environment filled with native plants and natural shelters, you can enhance insect populations and foster biodiversity in your garden, ensuring a healthier ecosystem for years to come.
Additionally, a bug snug is a great option for those with smaller yards. They can be designed to fit in compact spaces, making them ideal for urban gardens. Even in limited areas, bug snugs can contribute to local biodiversity by providing shelter for beneficial insects, which is especially important in densely populated regions. Creating a bug snug can also be a fun project for families, fostering interest in gardening and nature while teaching kids about the important roles insects play in our ecosystem.However, while bug snugs and butterfly houses may provide some shelter, they are not substitutes for natural habitats. Encouraging diverse environments in your garden is crucial. This includes planting native flora that supports the entire life cycle of butterflies and other beneficial insects. For example, host plants provide food for caterpillars, while nectar-rich flowers attract adult butterflies.
In southwestern Idaho, focusing on native plants, such as milkweed for monarchs or asters for late-season nectar, will create a more effective environment for insect populations. Allowing leaf litter to accumulate and avoiding excessive cleanup in the fall can also provide additional overwintering opportunities for insects, as many rely on this natural debris for protection.
In conclusion, while bug snugs may effectively support certain overwintering insects, butterfly houses might not be as beneficial for many butterfly species. By creating a diverse and supportive garden environment filled with native plants and natural shelters, you can enhance insect populations and foster biodiversity in your garden, ensuring a healthier ecosystem for years to come.