Showing posts with label raised beds. Show all posts

Friday, July 18, 2025

Managing Heat Stress in Idaho Gardens

          
As Idaho summer heats up and dries out, gardeners across the state are feeling it—wilting veggies, crispy lawns, and blooms that barely last a day. Even the best-tended gardens can struggle in a heatwave. Knowing the signs of heat stress and how to respond can help you keep things growing through the toughest stretch of summer.

What Is Heat Stress?

When temperatures climb high enough, plants can’t cool themselves efficiently through transpiration. Moisture evaporates faster than roots can replace it. To conserve water, plants close their stomata—but that slows growth, reduces yield, and weakens the plant. Long stretches of heat can cause real damage, and in some cases, even kill the plant.

Vegetable Gardens: First to Feel the Heat

Vegetables, especially those in full sun or shallow soils, are usually the first to suffer.

Common Signs:

  • Wilting at midday, even when the soil is moist

  • Blossoms dropping from tomatoes, peppers, beans, and squash

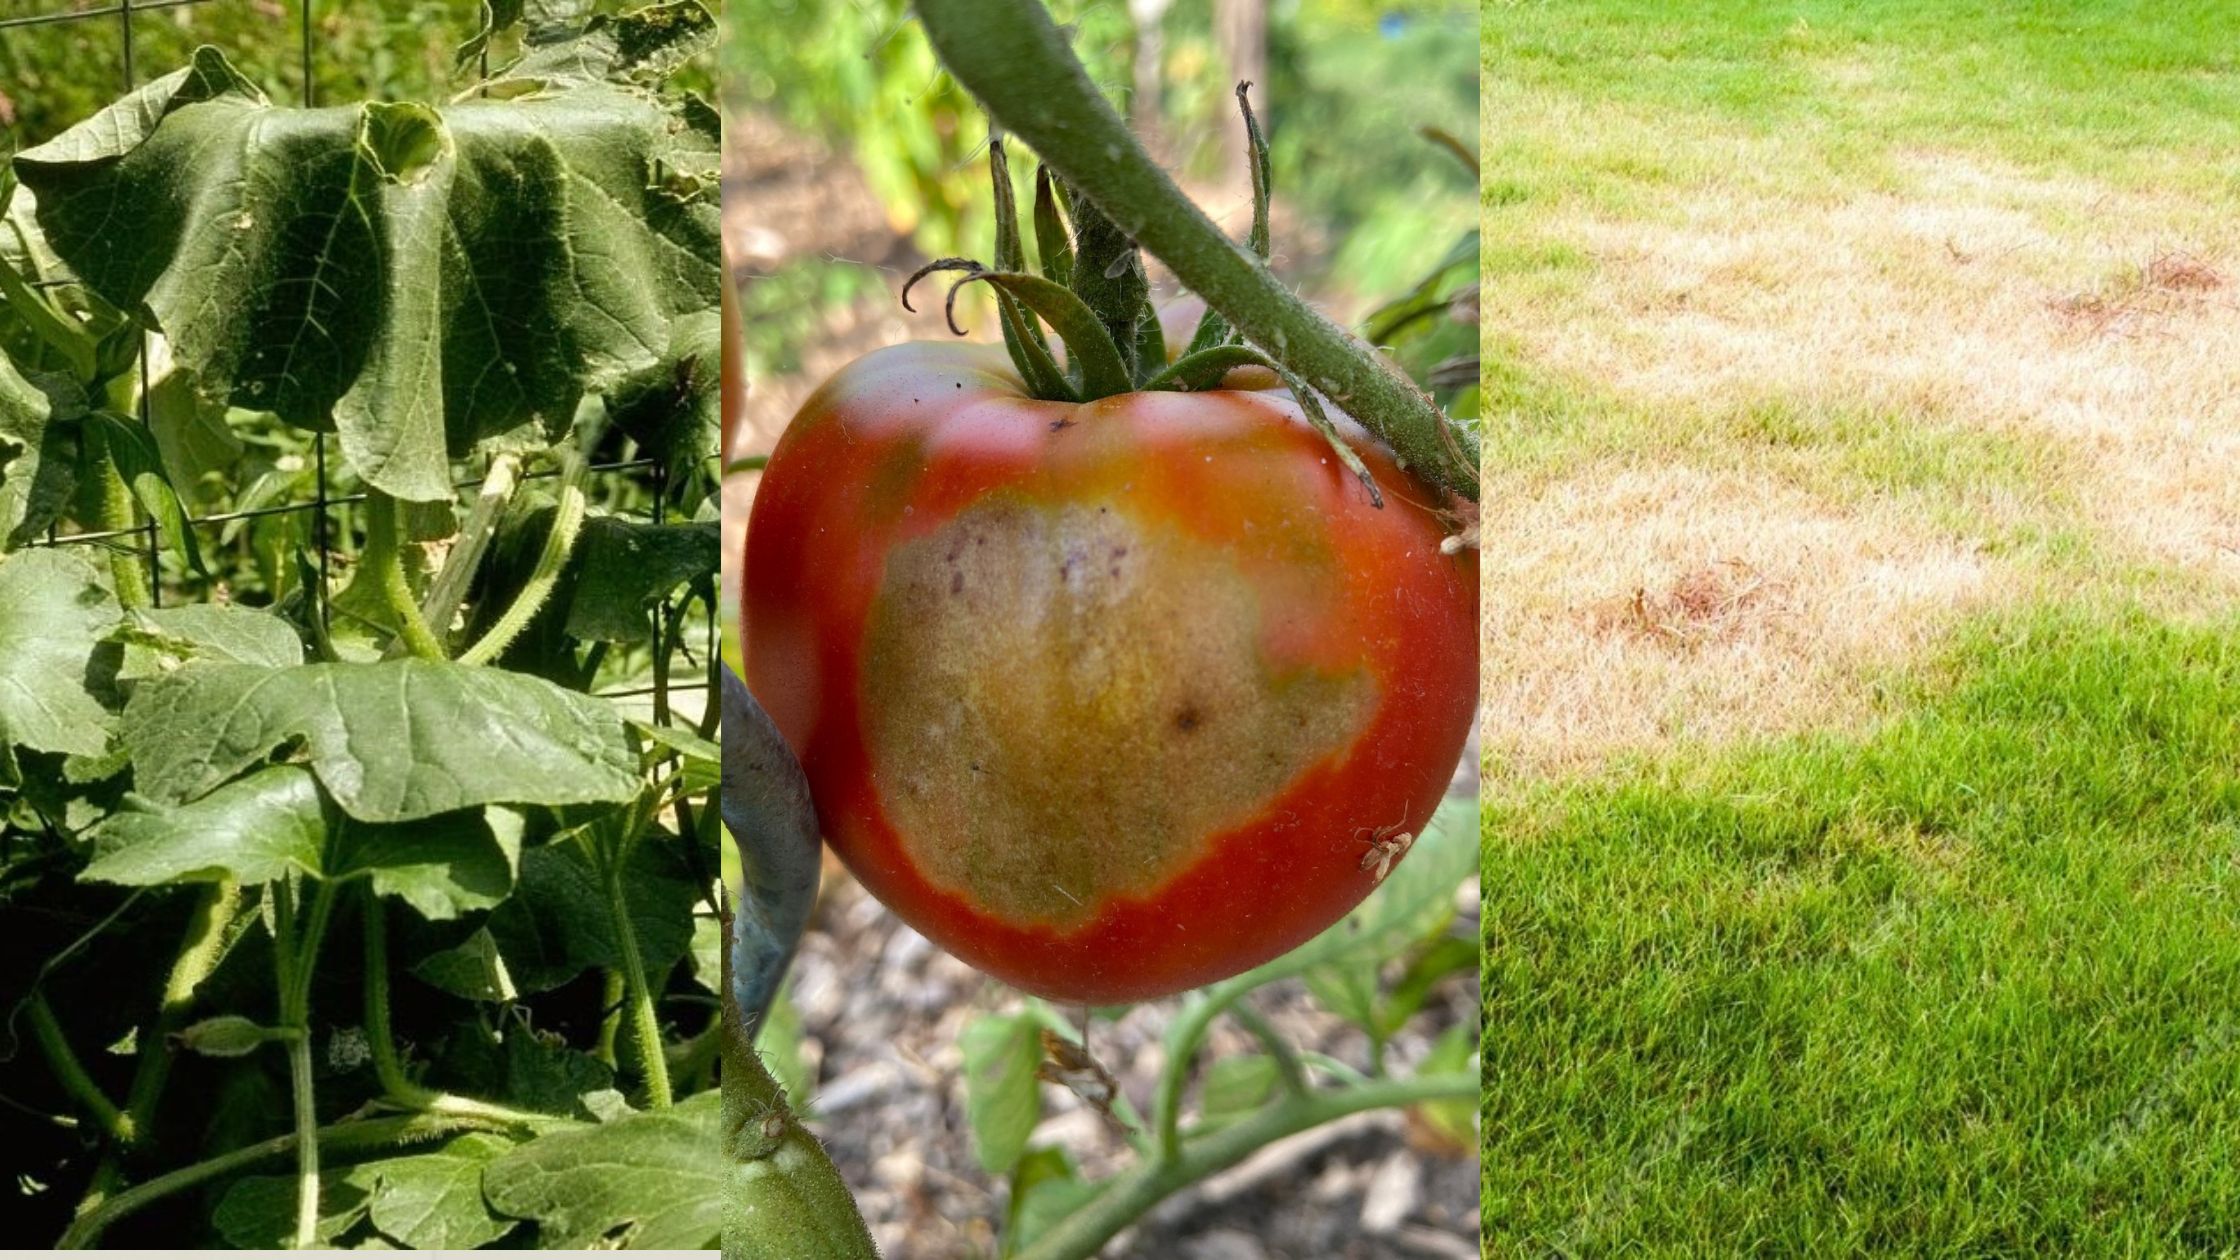
  • Curling or rolling leaves (especially on tomatoes and corn)

  • Sunscald on fruit and foliage
  • Bolting in cool-season crops like lettuce, spinach, cilantro, and broccoli

When days top 94–96°F and nights stay above 70–75°F, tomato blossoms may drop and pollination can fail. Beans and peppers are even more heat-sensitive—blossoms can drop when temps reach the low 90s.

Tips to Beat the Heat:

  • Water early and deeply so roots get moisture before the heat peaks
  • Mulch with straw, shredded leaves, or compost to keep soil cool

  • Use shade cloth or temporary shade for vulnerable crops

  • Hold off on fertilizing during heatwaves—new growth is too fragile

  • Group plants with similar water needs for better care

Always check soil moisture a few inches down. A damp surface can be deceiving.


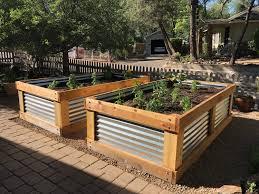
Container and Raised Bed Gardening: Needs Extra TLC

Containers and raised beds are efficient and popular in Idaho gardens—but they dry out fast and heat up quickly in the sun.

Containers:

  • Use light-colored or large pots to help keep roots cool

  • Check moisture daily (or twice daily during extreme heat)

  • Add mulch to container surfaces to reduce water loss

  • Move pots to afternoon shade if you can, or use umbrellas or shade cloth

  • Skip the fertilizer until the weather cools a bit
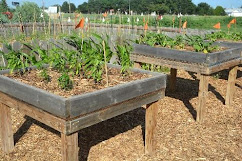
Raised Beds:

  • Amend with compost to hold more water

  • Water deeply and consistently—daily in temps over 90°F

  • Use drip irrigation or soaker hoses to water efficiently

  • Add 2–3 inches of mulch to moderate soil temperature swings

  • Shade cool-season crops like lettuce and spinach to delay bolting

Raised beds and containers can be powerhouses—but only if you stay ahead of the heat.

Lawns: Tough, But Not Invincible

Cool-season grasses like Kentucky bluegrass, ryegrass, and tall fescue thrive in spring and fall. But when summer highs hang out above the mid-80s, even tough turf shows stress.

Heat-Stressed Lawn Signs:

  • Grass looks dull green or bluish

  • Footprints linger long after walking

  • Growth slows, blades feel dry or brittle

Keep Lawns Alive Through Heat:

  • Mow high—3–4 inches helps shade the soil

  • Use a mulching mower to keep moisture and nutrients in the lawn

  • Water deeply, aiming for 1–1.5 inches per week in 2–3 sessions

  • Sharpen mower blades to reduce tearing

  • Avoid fertilizing in peak heat

A lawn under stress doesn’t need rescuing—just steady, gentle care. With consistent watering and mowing, it’ll bounce back strong once cooler weather arrives.

Flower Beds: Fragile but Recoverable

Annuals and tender perennials often struggle most in summer heat. Blooms fade fast, leaves scorch, and plants may wilt even after watering.

Watch For:

  • Drooping leaves

  • Smaller or faded flowers

  • Brown leaf tips

  • Early flower drop

Flower Bed Survival Tips:

  • Mulch to keep roots cool and moist

  • Water at the base of plants to reduce disease and improve efficiency

  • Choose heat-tough favorites like zinnias, lantana, marigolds, and black-eyed Susans

  • Shade delicate flowers using nearby plants or lightweight covers

  • Deadhead often to keep blooms coming without over-stressing the plant

Container-grown flowers may need water once or twice a day during heatwaves—and they’ll appreciate a break from that blazing afternoon sun.

Resilience Through the Heat

You can’t change the weather, but you can outsmart it. With a few adjustments—like early watering, smart mulching, temporary shade, and timing your tasks—you can help your garden survive and thrive through the hottest stretch of the year. Plants are surprisingly resilient. With a little help, they’ll bounce back beautifully once the heat breaks.

Additional Reading:

Thursday, June 3, 2021

Raised Garden Beds may be the answer!

Can’t kneel to garden? Poor soil a problem? Poor drainage? Short on space?

Raised beds might be the answer!! Some of the advantages of gardening in raised beds are:

  • improved soil conditions 

  • greater productivity in a smaller space 

  • saved water

  • the greatest advantage may be the ease of planting/maintaining a garden

  • easy to construct for most do-it-yourselfers

They can be built in many different configurations to fit conveniently into your landscape design and from materials which provide an attractive addition to your landscaping. Raised beds can be built to any height to accommodate your gardening needs and can be built directly upon the existing ground. However, by building beds waist high you overcome the need to bend over or kneel to garden. They can even be built to a height that would accommodate wheelchair gardening. Raised beds do need to have a minimum depth of least 8 inches to allow for proper plant root development.  They need to be somewhat deeper to grow root vegetables.  

When constructing raised garden beds, consider the materials from which the beds are to be built. Any lumber will do but, redwood or cedar will be more durable and will last much longer than beds built from softwoods like pine and fir. Recycled materials can be used in raised bed construction, but caution should be taken to assure that no treated materials of any kind are incorporated into your beds. You do not want toxic chemicals  leaching into your garden soil. Image result for raised garden beds site:edu

When considering the size, shape, and placement of the beds, an important consideration should be accessibility. The gardener should be able to access the beds from at least two sides and reach at least halfway across the bed. Three or four feet wide is a good width to assure ease of planting, weeding, and harvesting. Place your beds where they will receive 6-8 hours of direct sunlight daily.  

Raised garden beds should be filled with a combination of garden soil, compost, and soilless medium to provide optimum growing conditions for your plants. The proper soil combination should have the correct pH for your desired plants and supply your plants with nutrients.  A proper soil combination will also provide for ease in maintaining proper moisture content.

Raised planting bed divided into sixteen squaresWatering in raised beds is easily accomplished with a simple garden hose, however, a drip system will water your plants more uniformly and provide even greater convenience to your raised beds.


Additional advantages of raised beds are soils warm up faster and are easily covered with row covers to protect seedlings from spring frosts. This can also aid in extending the growing season in the fall. Raised bed allow you to grow more vegetables per square foot as you can plant plants more densely. Plants can be placed close enough to one another to shade out the weeds, yet just far enough apart to prevent overcrowding. 


With raised beds weed control and pest control is accomplished more easily making garden maintenance a snap. 

Sunday, April 28, 2019

Raised Beds for Your Gardening Ease!

Wouldn’t it be nice to work in your garden on those beautiful sunny days without your back or knees giving out?

Building raised beds is a simple DIY project that could relieve your nagging pains, as well as enhance your garden experience and beauty.

In just a few hours, with a quick trip to your local home-improvement store or lumber yard, you can have elevated raise beds ready for your next planting.

Keep reading for a supply list and tips on planning and building raised beds.  You will also find information on soil selection and planting.

1. Planning: Determine where to install the raised bed(s).  Look for a place where the new bed will have at least 8 hours of summer sun.      

Also, determine the desired size of the raised bed.  For width, consider what is easiest for you to reach across and for height, consider what is easiest for you to lean over, if at all.  A typical standard size is approximately 3.5' x 8.5' x 18".

2. Supply List: For a raised bed of the above mentioned dimensions, the following is needed:
Qty 2: 2" x 12" x 12'
Qty 2: 2" x 6" x 12'Qty 1: 4" x 4" x 8' Corner Post
Large box of Deck Screws #8 x 3"
Tools: miter saw or compound saw; drill bits for pilot holes; screwdriver for drill bit

3. Assembly: 
a. Cut the 12'-length boards to 8.5'; leaving 3.5' for the end piece.
b. From the corner post, cut four 18" sections that you will attach the other boards to.
Note: If you do not want to deal with the assembly process with the 4" x 4" posts, you can try slider connectors or brackets.  With the connectors, you can just slide your board through and use deck screws to secure.


4. Placement: Once the bed is assembled, place it in the desired location in your garden.  If you are placing it in an area that still has sod/grass, a good option is to lay old cardboard boxes down first.


5. Soil Preparation: Compost mixture you’ll be putting inside.  A great place to start is a mixture of 30% compost and 70% topsoil.  To calculate the amount of mixture for the above bed dimensions:
Multiply 3.5 x 8.5 x 1.5 to get 31.25 cubic feet of total soil mixture.  As 27 cubic feet equals 1 cubic yard, it is safe to get 1 yard of topsoil along with 1/3 of yard of compost.  Allow a few days for the soil to settle.  Happy Planting!