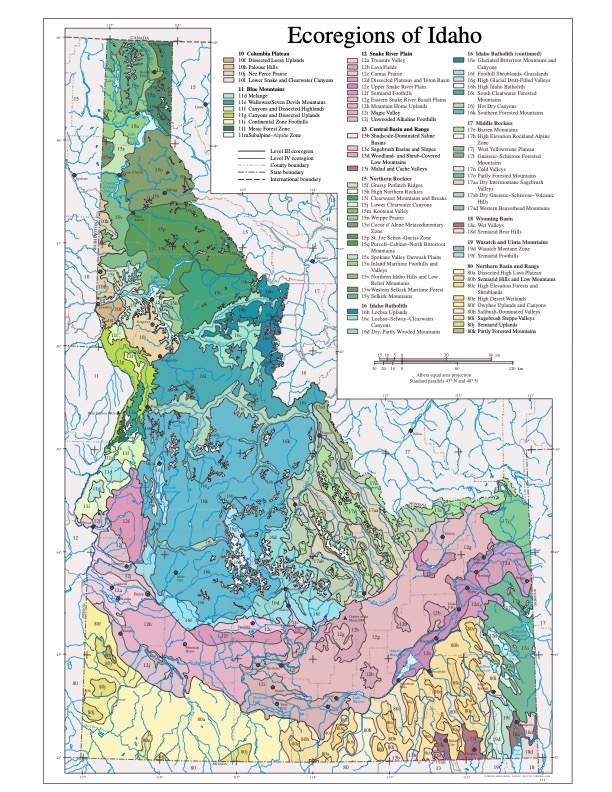
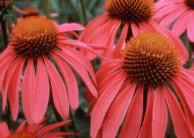
Cold stratification is an important step for growing many native plants in USDA Hardiness Zone 7. This process mimics winter conditions, helping seeds break dormancy and ensuring they germinate at the right time in spring. In the Boise area, which is situated in Ecoregion Level III 12 (Snake River Plain) and borders Ecoregion Level II 10.1 (Cold Deserts), you have a unique opportunity to cultivate a variety of native plants. Whether you’re interested in wild sunflowers, asters, goldenrods, lupines, purple coneflowers, milkweed, or penstemon, following these steps will help you successfully propagate these beautiful species in your garden.
Understanding the Ecoregion
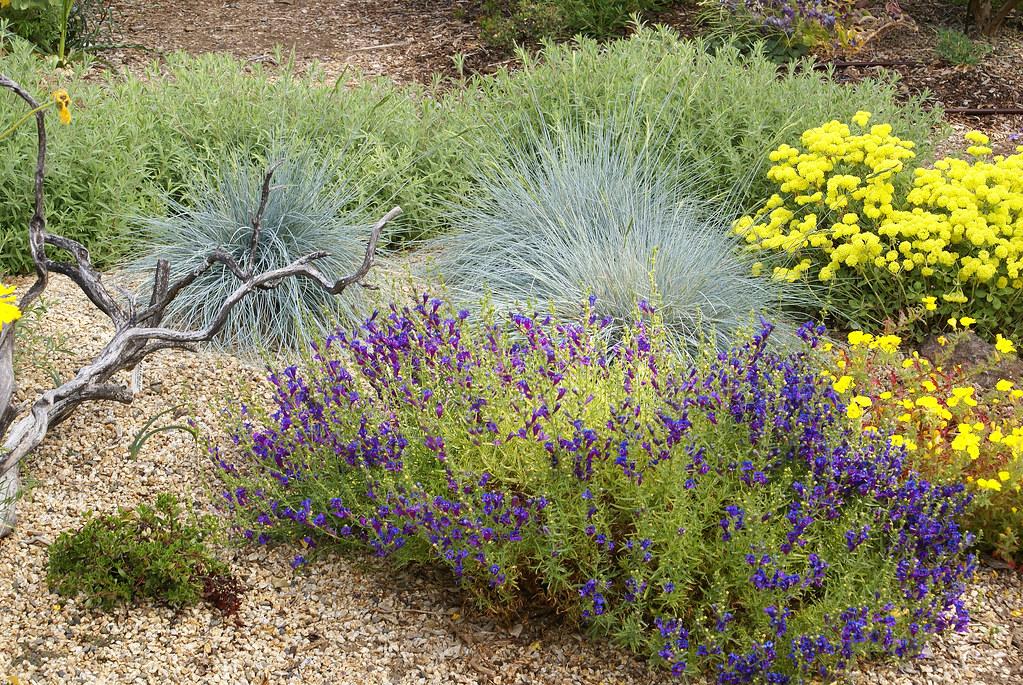
Ecoregion 12 features a mix of desert and semi-arid environments, characterized by cold winters and warm, dry summers. The region's soils vary from sandy to clayey, which influences the native plant communities that thrive here. Plants in this area have adapted to withstand drought and temperature extremes, making them well-suited for home gardens that aim to support local wildlife and conserve water.
Starting Seeds Indoors or in a Greenhouse
Starting your native seeds indoors or in a greenhouse allows you to control conditions better. Follow these steps:
Gather Your Seeds: Collect seeds from native plants in the fall, ensuring they are fully mature and dry.
Prepare Your Pots: Use seed-starting pots filled with a seed-starting mix. Make sure the pots have drainage holes.
Moisten the Medium: Lightly moisten the seed-starting mix so it's damp but not soggy.
Cold Stratification:
Option A: Directly in Pots: Sow the seeds in the pots, covering them lightly with soil only if they don’t require light to germinate. If they do need light, surface sow seeds and place the pots in the refrigerator for 4-12 weeks. Keep the pots in a plastic bag to retain moisture.
Option B: Pre-soaking: Alternatively, mix seeds with a moist medium like sand or peat moss in a zip-top bag, refrigerate for 8-12 weeks, and then surface sow them in pots after stratification.
Move to Light: After the stratification period, move your pots to a well-lit area or greenhouse. Ensure they receive plenty of light but avoid direct, harsh sunlight at first.
Water Regularly: Keep the soil consistently moist (but not waterlogged) as the seeds begin to germinate.
Transplanting: Once the seedlings have a few true leaves and the danger of frost has passed, transplant them into your garden or larger containers.
Starting Seeds Outdoors in your garden or raised beds

Gather Seeds: Collect seeds in the fall from mature plants, ensuring they are fully dry. This timing allows you to utilize natural seasonal changes for germination.
Prepare the Planting Area: Choose a well-draining spot in your garden or raised beds. Loosen the soil and remove any weeds or debris.
Surface Sow: Scatter the seeds on the surface of the soil. Many native seeds benefit from light exposure to germinate, so avoid covering them deeply. If the seeds require some soil coverage, lightly sprinkle a thin layer of soil over them.
Watering: Gently water the area to help settle the seeds into the soil without washing them away. Ensure the soil stays consistently moist, especially during dry spells.
Winter Conditions: As winter arrives, the seeds will experience natural cold stratification, which helps break dormancy and prepares them for germination.
Benefits of Cold Stratification By cold stratifying your seeds, you help ensure healthy germination and align plants with their natural growing cycles. This process also supports local ecosystems by enhancing biodiversity, stabilizing soil, and conserving water.
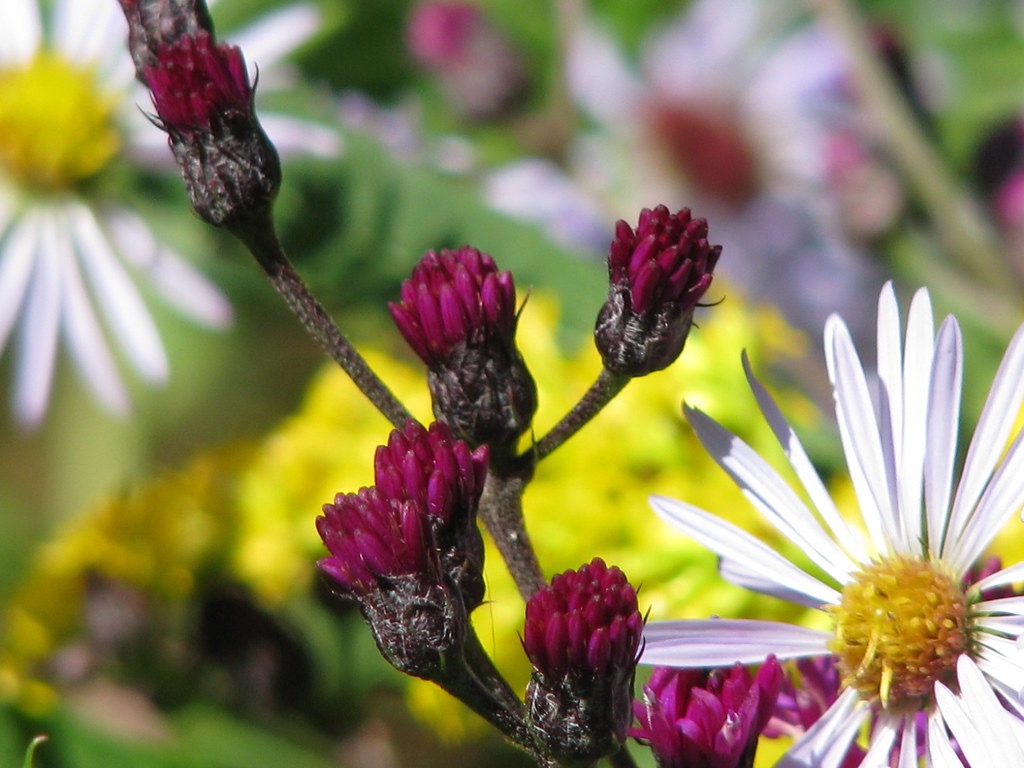
With a little preparation, you can successfully cultivate beautiful native plants that thrive in your region, including wild sunflowers, asters, goldenrods, and lupines.
Happy gardening!