

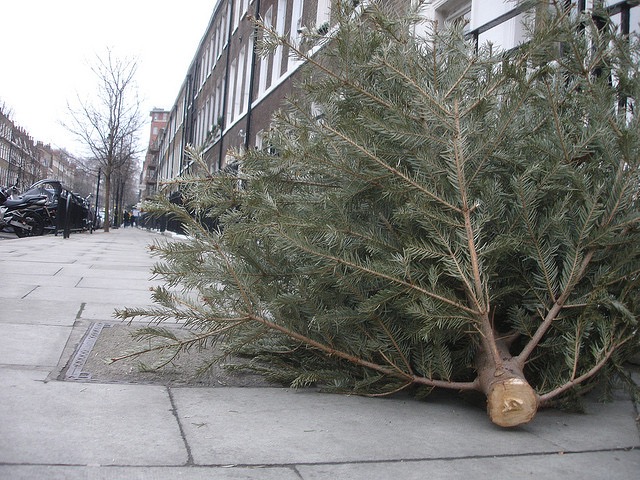
with our Christmas trees. Why not repurpose them for a variety of practical and creative uses? From enriching your garden to providing habitat for wildlife, your tree can have many new lives after the holidays are over. Repurposing your tree helps reduce waste, benefits the environment, and can even add some unique touches to your garden.
For the Garden
- Mulch: Shred the tree’s branches and trunk into mulch to spread around trees, shrubs, and garden beds. Pine needles are an excellent mulch because they decompose slowly, helping retain moisture in the soil and reducing weeds.
Erosion Control: If you have bare slopes or areas prone to runoff, use the branches to prevent erosion. The tree’s structure helps hold the soil in place, especially during heavy rains.
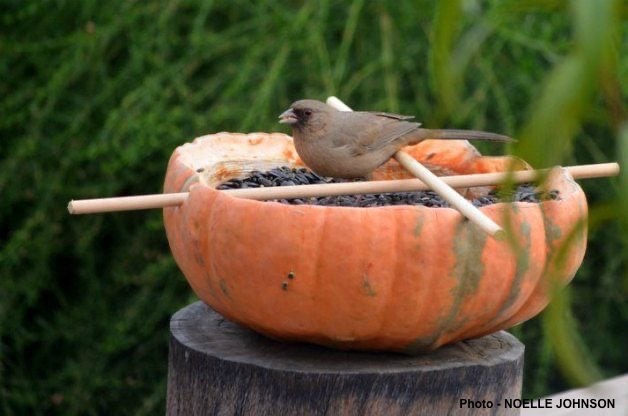
Wildlife Habitat: Consider leaving the tree whole in your yard. It can provide valuable shelter for birds, squirrels, and other small animals during the winter months. For added benefit, place birdhouses or feeders nearby.
Craft Projects
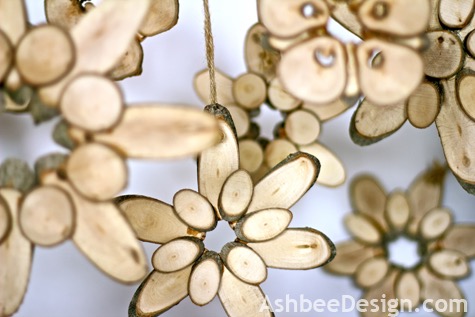
Woodworking: The trunk can be repurposed into practical or decorative items. Use it to create small furniture pieces like stools, benches, or even simple garden markers. For smaller pieces, you can carve the wood into candle holders, picture frames, or other craft projects.
Bird Feeders: Coat pinecones with peanut butter and roll them in birdseed, then hang them on the tree’s branches. This makes an easy and natural bird feeder that attracts local wildlife. Plus, it’s a great way to reuse pinecones, which might otherwise go to waste.
Composting
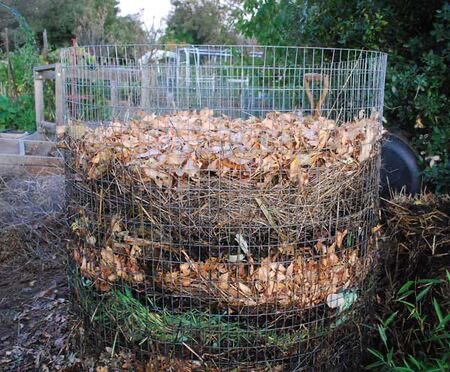
Compost Bin: After cutting the tree into smaller pieces, add it to your compost pile. The wood, branches, and needles are rich in carbon, which helps balance the nitrogen in food scraps and accelerates decomposition. This is a natural way to enrich your soil for the next gardening season.
Community Use
Recycling Programs: Many communities offer Christmas tree recycling, turning trees into wood chips or mulch for public parks and landscaping projects. Look for local recycling programs, which are a simple way to give your tree a second life.
Fish Habitats: In some areas, trees are submerged in lakes or ponds to provide shelter for fish and other aquatic species. Wildlife and conservation groups often organize these efforts, turning old trees into valuable habitats for marine life.
Use as Firewood
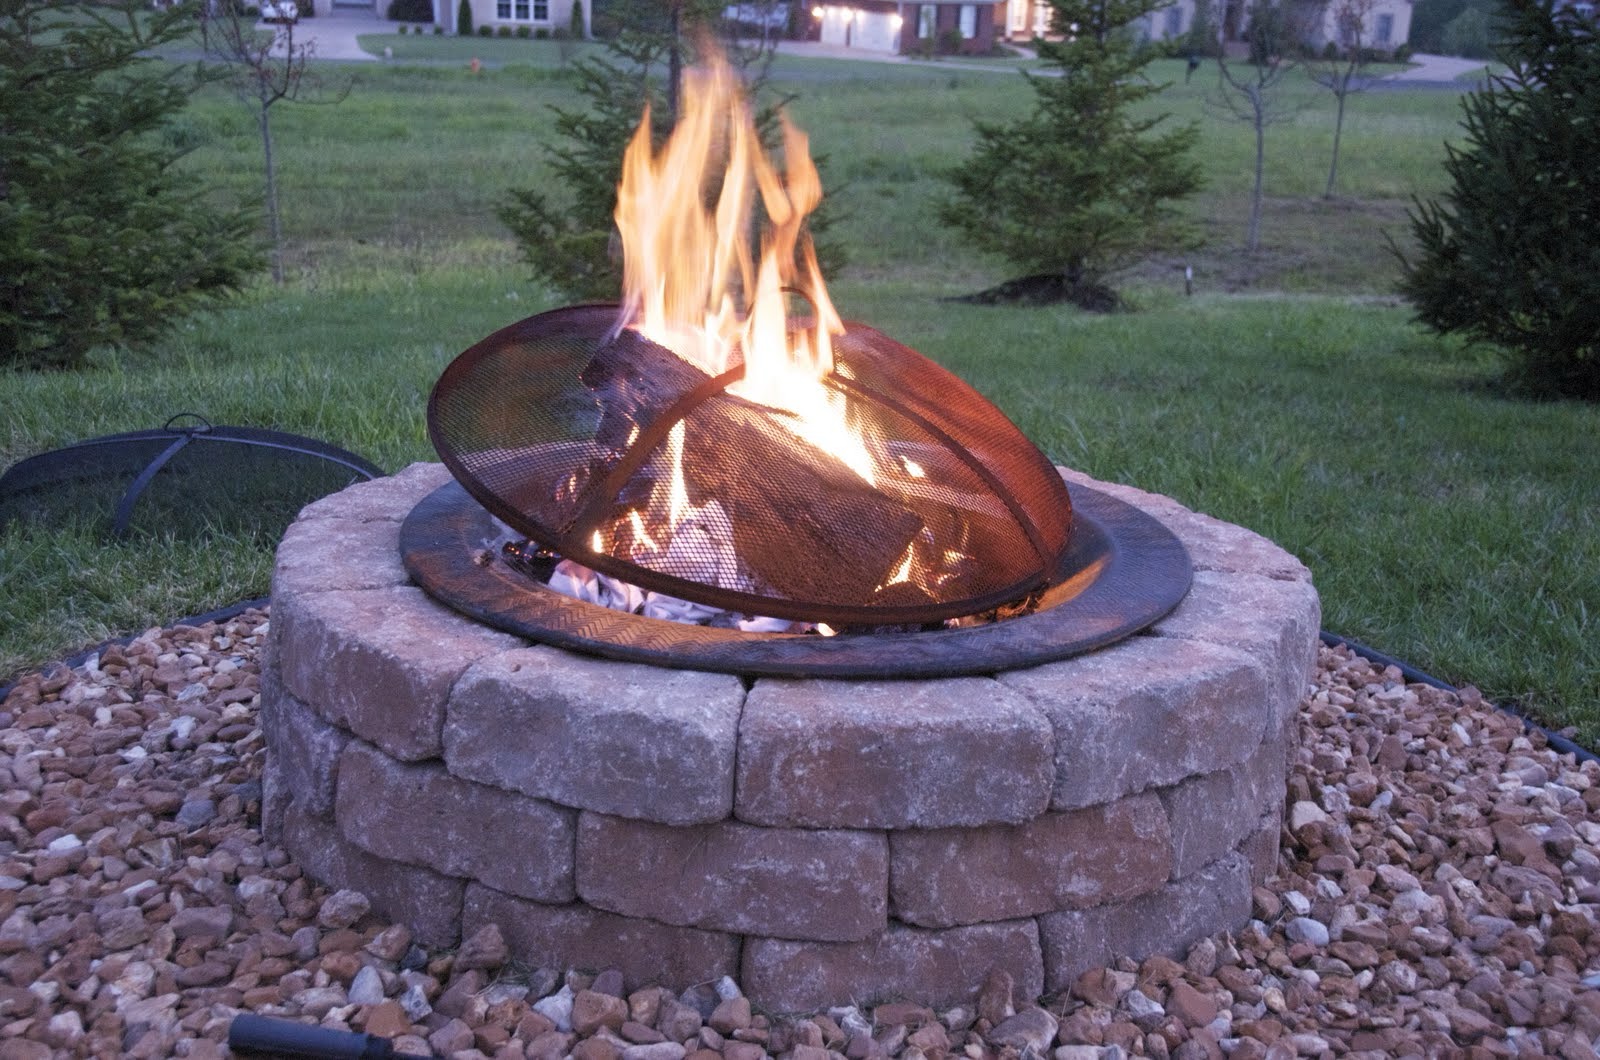
Firewood: Once dried, the trunk can be cut into smaller logs and used as firewood for outdoor fire pits or wood stoves. Pinewood burns quickly and is great for kindling, but be cautious not to burn it indoors due to the potential for creosote buildup.
Bonfire Material: The branches and needles can be used to start a backyard bonfire, providing warmth and ambiance during cold evenings or post holiday gatherings.
For Animals
- Goat Feed: Some farms accept old Christmas trees for goat feed, as the pine needles are a nutritious treat. Just make sure the tree has not been treated with chemicals or pesticides.
Animal Bedding: Shredded branches and pine needles make great bedding for chickens or small pets. The natural material helps insulate outdoor enclosures during the winter months. By recycling your tree, you extend its usefulness and make a positive impact on the environment.


