Showing posts with label Canyon County Master Gardeners. Show all posts

Saturday, June 7, 2025

Are Bees the only Pollinators? So many others...

With real evidence of bee population loss in the last few years, the term ‘pollinator’ might be on a gardener’s mind right now.  But what about other pollinators? Can you encourage other beneficial insects to your landscape and do they have any other benefits?  Do they all sting? 

In the chart below, we can find some common plant pollinators who you may not have thought of as beneficial, but all have something to give to your garden.  

Let’s start with one of the hardest to accept, the European Paper Wasp. Not to be confused with most yellowjackets!
Difficult as it may be to have around because they do sting, not only are they pollinators, but they also feed on soft bodied, leaf-eating pests - caterpillars, aphids. 

European paper wasps are relatively non-aggressive, and somewhat less likely to sting than yellowjackets. Stings occur almost exclusively when ness are accidently disturbed.


The Hoverfly is a pollinator in disguise.
 They have evolved to look like bees, mainly to ward off predators. Lucky for us these little flies are harmless, unless you’re an aphid. Once the adult Hoverfly has selected the best aphid colony in your garden to lay its eggs beside, soon those eggs develop into aphid-eating maggots. 


Butterflies and Moths are also good pollinators because of the large amount of pollen that collects on their feet and legs. Some special characteristics that set them apart from bees are not only do they taste with their feet, but they can also see the color red. 

Moths are also part of the night pollinating crew.


Less known but just as important as pollinators are bats, birds, mice, and other vertebrates. 
Psst...they also eat their weight in bad bugs!


With these factors in mind, you might want to try to attract these pollinators to your yard and garden by planting a wide variety of plants that bloom from early spring until late fall. Plant is clumps with native plants and don't forget night-blooming plants. You could also install a bee hotel for native bees and mason bees.


You may be able to do less pest control and more relaxing while these and other beneficial pollinators do the work for you. 
Follow us on Facebook during Pollinator Week June 16-22!

Friday, September 8, 2023

Intro to Seed Saving

Do you want to save seeds from this year’s garden? Seed saving is easier than you might think! It just takes a little time to gather the seeds and a little space to process them. Follow the links throughout this introductory article to learn more.

Tomato Seeds
Tomatoes are a popular seed-saving choice and a good place to start. For tomato seeds, you will need a pint sized canning jar (with its ring) and a piece of paper towel large enough to cover the top. You will also want to have a sharp knife, a spoon, a fork, and a cutting board. Finally, you’ll need a  paper towel for drying, labeling paper, and an envelope to store your dry seeds.

The process starts while your tomatoes are still growing on the vine. Choose the tomato that you want to save seeds from and remember no to pick it. It will need to  continue to grow till it is just past its ripened state  before you cut it off the vine. The next steps are to cut it in half, scoop out the insides into the pint jar and add water until it is half to two thirds full. Using the fork, mash/puree the seed mixture in the jar till it is all separated. Swirl the jar to see if the mix is even. Put the paper towel over the top and fasten it in place with the ring. Let the jar sit on your kitchen counter where you can watch it and swirl it at least once a day for the first two to three days. Let it sit then until it develops a fuzzy moldy looking top. Then add a little more water, swirl, and then let it sit for a minute or so, so the heavy viable seeds settle to the bottom. You can use the fork to lift out and dispose of the slime from the top. Add water, swirl, and let it sit again, then pour off the top mixture leaving the seeds on the bottom. You may have to do this several times until clear water and seeds on the bottom are all that remain. Then pour off the water and dump the seeds on your drying towel. Once they are dry, place them in a labeled and dated envelope and store them in a cool, dry place until you’re ready to plant them next season.


Pepper Seeds
Peppers (Bell, Jalapeno, Poblano, Anaheim, etc.) are another popular seed-saving choice. Just as described above, you want to choose the pepper that you like and want to grow again next year. Cut the pepper open so you can remove the seeds. Put the seeds on a paper towel to dry. Make sure you label your seeds. When they are dry, usually in a couple weeks, soak them in water for a day or so. The seeds that sink to the bottom are your most viable seeds, these are the ones you want to save.


Tomatoes and peppers are a great place to start, but you can 
save seeds from all of your favorite plants, with a little research. Seed Sowing and Seed Saving, written by Carole Turner, is a good book on how to save seeds and plant them. Also consider your local University of Idaho County Extension Office, your local library, and your favorite bookstore.
 
The advantage of saving seeds from your garden is that you know they grow well in the microclimate of your garden. You also save money and get the satisfaction of being self-sufficient. Seed-saving year after year is called Landrace seed saving and planting. If you have extra seeds, share with your friends or join a local seed bank. 

Monday, June 19, 2023

Mosquitoes? Consider Your Lawn Watering.

It’s warming up so we are all watering our lawns. With the warm weather and water, come those irritating and possibly disease infested mosquitoes.

What do mosquitoes have to do with yards? When you over water your lawn the earth beneath doesn’t dry out and creates a perfect mosquito habitat. There are certain species of mosquito that will lay eggs in the damp mud and the next time your water comes on; the water sits on top of the earth for a period of time that allows the mosquito eggs to hatch. On warm days it doesn’t take very long for a mosquito to go from egg, larvae, pupae to adult. Once the female adult mosquito hatches, it looks for a blood meal. Yep, you and your family!

Another problem is the water filling up buckets, flower pots, wheel barrows or other items left outside. This water then sits, heats up and then becomes stagnant. Female Culex species of mosquito love to lay their eggs in this water. This species can carry West Nile Virus and transmit it to you and your family with one bite.

You can help keep your family safe by making sure you are watering your yard properly, and that your sprinklers are only watering the things they should be and that they are not leaving puddles below the heads. 
Another thing to consider is a smart sprinkler controller. Many of these come with the ability to track the weather and skip a watering if it isn't needed. It can save water, money, and help avoid standing water.
There are many published articles on the web about how to water your type of grass and how much water is enough...and the kind of pests that can flourish in unhealthy turf. A great publication for Idaho residents to refer to for guidance is The Pacific Northwest Handbook

The “Rule of thumb” that is widely used is: water as deeply and as infrequently as possible. This stimulates root growth resulting in healthy drought tolerant and pest resistant turf (like mosquitoes)! A healthy root system produces vigorous turf: rooting depth is determined primarily by genetics and soil condition, not irrigation!

Sunday, April 14, 2019

Salad or Bolt


When the gardening bug bites in early spring and you’re itching to get into your garden early, growing salad greens is an excellent place to start.

With more than a hundred varieties of lettuce, this delicious salad green is often the most recognizable. However, there are a multitude of other tasty greens to be added to the home garden that offer just as many different ways to mix up that salad!

Consider adding some spicy greens like arugula to your salad mix.

Generally fairly cold tolerant, salad greens can be directly sown into prepared garden beds in early spring (3 to 4 weeks before the average last frost date). They thrive in fertile soil with organic matter. They can be planted even earlier, if you use cold frames to protect them.

Limited on garden space? Salad greens also do well grown in containers. If you are looking to have a continuous supply of salad throughout the season, opt for successive plantings of greens. Sow another succession when your greens are about an inch tall.

Leafy greens enjoy frequent watering, but be careful to not over water. To avoid possible leaf diseases, avoid overhead sprinkling or water in the mornings to ensure the leaves will dry during the afternoon warmth.

When cultivating, be mindful of their shallow roots. Careful hand-pulling of nearby weeds will keep them very happy.


Plants can be harvested by cutting the plants almost to the ground when they are a usable size. The greens will then grow new leaves from the base that has been left in the garden. If it is preferred, the entire plant can be harvested. Baby greens can be harvested in about a month after planting.

When the weather becomes hot, greens tend to bolt. The plants begin to grow rapidly and, rather than producing mostly leaves, they will produce seeds and become bitter. It is possible to grow greens in warmer weather, but it takes some extra planning and TLC.

Wherever you decide to grow them, salad greens are a nice addition to any garden. Spring is the easiest time to grow them and the perfect time to get some early fresh garden produce into your diet. 


Monday, October 22, 2018

Troubles with your Summer Lawn


The Turf/Tree Team recently had a couple of site visits where our clients are having issues with their lawns. The 1st was fungal issue called Brown Patch, where the grass looked dead and the 2nd issue was an over watering issue where it was impacting his lawn. We also believe the over watering was also impacting the surrounding trees that were under stress. We’ll cover both issue and talk about how to avoid these problems going forward.


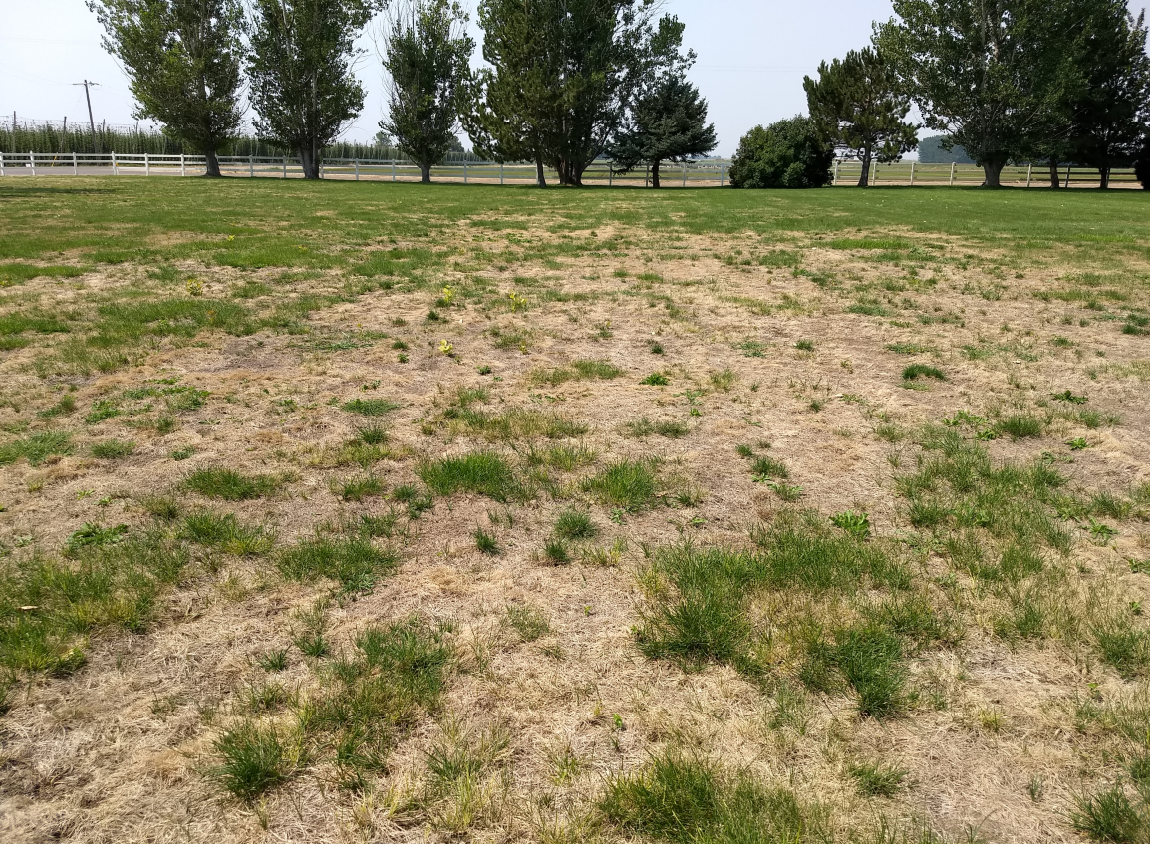
Let’s look at Brown Patch impacting a large area of the local neighbors lawn:
    
      No insect problems, just a fungal issue.


Our client swore she was having insect problem, but after we pulled up a large sample of the impacted lawn and took it back to office for analysis. We found both the crown and roots to be intact,  we also found no insect issue, because most insects such as billbugs would be eating away on roots and crown.
What we did find was good soil full of worm eggs and casting and a lot of small roly-polies. The grass though was thin with large patches of light brown grass. Our client had many unfavorable conditions that were going on from overwatering, from causing humidity levels to spike, to having a lawn service come out for multiple fertilizer applications to her lawn. All this added up for a severe case of Brown Patch to develop.  
So we followed up by researching from multiple educational websites that address Brown Patch and how to prevent Brown Patch from happening next year. Those articles included attention to cultural practices, such as avoiding excess nitrogen during the summer heat, which can contribute to reducing disease pressure and help improve fungicide performance on intensively managed turf. Improving air circulation and scheduling irrigation times to avoid long dew periods to also help suppress Brown Patch outbreaks.
There are also numerous effective fungicides that are registered for Brown Patch control. When selecting a fungicide, be aware of other turf disease threats and apply fungicides for these threats at the same time to minimize costs and other potential disease problems.


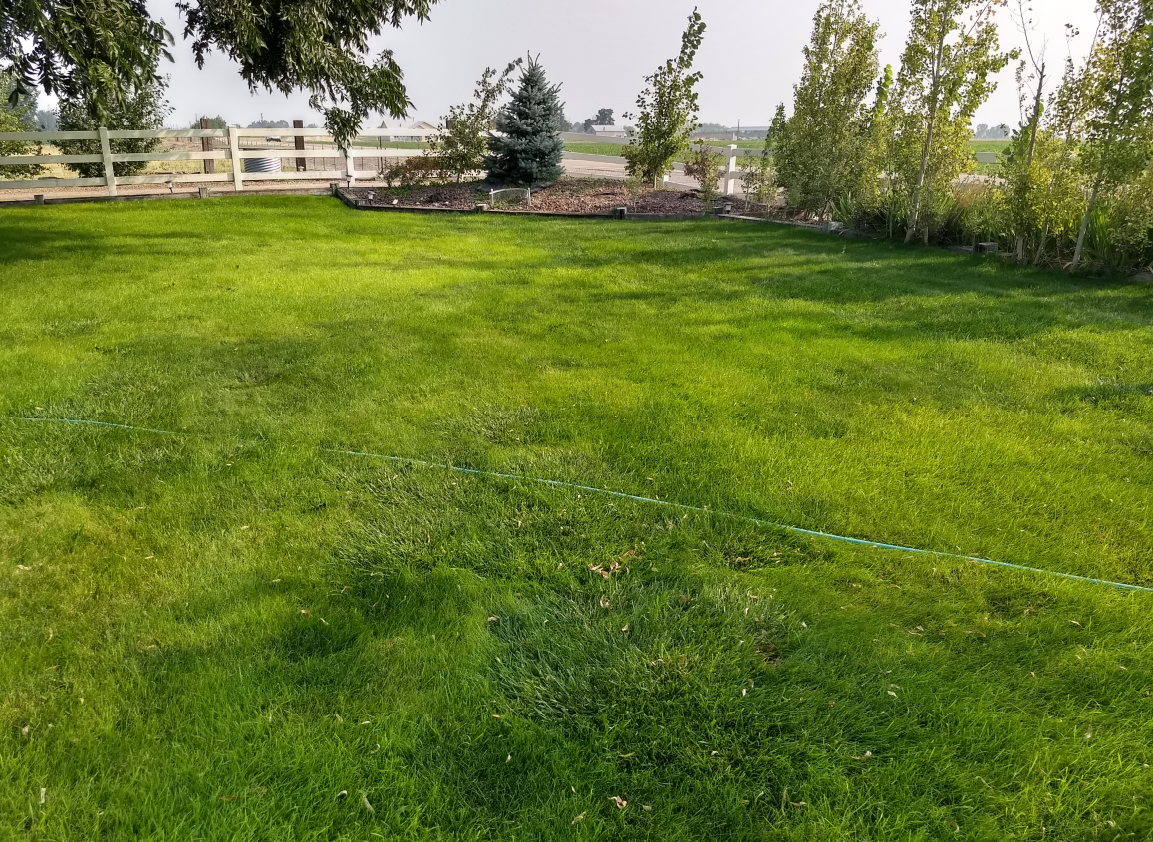
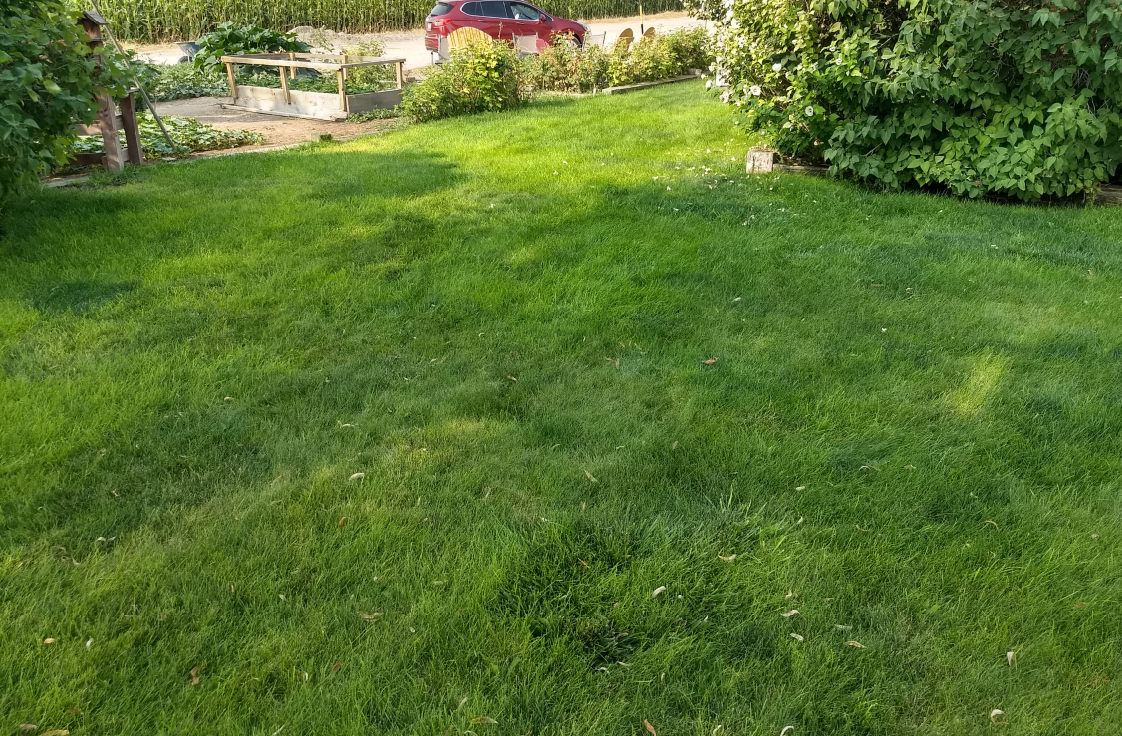
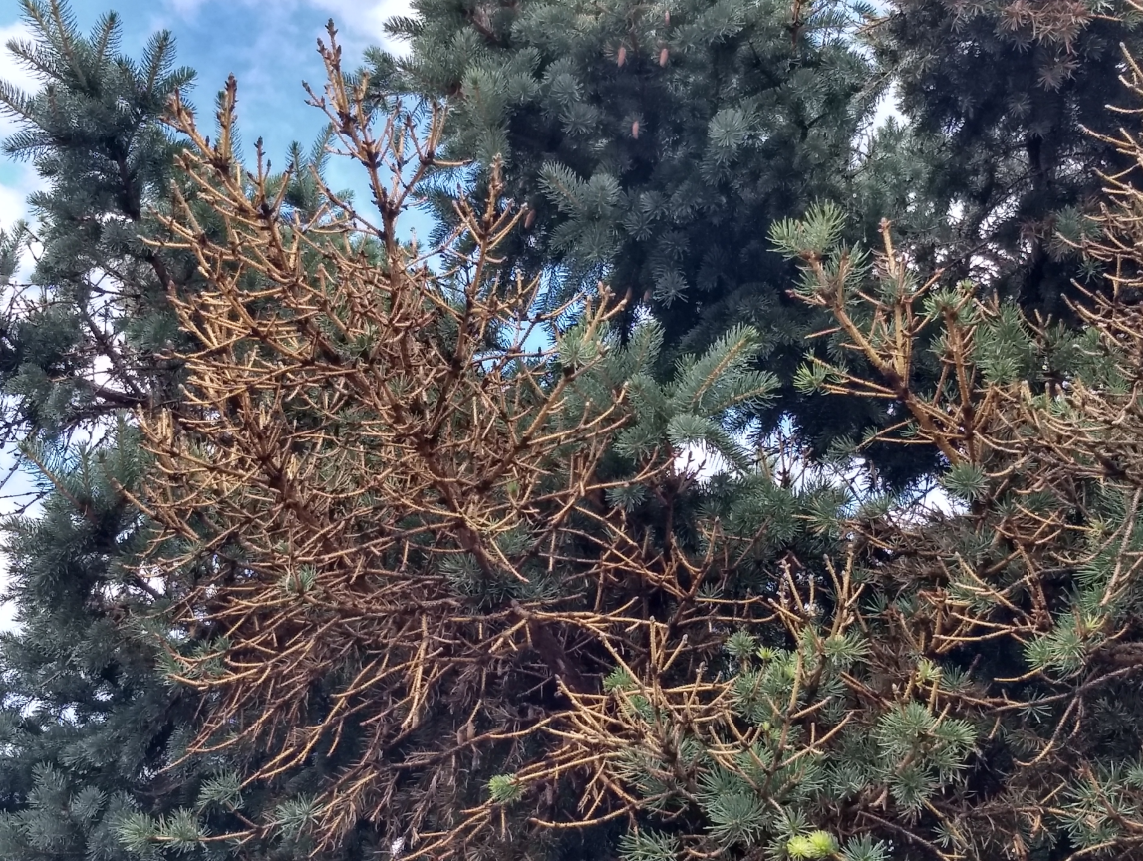
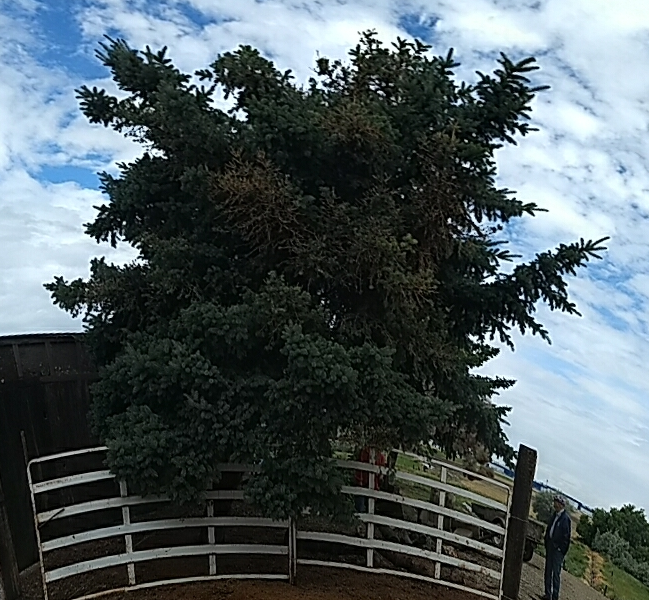
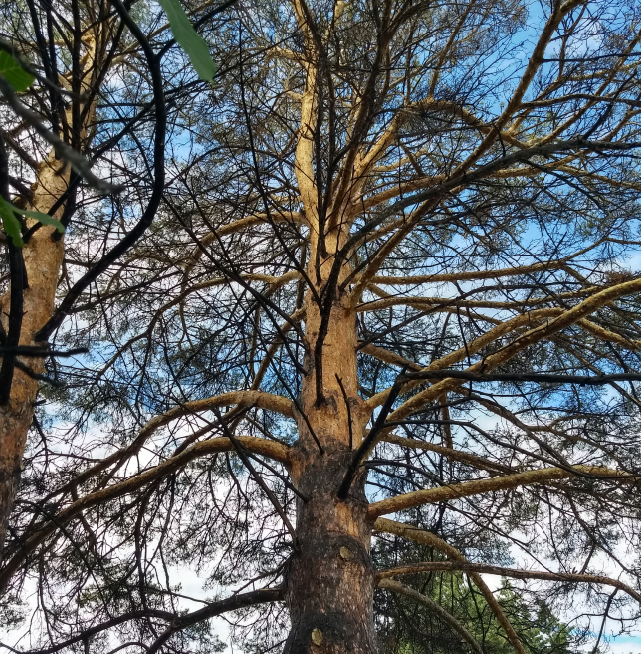
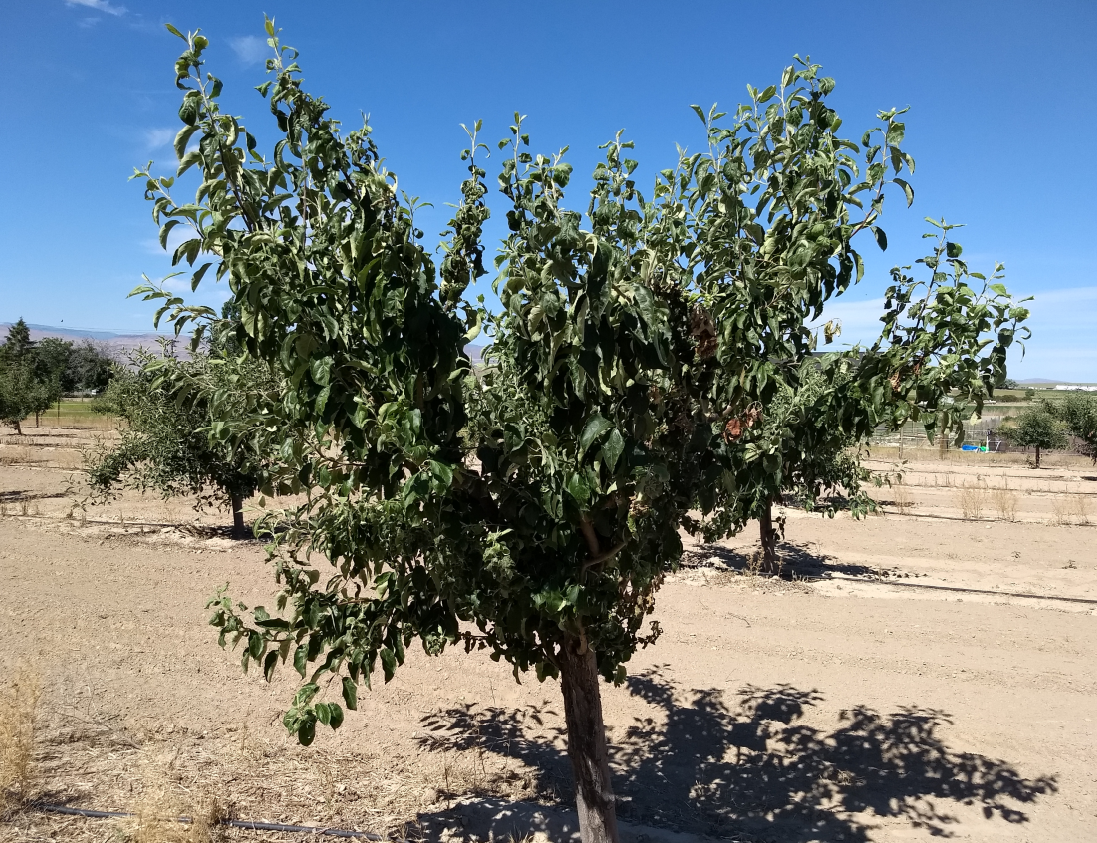
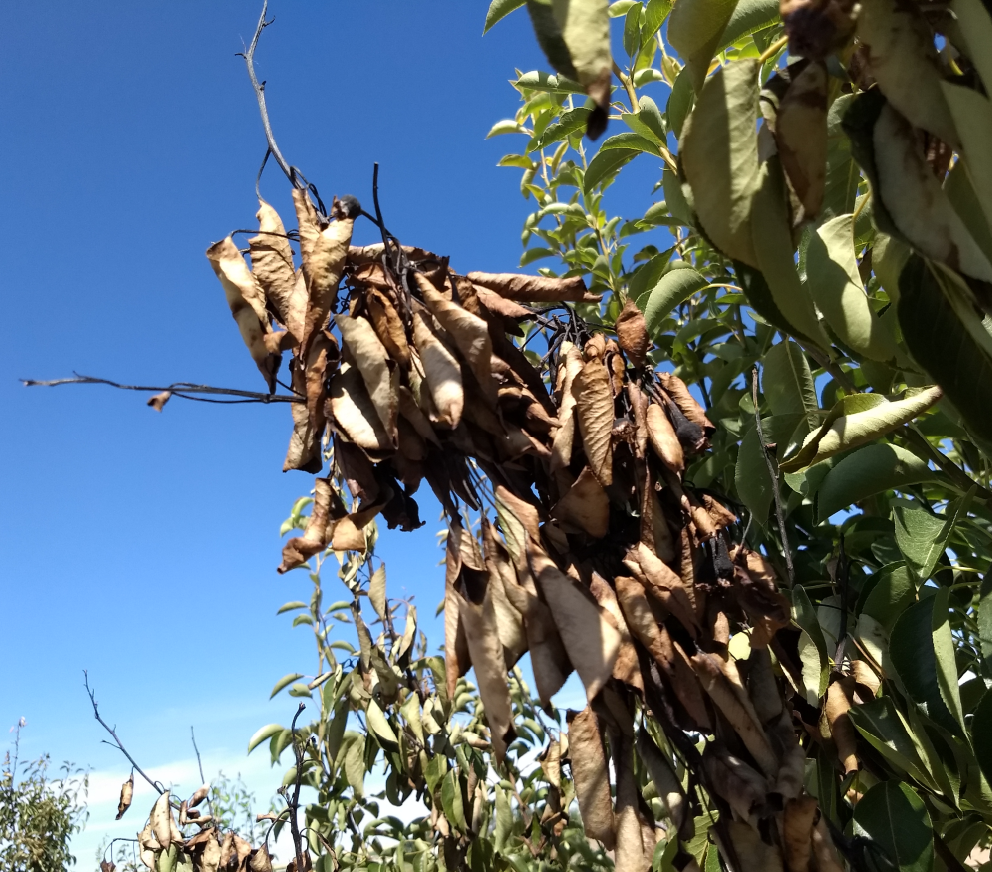
Our next site visit took us out to West Caldwell where the client was having what appeared to be dieback on multiple trees such as Ash, Pecan and Willow. At the time we didn’t have a answer for his tree problems. But after walking around his lawn area looking at the trees, we notice how soft and spongy the lawn felt. Looking around closer, we found large areas of yellowing grass and when we bent over and tugged at the lawn, we felt the crown area separating from the soil surface. We then ask about his watering and fertilizing schedule. We found out he was watering for nearly hour in each zone every other day and his local lawn care service was out frequently applying multiple applications.


          Light Yellowing of grass blades


We talked for awhile about how much water his lawn really needs during the summer months and that his lawn care service may be over doing it. He did turn off the watering station to allow his lawn to dry out some while we were there.
When we got back to office we followed up by putting together a Lawn Maintenance Schedule that included how often to water and what his lawn fertilizing needs were for a whole year. He seemed pretty happy with the follow-up schedule. We also sent an older article we found from USDA where over applying the amount of Nitrogen could be causing problems with his Pecan tree. Even though I wouldn’t rule out the 3 story tall tree house surrounding the pecan tree, it may also be impacting on the life of tree.

So far this summer the Turf/Tree Team has been fairly busy with site visits and providing research based answers to the clients. They have enjoyed the opportunity to provide this service which is part of the Master Gardener Program, Canyon County Extension of the University of Idaho.


Monday, September 3, 2018

Turf/Tree Team Part 2

The Tree and Turf Team has been busy so far this summer. Part 2


Our next site visit was near Greenleaf to help answer the question on why a resident’s spruce tree was showing signs of failing health. What we found was a single spruce tree next to a barn where it was starving for water, which was making the tree unhealthy. That in turn attracted Spruce Beetles which started their slow death of the tree. Look at 3rd photo below where bark is missing, also notice the 4th photo below of a neighbor’s spruce tree with severe beetle damage. We took a small walk around and noticed several more spruce trees in neighborhood with similar signs of beetle damage.
Signs of beetle damage are where the needles on infested trees may turn a pale yellowish-green color and tend to drop to the ground after high winds, but rarely turn rust colored on the tree. Needles typically drop from branches the second summer after the tree has been infested. Boring dust, produced when beetles bore new entry holes, may accumulate in bark crevices and around the base of the tree. Streams of resin along the main trunk are often associated with recently attacked trees.
What can you do to help protect your spruce tree?
  • Maintain the health and vigor of trees: The Spruce Bark Beetle prefers to attack weaker trees or ones that have fallen so maintaining the health and vigor of your trees is important. Tree culturing activities such as watering and fertilizing trees early in the growing season will help develop and maintain healthy trees.
  • Prune lower branches to retain a fully crowned tree. Topping mature evergreen trees as illustrated in the pruning link, page 6, sets a tree up for disease and damage: Pruning should be done in the fall and the branches removed from the site if disease is present.
  • Spray the tree with an insecticide registered for use on spruce trees to prevent Spruce Beetle attacks: This should be done in spring by early May to protect the tree prior to the beetle’s emergence and dispersal flight.

Severe dieback
Spruce tree next to barn
   
Neighbors tree with severe beetle damage
Noticeable beetle damage
           
Spruce beetle impact: from Colorado State forest management

Tuesday, August 14, 2018

Turf/Tree Team Part 1

The Tree and Turf Team has been busy so far this summer.
Part 1.

There hasn’t been a slow down with mid-summer fast approaching for Tree & Turf Team.
The team has been all over the valley visiting multiple issues impacting resident’s trees and lawns. We’ll cover a few of our visits in detail, giving what we found, we will show some photos of damage and what advice we gave to help the owners.
Our 1st visit takes us out to Melba where a couple have 2-acre 180 fruit tree orchard that turned out to be a lot of note taking. The couple called into Canyon County Extension Office asking for help with their apple, pear and cherry trees, each with a different problem. The apple trees were being impacted by a severe aphid infestation. “see photo’s 1 and 2”. At this point there wasn’t much we could do because the aphids would soon be gone for the summer eating grasses but they  could return in fall. We made comments about using horticultural oil before bud break next year to help control future outbreaks.  
Aphids causing the leaves to curl
Notice small black spots on the back of leaf
The second tree variety “pears” appeared to be impacted by fireblight. Fireblight is a really nasty bacteria that ends up killing large areas of the tree. The only way to try saving what’s left of the tree is cutting the impacted branch below the infected area and disposing of it. It’s important to get these limbs removed right away because the bacteria can move from blighted spurs and shoots through the vascular system into larger limbs and tree trunk. Death of the tree could result within one season if not properly taken care of.

Signs of fireblight is wilted leaves turning black
Several branches impacted with fireblight               
The third tree issue impacting the orchard was their cherry trees. Research is still ongoing, but we are suspecting a fungal disease called Brown Rot Blossom Blight. The branch tips die back, leaving clusters of dead, brown leaves. Fungus spores infect the tree blossoms in the spring, when the blooms begin to age. Many tiny black spores begin to cover the dying flowers. The spores become active and start to kill the branch tip and work back towards the trunk. Once the dieback begins, the disease cannot be controlled. The only recourse is to prune off the dead portions of the branches and dispose of them in the trash. However, you can help prevent the reinfection of your plants by cleaning up all ground litter from all around the base of the tree.
Clusters of brown dead leaves
Backed off to notice dead branch dieback
Last pieces of advice we gave them was about their drip water system, which was to move emitters out further toward tree drip line instead of directly next to trunk. The 2nd item was to bring in a few truck load of wood chips that could help in retaining moisture and better temperature control under the tree canopy.

Check out some of these links.


Data Reference:
Aphids impact on apples trees:  from Utah State Extension


Fire blight on pear trees: from University of California Extension


Cherry tree fungus blight: from Penn State Extension

Saturday, June 16, 2018

Are Bees the Only Pollinators?

With real evidence of bee population loss in the last few years, the term ‘pollinator’ might be on a gardener’s mind right now.  But what about other pollinators? Can you encourage other beneficial insects to your landscape and do they have any other benefits?  Do they all sting? 

In the chart below, we can find some common plant pollinators who you may not have thought of as beneficial, but all have something to give to your garden.  

Wasp_March_2008-3[1]
European Paper Wasp

Let’s start with one of the hardest to accept, the European Paper Wasp. Difficult as it may be to have around because they do sting, not only are they pollinators, but they also feed on soft bodied, leaf-eating pests - caterpillars, aphids.

hoverfly_in_november_iii_by_dalantech-d8eox4q[1]
The Hoverfly is a pollinator in disguise.  They have evolved to look like bees, mainly to ward off predators. Lucky for us these little flies are harmless, unless you’re an aphid. Once the adult Hoverfly has selected the best aphid colony in your garden to lay its eggs beside, soon those eggs develop into aphid-eating maggots. 
4927975966_d1bd6d17e1_z[1]Butterflies and Moths are also good pollinators because of the large amount of pollen that collects on their feet and legs. Some special characteristics that set them apart from bees are not only do they taste with their feet, but they can also see the color red.


Less known but just as important as pollinators are bats, birds, mice, and other vertebrates. 
Psst...they also eat their weight in bad bugs!

With these factors in mind, you might want to try to attract these pollinators to your yard and garden by planting a wide variety of plants that bloom from early spring until late fall. Plant is clumps with native plants and don't forget night-blooming plants. You could also install a bee hotel for native bees and mason bees.

You may be able to do less pest control and more relaxing while these and other beneficial pollinators do the work for you. 
Follow us on Facebook during Pollinator Week June 18-23!

Tuesday, June 12, 2018

No slowing down for Tree & Turf Team this season

Well, things aren’t slowing down for Tree and Turf team this season. After the earliest start for team back in March, the newly combined team has been meeting weekly at Caldwell Extension office going through new client call-ins, emails and walk-ins. We’ve stayed busy researching through numerous education web sites, reading through extension office library books to come up with best answers to help with client’s questions.  A good part of weekly meeting involves research and follow ups with clients.
  
LISA Training
Setting out measuring cups
The team has also continued the process of its own learning by taking class at Rich’s house back in early May. The new educational service called LISA “Lawn Irrigation System Audit” allows anyone to call extension office and schedule Master Gardener to come out to their home.  The MG can perform water irrigation test that determines how well your lawn irrigation system is performing across your whole lawn. So, if you notice any dry brown areas or soggy wet areas in your lawn, this service could be a benefit that could help determine if you need to move or adjust your irrigation water flow.
then measuring each cup

Watering for a set amount of time


The service is reasonably priced at $20.00 per call.  The overall  time to do the whole service at the client’s place is about an hour.

What we have seen lately are clients calling a professional landscape person to help in planting a new tree into their yard. Then a short time later [4 to 12 months], the tree starts the slow die-off process because it was improperly planted.  They then call the Extension Office asking "Why is my tree dying?". Notice the triangle wires sticking out of the ground, this is part of wire basket in which the tree was shipped.
We’ve had several clients call in the past month where landscaper dug too small of hole for that size tree. Then just rolled the root ball wrapped in burlap sack along with thick wire basket into hole. This didn’t allow roots to grow and be healthy, instead the roots were stuck in very small space and tree started slow death.
This is what you want to remove before putting your tree root into the ground:  All of the Wire rack and burlap sack ⇒⇒


I’ve included a couple of very good Education web sites that show the proper way to plant new trees and a good maintenance schedule to help your tree stay healthy.


Monday is just around the corner for us with more new client questions to research for right answers. 
So, until next month, keep on digging!

The Tree and Turf Team