Friday, December 13, 2024

A Gardener’s Christmas


´Twas the night before Christmas,
And all through the yard
The branches were bare
And the ground frozen hard;

The roses were dormant
And mulched all around
To protect them from damage
If frost heaves the ground;

The perennials were nestled
All snug in their beds,
While visions of fertilizer
Danced in their heads;

The newly planted shrubs
Had been soaked by a hose
To settle their roots
For a long winter’s doze;

And out on the lawn
The new fallen snow
Protected the roots
Of the grasses below;

When, what to my wondering
Eyes should appear,
But a sleigh full of gifts
Of gardening gear;

St. Nick was the driver
A jolly old elf,
And he winked as he said,
“I’m a gardener myself.

I’ve brought new seeds
And light systems, too,
Give them a try
And see how they do.

To eliminate weeding,
I brought bags of mulch
To attract the pollinators,
I have flowers for best results.

To add to your joy,
I’ve plenty of herbs
And ornamental grasses
For your hell strip curb.

For seed planting days,
I’ve a trowel and dibble.
And a roll of wire mesh,
If the rabbits should nibble.

I have the latest books
Plus some gadgets you’ll love;
Plant stakes and frames,
And waterproof gloves.

Here are sharp shears
And a new compost pit
And, for pH detecting,
A soil testing kit.

With these colorful flagstones,
Lay a new garden path.
For the view from your window,
A bird feeder and bath.

And last but not least,
Some well-rotted manure.
A green garden year-round,
These gifts will ensure.

Then, jolly St. Nick
Having emptied his load,
Jumped in the seat
And took to the road.

And I heard him exclaim
Through the nights quiet hum,
“Merry Christmas to all,
And to all a green thumb!”


I read an old version of A Gardener’s Christmas in the Garden Club of Virginia’s December Journal.  

the author is unknown so I took a few liberties. Merry Christmas! 

Friday, December 6, 2024

Holiday Gifts for Gardeners: Ideas for the Green Thumbs in Your Life

The holiday season is the perfect time to show the gardeners in your life how much you appreciate their love for growing. Whether they have a sprawling vegetable patch or a cozy indoor garden, thoughtful gifts can bring joy and inspiration. In Idaho, where winters can be long and harsh, gardening gifts that work year-round are especially welcome. Here are some creative and practical ideas for gardeners this holiday season.
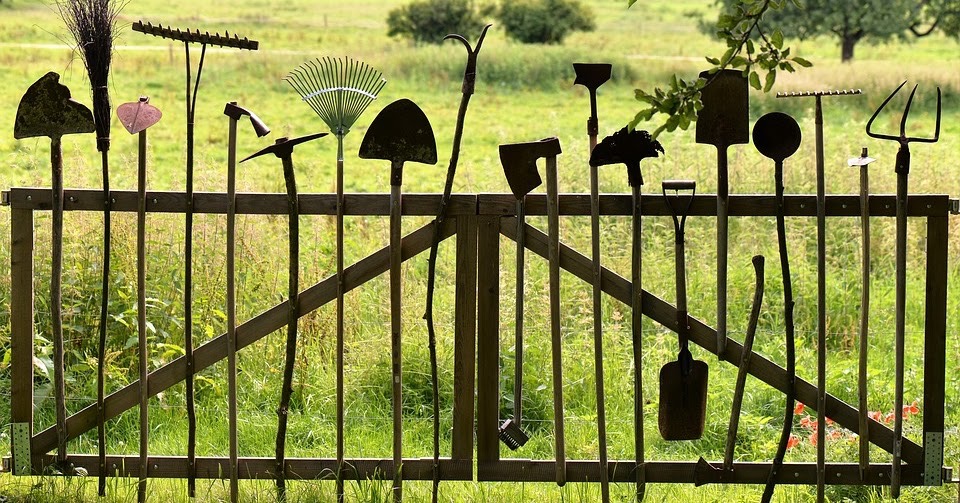
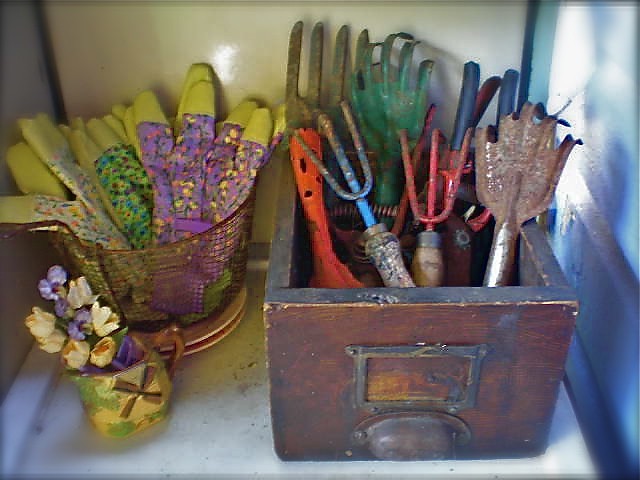
Gardening tools are always a practical and thoughtful gift. In a climate like Idaho's, where winters can be particularly cold, a pair of heavy-duty gloves is essential. Look for insulated, waterproof gloves to keep hands warm and dry during winter gardening tasks like pruning or snow removal. Pruning shears are another must-have. A sharp, ergonomic pair helps gardeners trim trees and shrubs during the dormant season. A soil thermometer is also a great gift, allowing gardeners to monitor soil temperatures and know when it’s the right time to plant in the spring.
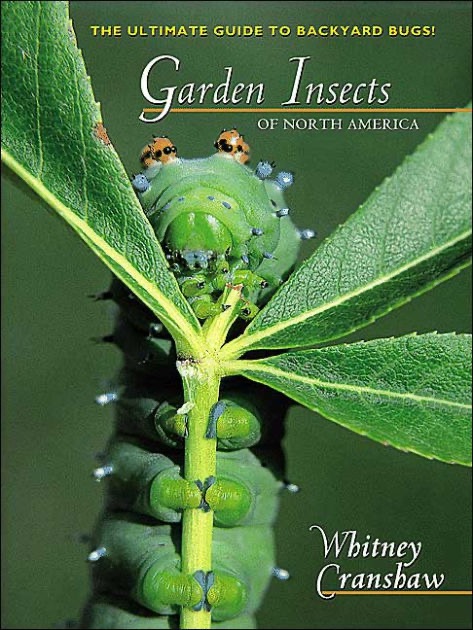
Indoor gardening gifts are perfect for those who want to continue growing through the winter months. A hydroponic kit is an excellent option for growing fresh herbs, greens, or even small vegetables indoors without soil. These self-watering systems are great for gardeners with limited space, like apartment dwellers. A beautifully illustrated gardening book also makes a thoughtful gift. Whether it's a plant care book or an inspiring guide to indoor gardening, these books offer useful tips and creative ideas for keeping plants healthy through the winter. Many indoor gardeners also appreciate grow lights, especially when natural light is scarce. Adjustable LED grow lights create the ideal environment for plants to thrive indoors, even during Idaho’s dark winter months.

A garden journal is another great gift for the gardener who likes to track their planting, growth progress, and seasonal changes. These journals often include spaces to note weather conditions, plant varieties, and lessons learned, making them a valuable tool for planning future seasons. Plus, they’re a great way for gardeners to reflect on their progress and goals. Look for journals that also have prompts for creative gardening ideas or sketches of their garden layouts.
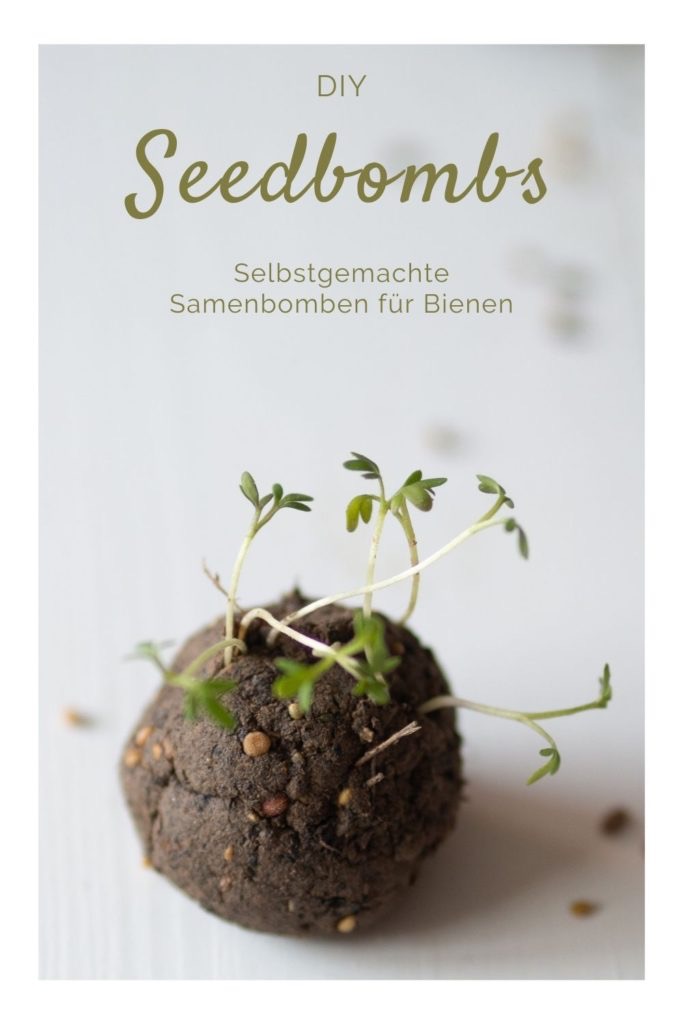
DIY garden gifts are always a hit and add a personal touch that store-bought items can’t match. One creative idea is making seed bombs. These eco-friendly gifts can be easily made using native wildflower seeds, clay, and compost. They’re perfect for spreading beauty in any garden or gifting to friends. Another fantastic DIY project is upcycled garden markers. You can make personalized markers from old spoons, pieces of wood, or smooth stones. Paint them with plant names or fun designs for a rustic touch.

For a more elaborate DIY project, consider crafting a homemade potting station. You can repurpose old furniture, like an unused table or cabinet, to create a practical work space for repotting plants or storing tools. Add hooks for hanging small tools, shelves for storing pots, or drawers for organizing gardening supplies. It’s a functional and thoughtful gift that any gardener will appreciate. You could also put together a seed starting kit, complete with DIY seed trays made from egg cartons or cardboard boxes, some organic seeds, and a small watering can.
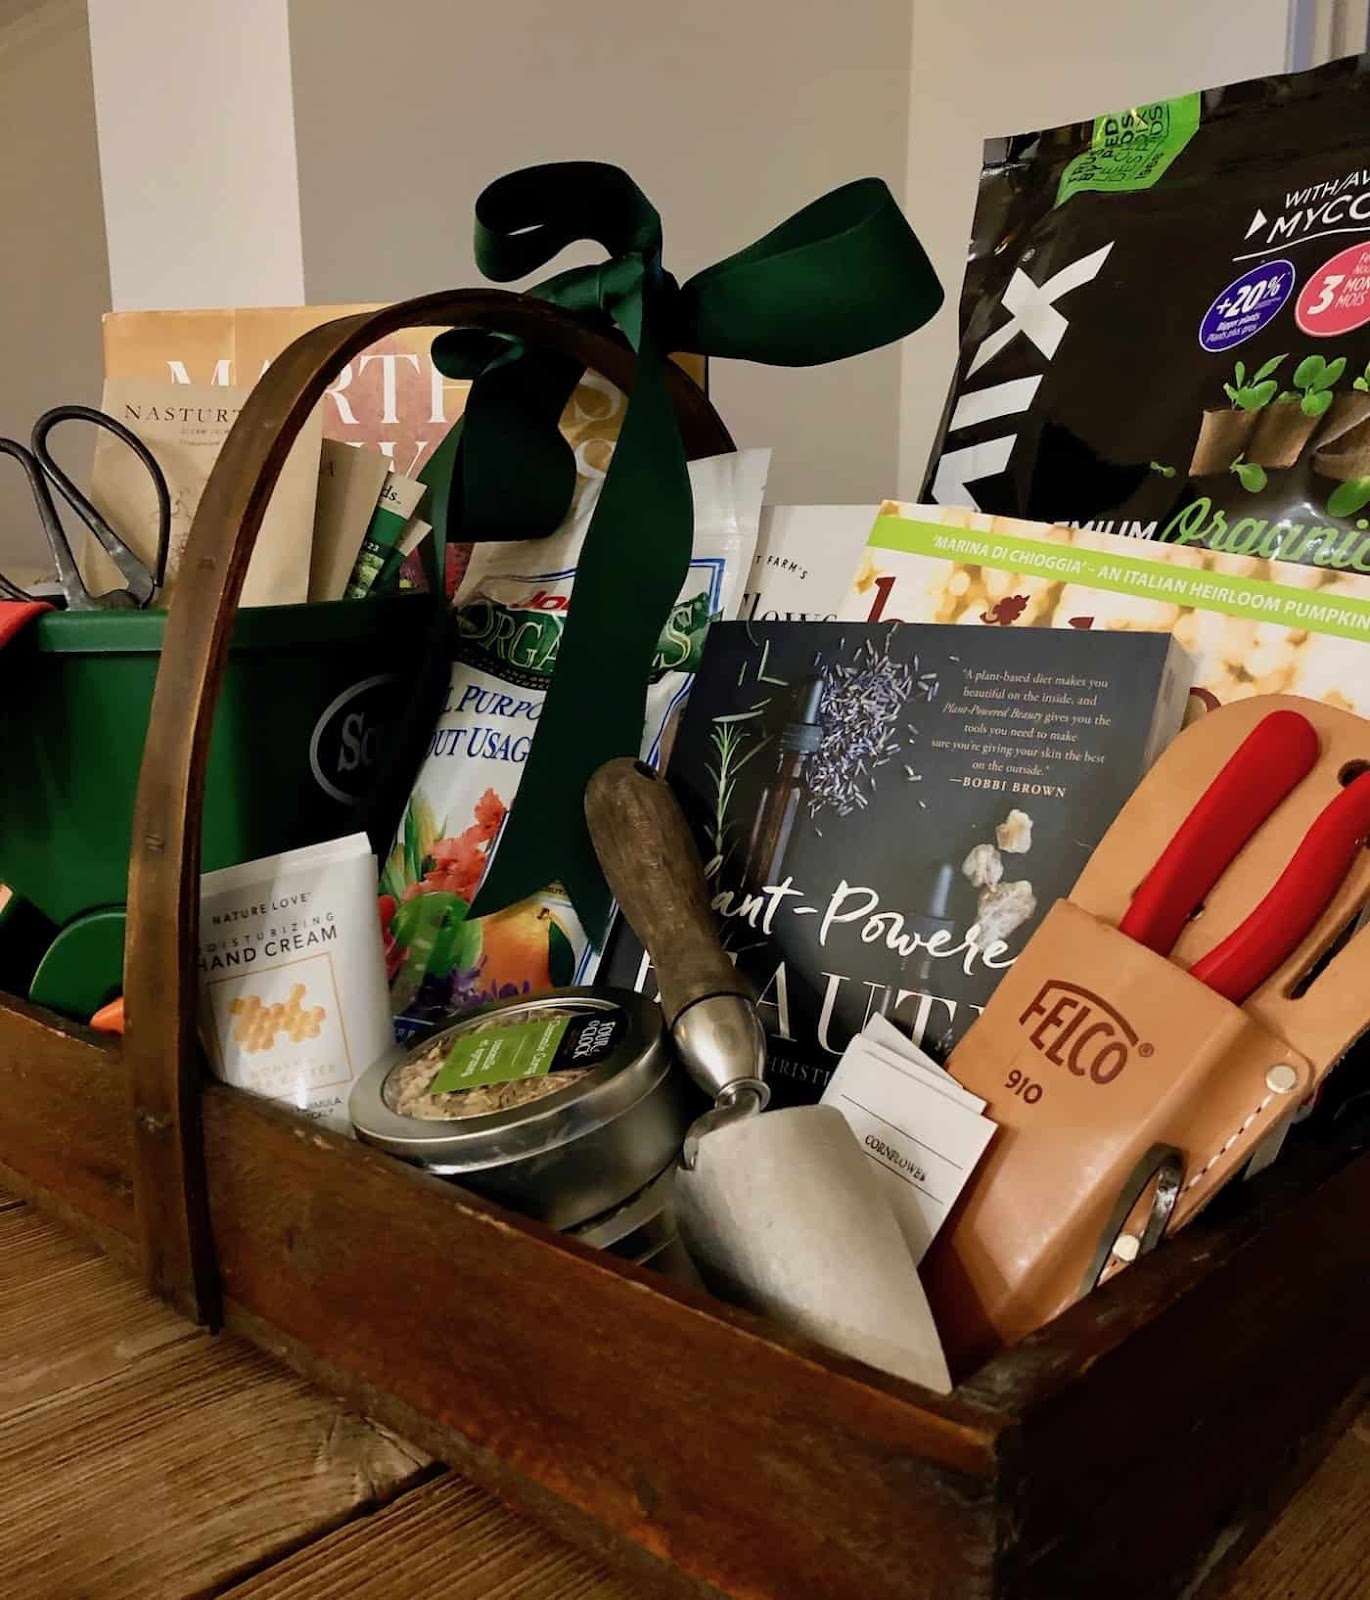
Another meaningful DIY project is creating a garden-themed gift basket. Fill the basket with an assortment of gardening essentials and homemade treasures. Include items like packets of seeds, gardening gloves, small hand tools, and a couple of gardening books for inspiration. Add in some herb-infused oils, dried flowers, plant-based soaps, or even a jar of homemade jam made from last season’s harvest. You could also toss in a hand-crafted bird feeder, a cozy for a favorite plant, or some garden markers. This thoughtful collection brings a touch of the garden indoors, offering warmth and nature's beauty during the colder months.

Whether it’s practical tools, indoor gardening solutions, or personalized DIY creations, these gift ideas will delight any gardener and help them stay connected to their passion, even through Idaho’s cold winter months. The right gift can inspire new gardening projects and prepare them for the next growing season.

Friday, November 29, 2024

Amaryllis Magic: Winter Cheer

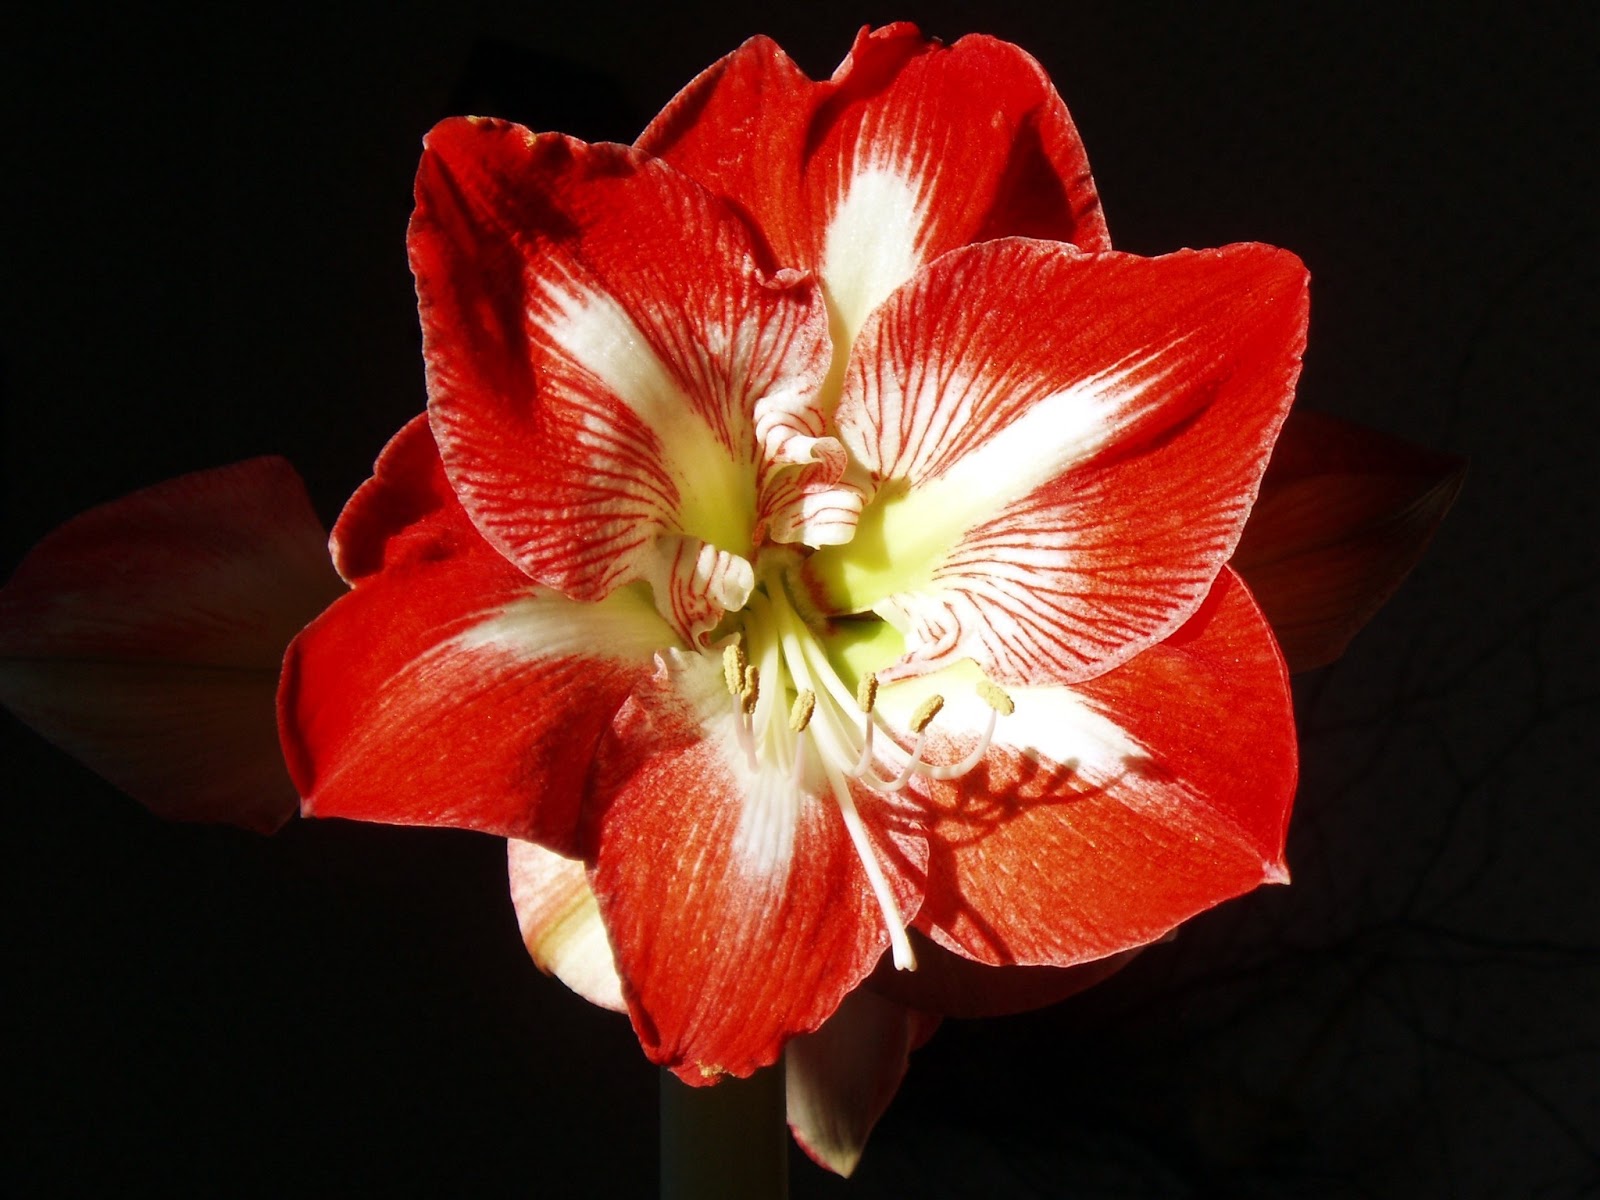
Winter is a magical time for indoor gardening, and the amaryllis stands out as one of the most stunning winter-blooming plants. Known for its impressive, large flowers that can range from pristine white to deep red, the amaryllis adds vibrant color to holiday decor and offers a rewarding gardening experience.

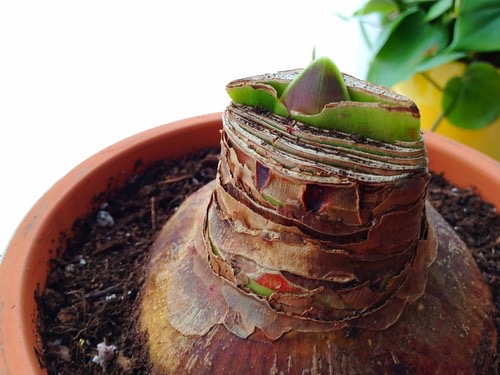
To begin your amaryllis journey, plant the bulb in the fall, ideally in late October or early November. This timing allows the plant to bloom beautifully during the winter months. 

Select a healthy bulb from a reputable source and choose a pot that is about 1-2 inches wider than the bulb. Use a well-draining potting mix, and when potting, ensure that the top one-third of the bulb remains above the soil to prevent rot. Place the pot in a warm, bright location—around 70°F (21°C) is ideal. Water thoroughly after planting, making sure excess water can drain away.

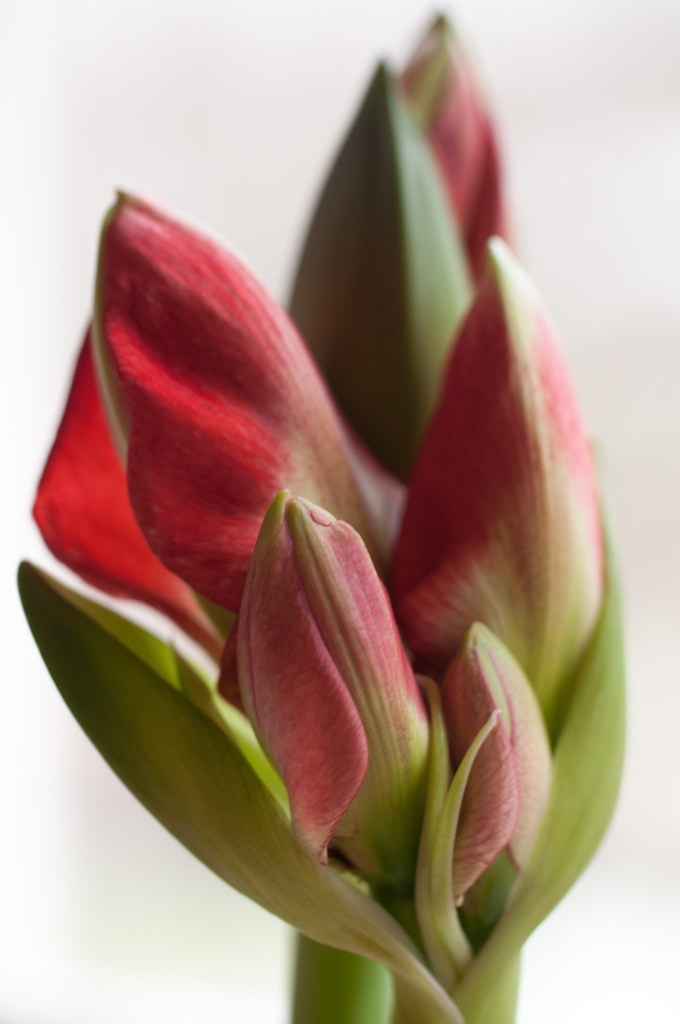
As the plant grows, thick, sturdy stalks will emerge, followed by large, trumpet-shaped flowers. These blooms can last for several weeks, creating a cheerful atmosphere in your home. To maintain the plant’s appearance, remember to turn it regularly to ensure even light exposure and prevent it from leaning toward the light source.

Once the flowers fade, proper care for the foliage is essential. Allow the leaves to die back naturally, as they play a crucial role in photosynthesis, storing energy in the bulb for future growth. When the leaves turn yellow and begin to wither, you can cut them back to the bulb.

For those looking for an easier option, waxed amaryllis bulbs have become increasingly popular. Coated in colorful wax, these bulbs require no soil or potting and can simply be displayed in bright, indirect light. The wax helps retain moisture, allowing the bulb to grow without the need for watering. While waxed bulbs are typically intended to be discarded after blooming, they can be revived with a bit of effort.

After the flowers fade, you can remove the wax and any wire from the bulb. If the bulb is still firm, you can plant it in a well-draining potting mix, treating it like a traditional amaryllis bulb. Plant it with the top one-third exposed above the soil, place it in a warm, bright location, and resume regular care. With proper attention, the bulb may produce new growth and bloom again.

If you choose to save a traditional amaryllis for next year, give it a resting period of about eight weeks in a cool, dark place after the blooms fade. Repot the bulb in fresh soil, lightly water it, and return it to a warm, bright location to stimulate new growth.

With the right care, both traditional and waxed amaryllis bulbs can bloom again, bringing joy and beauty to your home year after year. Understanding their unique needs—from planting in the fall to post-bloom care—allows you to enjoy the spectacular flowers of the amaryllis long after the holiday season has passed, making it a cherished addition to your indoor garden.

Friday, November 22, 2024

The Harvest Gathering: A Thanksgiving Story

As the crisp autumn air settles in, many find themselves preparing for one of the most recognized holidays: Thanksgiving. This holiday has roots that trace back to a moment in 1621 when the Pilgrims and the Wampanoag people came together in a spirit of cooperation and shared survival—an important interaction between two cultures.

The Arrival of the Pilgrims

In 1620, the Pilgrims arrived on the shores of what is now Plymouth, Massachusetts, seeking a new life away from religious persecution. Their first winter was harsh, and many suffered from hunger and illness. Their future seemed uncertain until they encountered the Wampanoag people, who had lived in harmony with the land for generations.

The Wampanoag Way: Masters of Agriculture

The Wampanoag were not just skilled hunters and gatherers; they were also masters of agriculture. Their deep understanding of the local ecosystem allowed them to cultivate a variety of crops that thrived in the New England climate. Among their most treasured crops was corn, or maize, which was central to their diet and culture.

  • Corn: The Wampanoag grew various strains of corn, including flint corn, known for its hard outer shell. This staple food was often ground into meal for bread or  porridge, providing essential nourishment.

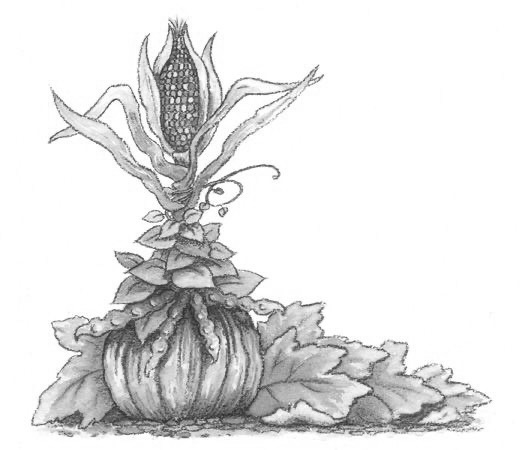
  • The Three Sisters: A hallmark of Wampanoag agriculture was the practice of companion planting, particularly the cultivation of the "Three Sisters"—corn, beans, and squash. This method involved planting corn as the tallest plant, providing a structure for the climbing beans. The beans enriched the soil with nitrogen, while the broad leaves of squash helped retain moisture and suppress weeds. This sustainable approach demonstrated a deep respect for the land.

Seasonal Cycles and Land Management

The Wampanoag followed a seasonal agricultural calendar closely tied to nature. Planting typically began in the spring, often aligned with the lunar cycle, and harvesting took place in the fall. They understood the timing for planting different crops to ensure a successful yield.

Their land management techniques included crop rotation and controlled burns, which cleared fields and enriched the soil. These practices maintained the fertility of their land and encouraged biodiversity, allowing them to thrive in a challenging environment. 

A Gathering in 1621

After a successful harvest in the fall of 1621, the Pilgrims and Wampanoag came together for a three-day feast, often referred to as the first Thanksgiving. This gathering included roasted fowl, likely wild turkey or ducks, venison, alongside steaming pots of corn and perhaps a rich squash dish. While there might not have been pumpkin pie as we know it today, there were certainly pumpkins, which could have been turned into a savory pudding or soup.

The gathering was significant not only for the food but also for the strengthening of relationships. For the Pilgrims, it was a chance to acknowledge the assistance of their Indigenous neighbors. For the Wampanoag, it was an opportunity to reinforce diplomatic ties and share in the bounty of the land.

A Shared Legacy

The Thanksgiving feast symbolizes cooperation and the complexities of cultural exchange. As we think about this gathering today, it’s essential to recognize the relationships that shaped this moment. Many Indigenous peoples view Thanksgiving as a time for reflection, honoring their ancestors and the history that preceded European colonization.

Conclusion

As you prepare your Thanksgiving meal this year, consider the shared legacy that connects us all. From the corn nurtured by the Wampanoag to the agricultural practices passed down through generations, this holiday invites us to reflect on the importance of community and understanding.


Friday, November 8, 2024

The Effects of Wildfires on Plants and Ecosystems

As wildfires across the United States increase in frequency and intensity, the Treasure Valley faces the impacts of smoke and ash. While much attention is given to the health risks for humans, the effects of wildfire smoke on plants and ecosystems are equally concerning.

Reduced Photosynthesis
One immediate effect of wildfire smoke is the reduction of sunlight reaching plants. Smoke creates a haze that blocks sunlight, hindering photosynthesis. However, research shows that smoke can also act as a protective cover, reducing high temperatures and burning ultraviolet rays. This diffused light allows for more efficient photosynthesis, reaching lower foliage that typically remains shaded. Still, the benefits can be mitigated by air pollutants. High concentrations can clog the stomata on leaf surfaces, severely limiting photosynthesis and potentially damaging plants.

Effects of Ash
Wildfire ash can have both positive and negative impacts as well. Composed of essential nutrients like potassium, magnesium, and calcium, a light layer of ash can act as a fertilizer. However, excessive ash can suffocate plants by blocking light and trapping moisture, further stressing them.

Ash can also be considered toxic if not washed off of your vegetables. Smoke and ash won't absorb deep into the fruit or vegetable, so washing thoroughly will take care of residues. Consider rinsing fruits and veggies off outside and again before you eat them. You can also add a layer of protection by peeling and removing the outer leaves of leafy greens to reduce your risk.

Impact on Pollinators and Ecosystems

Wildfire smoke also affects pollinators vital to flowering plants. The haze reduces visibility, disrupting the foraging habits of bees and other pollinators, leading to decreased fruit and seed production. This can threaten local ecosystems and shift species composition, impacting wildlife habitats and water quality.

What Can We Do?
Watering: Keep plants well-watered to help them cope with stress.
Soil Health: Use organic amendments to buffer pH changes and enhance nutrient availability.
Cover Crops: Plant cover crops to protect soil health and improve biodiversity.
Monitoring: Regularly check plant health and address pest or disease issues.

Understanding the effects of wildfire smoke on plants in the Treasure Valley is crucial for protecting our gardens, crops, and ecosystems. While there are both benefits and challenges, awareness and proactive measures will be key to maintaining the health of our cherished landscapes. Ongoing research will further illuminate the long-term impacts of wildfire smoke on both plants and humans, helping us adapt to this growing threat
.

Friday, November 1, 2024

Chill Out! Cold Stratification for Native Plants

Cold stratification is an important step for growing many native plants in USDA Hardiness Zone 7. This process mimics winter conditions, helping seeds break dormancy and ensuring they germinate at the right time in spring. In the Boise area, which is situated in Ecoregion Level III 12 (Snake River Plain) and borders Ecoregion Level II 10.1 (Cold Deserts), you have a unique opportunity to cultivate a variety of native plants. Whether you’re interested in wild sunflowers, asters, goldenrods, lupines, purple coneflowers, milkweed, or penstemon, following these steps will help you successfully propagate these beautiful species in your garden.

Understanding the Ecoregion

Ecoregion 12 features a mix of desert and semi-arid environments, characterized by cold winters and warm, dry summers. The region's soils vary from sandy to clayey, which influences the native plant communities that thrive here. Plants in this area have adapted to withstand drought and temperature extremes, making them well-suited for home gardens that aim to support local wildlife and conserve water.

Starting Seeds Indoors or in a Greenhouse

Starting your native seeds indoors or in a greenhouse allows you to control conditions better. Follow these steps:

  1. Gather Your Seeds: Collect seeds from native plants in the fall, ensuring they are fully mature and dry.

  2. Prepare Your Pots: Use seed-starting pots filled with a seed-starting mix. Make sure the pots have drainage holes.

  3. Moisten the Medium: Lightly moisten the seed-starting mix so it's damp but not soggy.

  4. Cold Stratification:

    • Option A: Directly in Pots: Sow the seeds in the pots, covering them lightly with soil only if they don’t require light to germinate. If they do need light, surface sow seeds and place the pots in the refrigerator for 4-12 weeks. Keep the pots in a plastic bag to retain moisture.

    • Option B: Pre-soaking: Alternatively, mix seeds with a moist medium like sand or peat moss in a zip-top bag, refrigerate for 8-12 weeks, and then surface sow them in pots after stratification.

  1. Move to Light: After the stratification period, move your pots to a well-lit area or greenhouse. Ensure they receive plenty of light but avoid direct, harsh sunlight at first.

  2. Water Regularly: Keep the soil consistently moist (but not waterlogged) as the seeds begin to germinate.

  3. Transplanting: Once the seedlings have a few true leaves and the danger of frost has passed, transplant them into your garden or larger containers.

Starting Seeds Outdoors in your garden or raised beds

  1. Gather Seeds: Collect seeds in the fall from mature plants, ensuring they are fully dry. This timing allows you to utilize natural seasonal changes for germination.

  2. Prepare the Planting Area: Choose a well-draining spot in your garden or raised beds. Loosen the soil and remove any weeds or debris.

  3. Surface Sow: Scatter the seeds on the surface of the soil. Many native seeds benefit from light exposure to germinate, so avoid covering them deeply. If the seeds require some soil coverage, lightly sprinkle a thin layer of soil over them.

  4. Watering: Gently water the area to help settle the seeds into the soil without washing them away. Ensure the soil stays consistently moist, especially during dry spells.

  5. Winter Conditions: As winter arrives, the seeds will experience natural cold stratification, which helps break dormancy and prepares them for germination.

Benefits of Cold Stratification By cold stratifying your seeds, you help ensure healthy germination and align plants with their natural growing cycles. This process also supports local ecosystems by enhancing biodiversity, stabilizing soil, and conserving water.

With a little preparation, you can successfully cultivate beautiful native plants that thrive in your region, including wild sunflowers, asters, goldenrods, and lupines. 

Happy gardening!

Friday, October 18, 2024

Cozy Up, Little Bugs! The Quest for Perfect Winter Hideaways!

Now that fall is upon us in southwestern Idaho, it’s the perfect time to explore whether structures like bug snugs and butterfly houses truly support overwintering insects. While these habitats can be charming additions to your garden, their effectiveness in providing shelter for beneficial insects is worth examining.

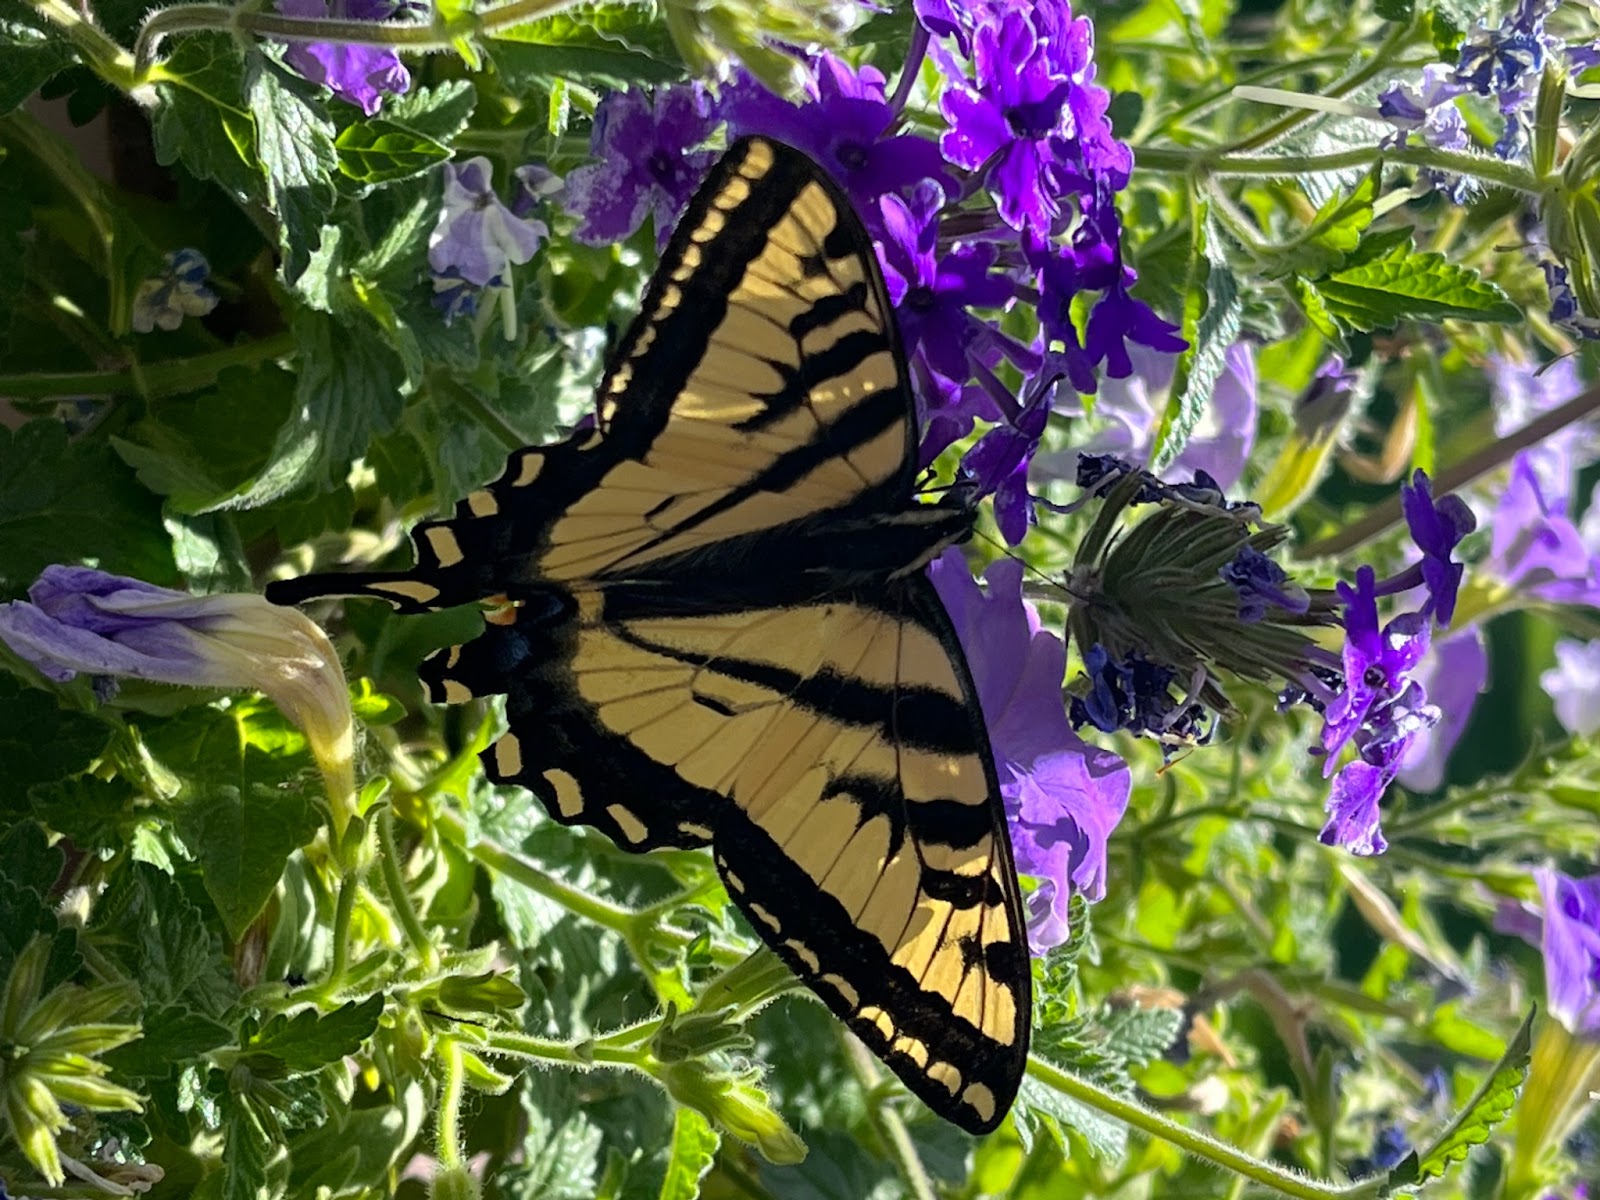
In this region, insects have diverse overwintering strategies. Many butterflies and other beneficial insects overwinter as eggs, caterpillars (larvae), or chrysalises rather than as adults. For instance, monarch butterflies migrate to warmer areas to survive the winter, while others may find refuge in leaf litter or within protective layers of plants. Given this, the role of butterfly houses in supporting overwintering populations can be limited, particularly for species that do not remain as adults during colder months.

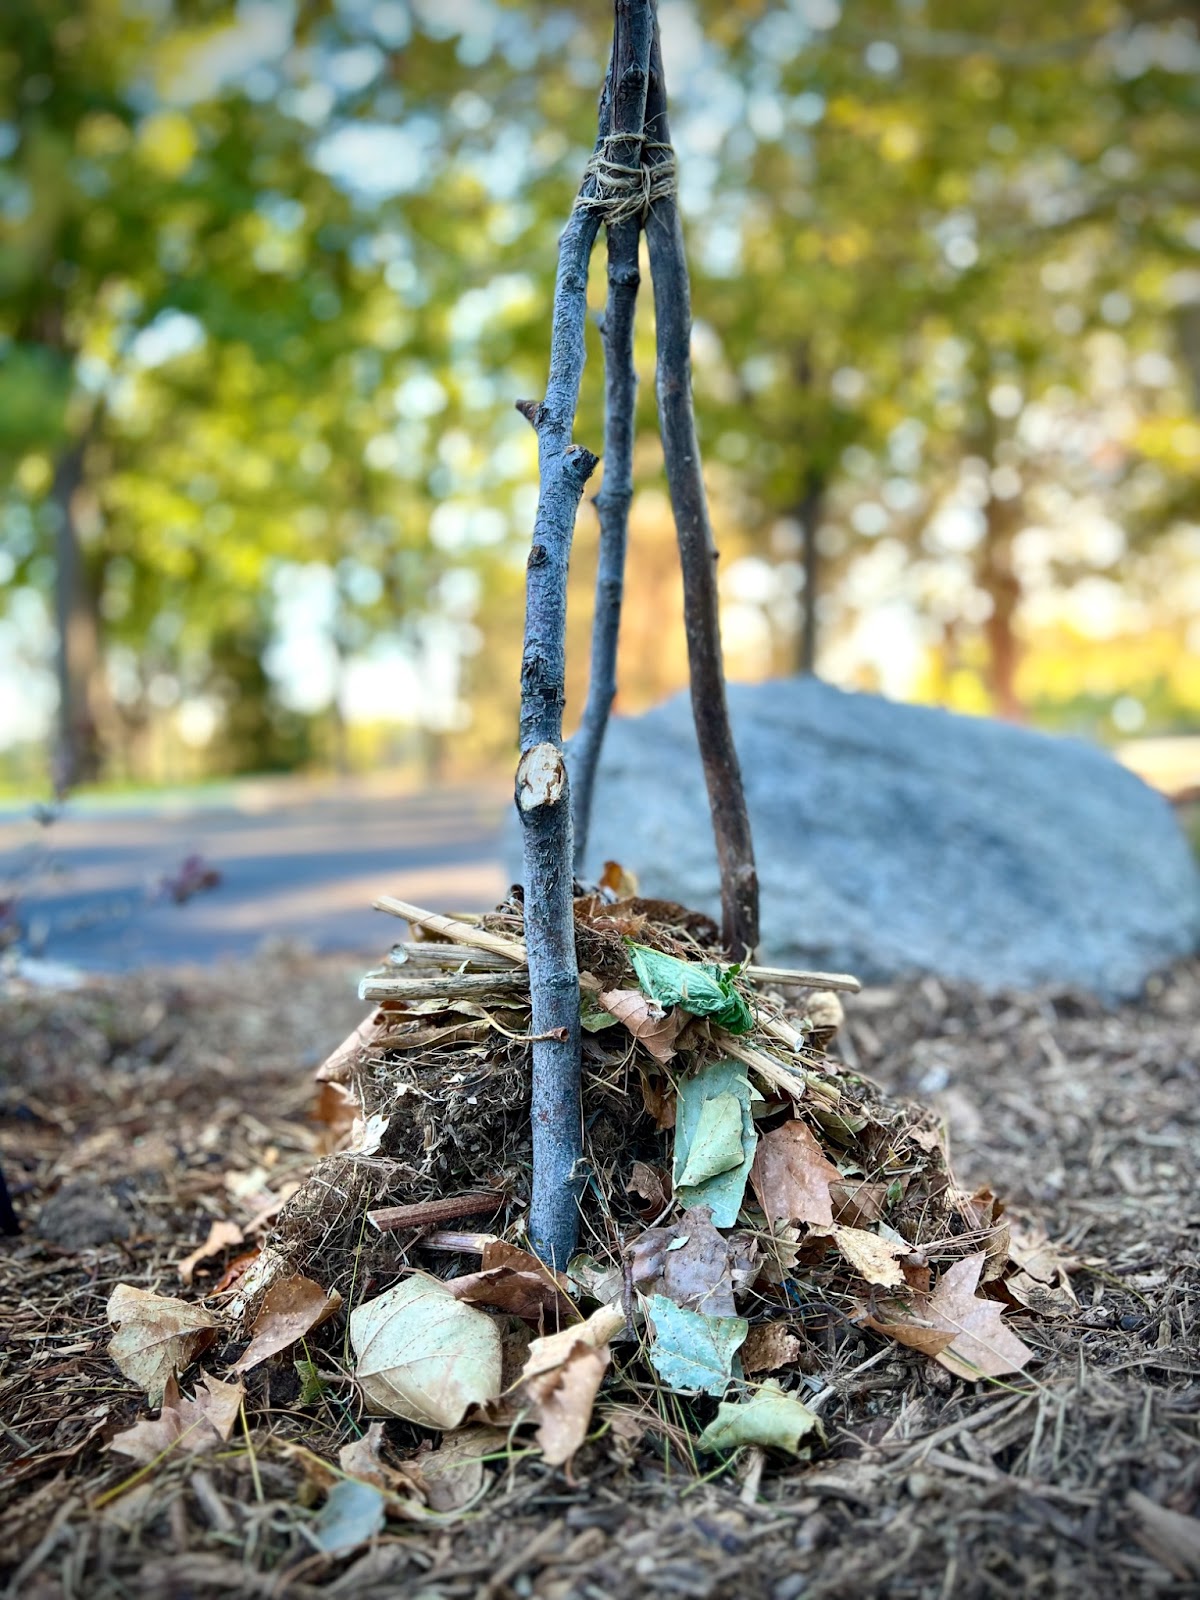
Bug snugs can offer more significant benefits. By providing cozy spaces filled with natural materials like dried leaves, straw, and twigs, bug snugs can create ideal microhabitats for overwintering insects, including solitary bees and ladybugs. These insects often seek out sheltered spots to hibernate, and well-constructed bug snugs can help meet that need.

Additionally, a bug snug is a great option for those with smaller yards. They can be designed to fit in compact spaces, making them ideal for urban gardens. Even in limited areas, bug snugs can contribute to local biodiversity by providing shelter for beneficial insects, which is especially important in densely populated regions. Creating a bug snug can also be a fun project for families, fostering interest in gardening and nature while teaching kids about the important roles insects play in our ecosystem.

However, while bug snugs and butterfly houses may provide some shelter, they are not substitutes for natural habitats. Encouraging diverse environments in your garden is crucial. This includes planting native flora that supports the entire life cycle of butterflies and other beneficial insects. For example, host plants provide food for caterpillars, while nectar-rich flowers attract adult butterflies.

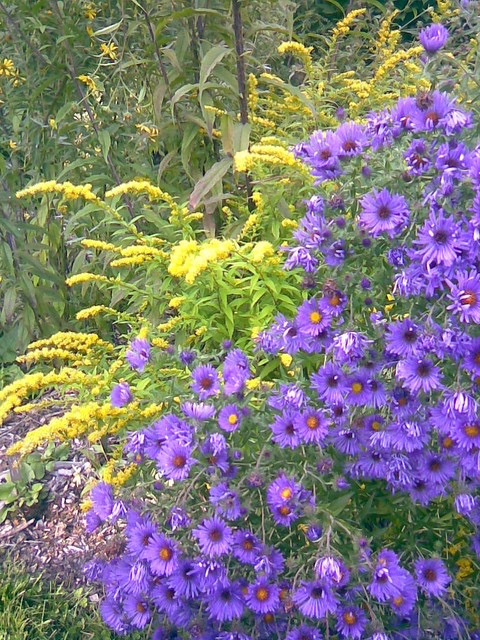
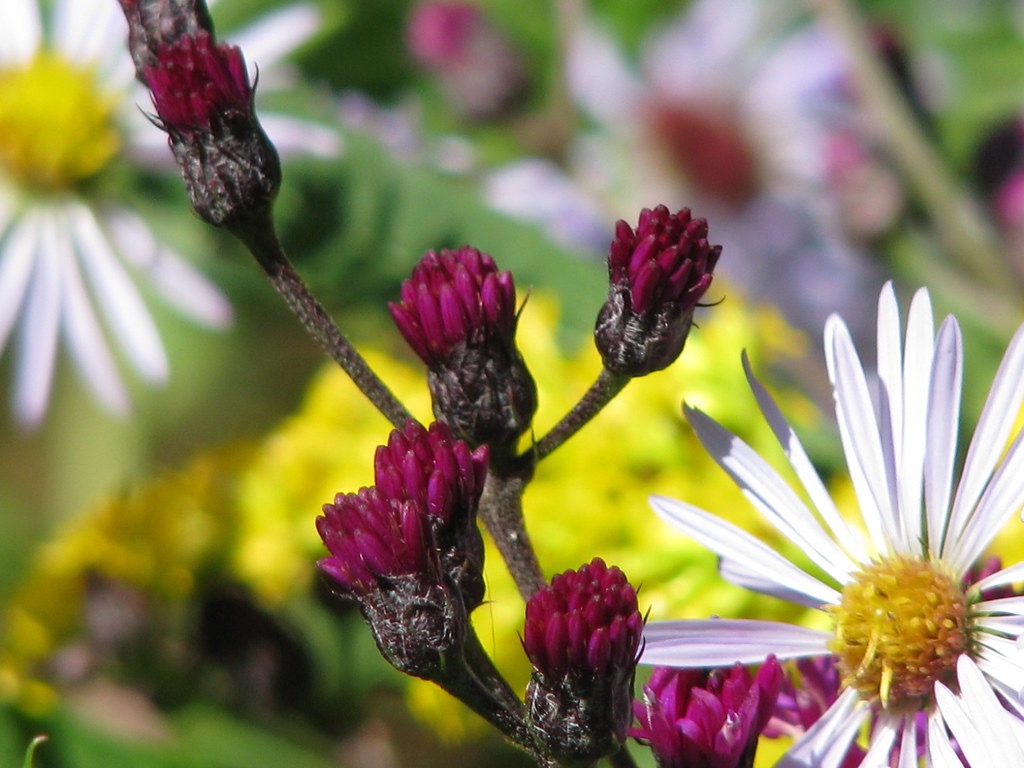
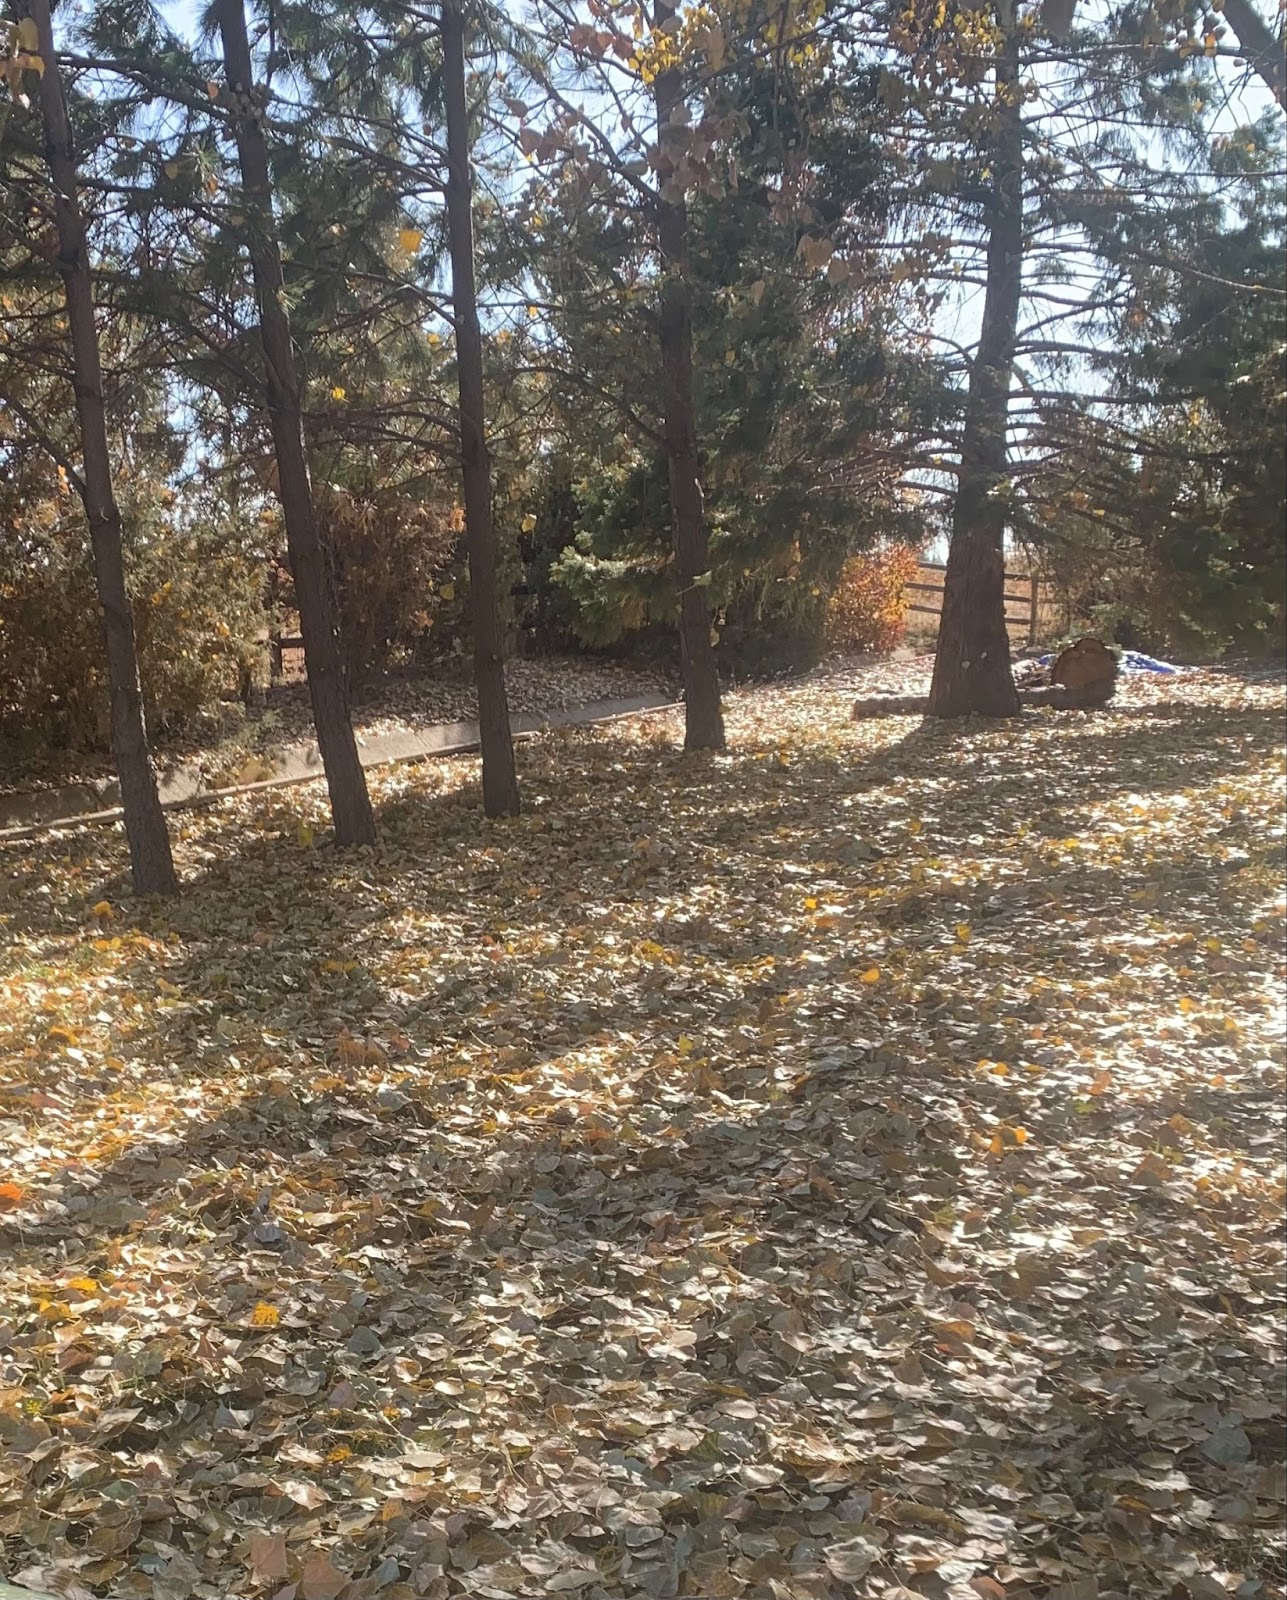
In southwestern Idaho, focusing on native plants, such as milkweed for monarchs or asters for late-season nectar, will create a more effective environment for insect populations. Allowing leaf litter to accumulate and avoiding excessive cleanup in the fall can also provide additional overwintering opportunities for insects, as many rely on this natural debris for protection.

In conclusion, while bug snugs may effectively support certain overwintering insects, butterfly houses might not be as beneficial for many butterfly species. By creating a diverse and supportive garden environment filled with native plants and natural shelters, you can enhance insect populations and foster biodiversity in your garden, ensuring a healthier ecosystem for years to come.